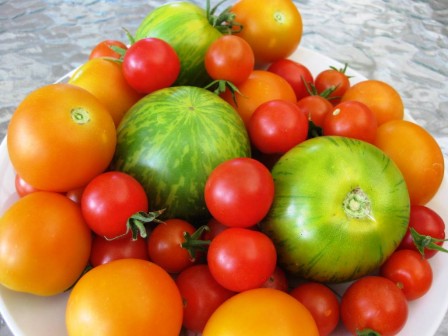
If you grow tomatoes in your garden (or if you plan to in the future), you might be curious about saving your own seed. I really love seeds for some reason, and I used to trade seeds on gardenweb.com about 10 years ago. The lovely gardening community at gardenweb (wonder if it even still exists?) was the source for many of the heirloom tomatoes I still grow in my garden. Tomatoes that are called “heirloom” or “open pollinated” are genetically stable, and will produce offspring consistently like themselves (unless they’ve been cross pollinated with something else in your garden, which does happen occasionally!). Hybrid tomatoes are much less stable genetically, and if you save seed from them, you never know what their offspring will be like (which can also be great fun!).
(Click below to continue reading…)
Here’s the method I use to save my own tomato seeds each year:
1. If the tomato is growing in your garden, let it sit on the vine until it’s a bit over-ripe, so that the seeds are more mature. If you’re buying an heirloom tomato from the store, just pick out a nice specimen that’s on the soft side.
Since you’re saving your own seed, you have the power to choose characteristics that you want to emphasize in future generations (though you don’t have to get this technical!!). For example, I like to save seed from the very earliest tomato, to encourage an “earliness” trait in future generations.
I also like to taste the tomatoes before I save seed from them. Sometimes one tomato will taste much better than another tomato from the same vine. When tasting a tomato, be sure to taste it with the seeds, too, since the seeds certainly lend to the overall taste of the tomato. If you like the taste, just stop eating and save the rest of the seeds from that particular tomato.
You can also choose a tomato with other characteristics that may be important to you: biggest fruit, no cracked skin, good color or shape, meaty, juicy, acidic and zingy, or sweet and mild.
By saving your own seed, you’re also automatically selecting tomatoes that do well in your specific area of the country. You’re basically customizing your own tomatoes! Plus, you give up reliance on seed companies (and paying for new seed each year), which is a fun bonus.
2. When you’ve found a good tomato, cut it open. Slicing through the equator is the easiest way to get to all the seeds at once.
Scoop out the seeds into a small bowl. I like to use glass or ceramic, since the bowl will be slimy and smelly when it’s all said and done.
If you’re saving seeds from more than one variety of tomato, be sure to rinse off your knife, spoon, and cutting board in between each tomato variety!

Scoop seeds into a bowl
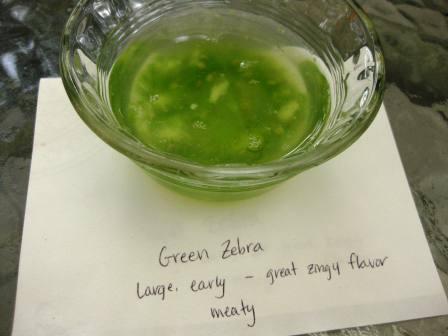
3. Add enough water to the bowl to cover the seeds by about an inch or more. On a piece of scrap paper, write the name of the tomato, plus any details about flavor, earliness, or other traits you want to make note of.

Cover seed pulp with at least an inch of water
4. On top of its corresponding piece of scrap paper, set the bowl on the counter (uncovered) for about 3-5 days (longer if needed), until it starts getting scummy, moldy, and somewhat “ripe” smelling. The purpose of this is to break down the gel-like coating that surrounds each seed. This coating contains chemicals that prevent the seed from sprouting inside the tomato, and this is precisely why you want to get rid of it.

"Ripe" and ready to strain the seeds (different variety from above pictures, sorry!)

Another bowl that's ripe and ready to strain
5. When your bowl of seeds is looking and smelling pretty disgusting, it’s time to strain the seed. Pour the seed into a mesh strainer that’s held over the sink. This is the worst part of the job. Yuck.

Pour seeds into a strainer held over the sink.
6. Under running water, rub the seeds vigorously against the side of the strainer…using the coarseness of the strainer to help scrub off the gel coatings.

Clean seeds!
7. Now, all in one motion with a firm hand, slap the strainer over onto the scrap piece of paper to release the seeds. You may have to slap it a couple times to get all the seeds to come off the strainer.
If you’re straining multiple varieties of seed, be sure (!) to thoroughly rinse the strainer in between varieties.

Slap the strainer onto the piece of paper to release the seeds
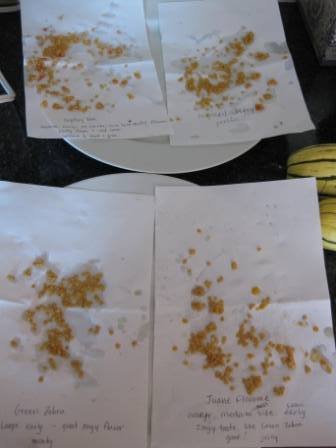
8. Voila! Spread the seeds out a bit on the paper to dry. I like to put multiple pieces of “seed paper” onto a dinner plate, and then place in a quiet spot where they can dry for several days (or a week or more) without being disturbed.

Store seeds on their papers in a quiet place to dry for several days, or longer.
9. Once the seeds are thoroughly dry, peel them off the paper (careful, they go everywhere!) and put them into an envelope. I like using paper envelopes so there’s no chance of mold growth during storage. Seal the envelope. On the front of the envelope, write the year the seeds were collected, plus all of the information from the scrap piece of paper (variety name, and any other details you made note of). Store in a cool, dark, dry place until next year when you can either start your seeds indoors, or plant directly into the garden.

Seal up those seeds in an envelope for next year!


Lindsey, you are awesome! Impressive how you have mastered so many techniques of gardening. I am beginning to understand how and why your garden is such a masterpiece. Carry on! I look forward to each entry in your blog.
Love, Kate
Awww, why THANK YOU Kate!! That’s such a nice compliment. Thanks 🙂
Kate’s right. You do have a following!
Thanks Mary!!!
I’m just excited to read someone else gets excited about seed – I too am passionate about it and the self-sustainability and money saving aspects of it. I’m just a beginner but am looking forward to growing peaches, apricots, nectaries and plums from seed this year along with my expanding my vege garden here in our New Zealand spring/summer.