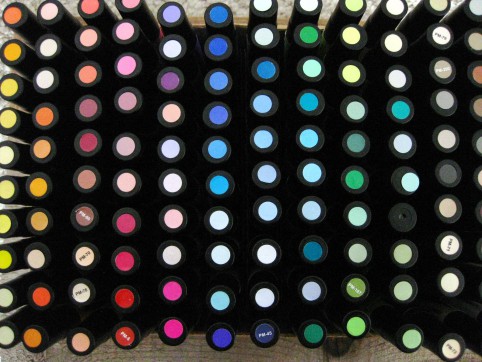


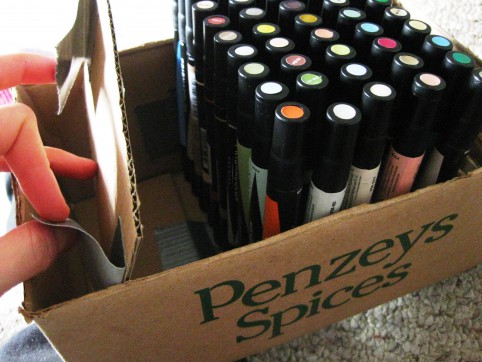
I recently expanded my art marker collection and needed something to keep them all organized within a compact space. So I made a holder using materials I had on hand, and I’m really happy with the way it turned out. It’s not beautiful, but it does the job perfectly.
Here’s how to make your own without spending a cent!
***
Materials:
A small cardboard box (my 10″ x 6.5″ cardboard box fits 140 Prismacolor art markers)
More cardboard, for the dividers
Duct tape or packing tape
Scissors
***
1. Measure your outer box so that you know how big to make the dividers. Measure and cut out one divider and insert it into your box. Trim if necessary. When it’s the right size, use it as a template to cut more dividers.

2. Put a row of markers in place at one end of the box. (Putting the markers in helps you know exactly how wide to make the rows.) It helps to prop up the opposite end of the box so the markers stay in place. Insert the divider up against your row of markers to see if it needs trimming. Then put a strip of duct tape on either side of the divider, as in the photo.
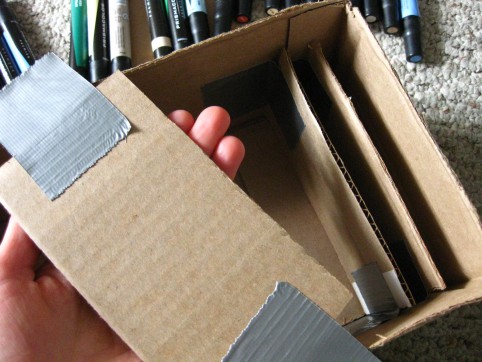
Insert your divider to make sure it fits right; remove and trim if necessary, then apply tape.
3. Tape the divider into place, flush against your markers.
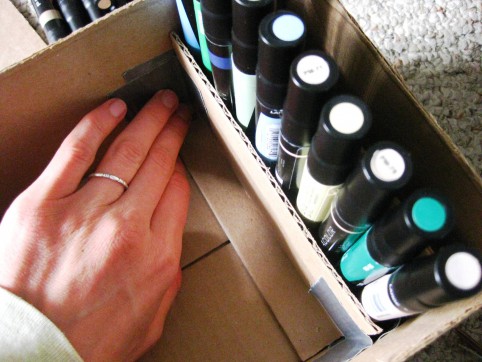

Tip up one end of the box so the markers stay in place.
4. When the divider is taped into place, add another piece of tape to the bottom:
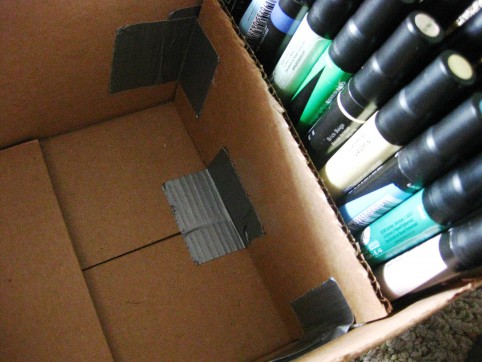
5. Keep adding rows of markers and dividers until you’re finished.

*****


Great!…the simplest ideas are always the best. I love your frugal living tips.
Don’t the pens look beautiful!xxx
Ingenious!! I love your resourcefulness and thriftyness! The pens DO look beautiful. . . and so organized! <3
I love creative organization!!
PERFECT! I’ve been driving myself nuts looking for a good way to store my markers and it seems like everything I found was too small or ridiculously expensive. This is exactly what I needed!