I hope you had a happy Halloween! Mine was uneventful, but I did go on a wonderful bike ride through the neighborhoods on Halloween night to see the decorated houses, carved pumpkins, and kids trick-or-treating. I think I had a smile on my face the entire time. To boot, it was an unusually mild night with a few diehard crickets still going (usually it’s snowing here on Halloween!), and people were sitting out on their front porches, candy bowls beside them.
Anyway, last year I cooked our Halloween pumpkin and I wanted to share the process if you’re interested in doing the same thing. One thing to note about the generic jack-o-lantern pumpkins is that they’re very lacking in flavor. Bland! And watery! But after draining out the excess water (which we’ll address below), the blandness can be a good thing because you can then sneak the pumpkin puree into your cooking (or baking) without affecting the dish’s flavor very much.
Here’s what to do:
With a sharp knife, cut your pumpkin in half, then cut off the stem.
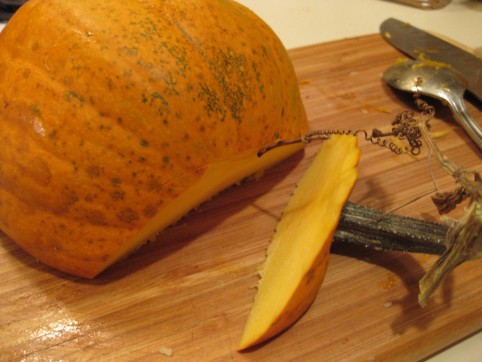
Cut off the stem
Scoop out the seeds and SAVE THEM! We’ll be roasting them while the pumpkin cooks.
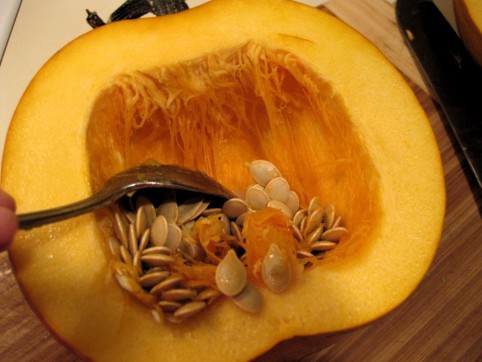
Scoop out the seeds and save them for roasting.
With a spoon and some elbow grease, scrape out the long stringy fibers. You have to really get in there with your spoon; attack that pumpkin!
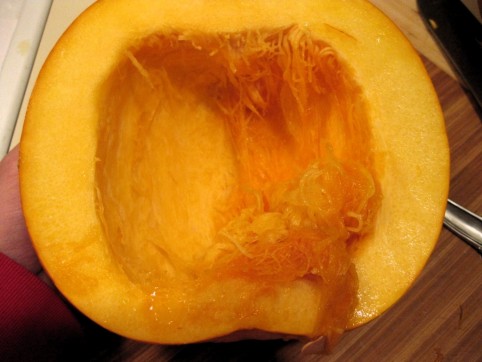
Scoop out the stringy fibers
Set pumpkin cut-side down into a large baking pan with sides to contain the juice. If you don’t have a pan with sides large enough, then just bake them on cookie sheets, cut-side up. Or be creative and set them on something else, like a muffin tray to catch the juice!
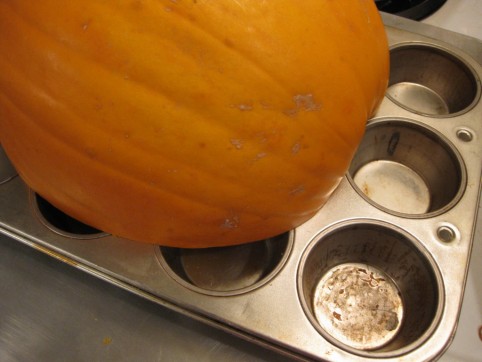
Bake at 350* (or 375* — the temperature isn’t too important). You’ll bake it until the flesh is very soft, which usually takes about an hour, maybe more.
After you put your pumpkin in the oven, put the seeds into a colander. Rinse them and remove as much of the stringy orange stuff as you can.
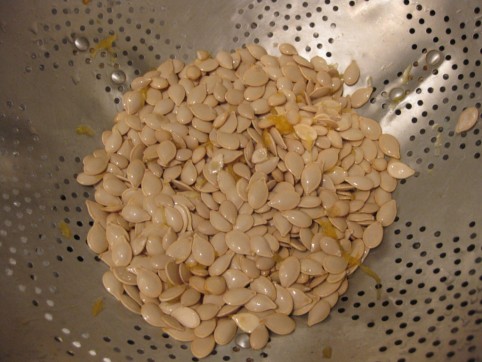
Wash seeds & remove orange fibers
Spread them onto an un-greased cookie sheet and sprinkle them fairly liberally with salt. Bake them until they’re a very light golden color; you don’t want to over-bake them, but you do want them dry to the touch, and crunchy. This seems to take about 15 minutes for me, but the times may be different for you.
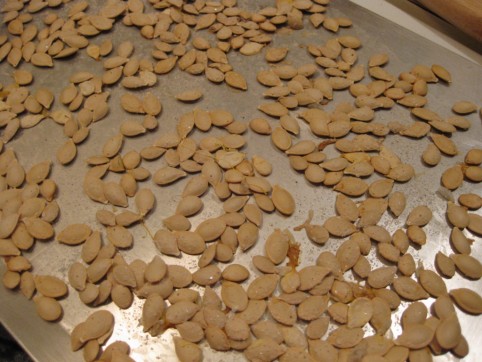
Spread on a cookie sheet and sprinkle with salt; cook till dry and crunchy
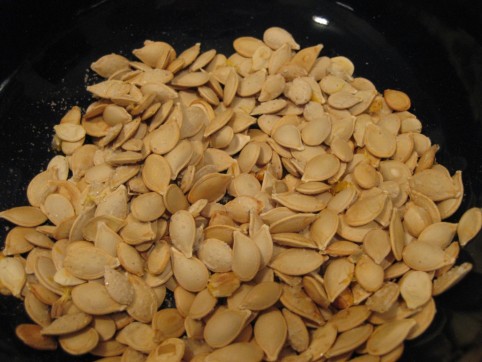
Eat!
Now, back to the pumpkin.
When the flesh is very soft, remove from the oven and let the pumpkin cool until it’s handle-able.
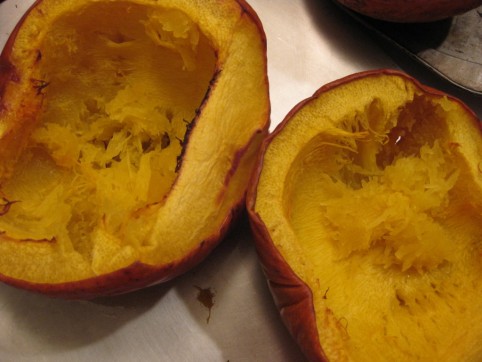
Bake till very soft
Scrape out the flesh, and discard (or compost) the skin-shell. Run the pumpkin flesh through a food processor or blender to improve the texture and break up stringiness. If it’s too dry to run through the blender, add a little water and blend; you can drain the water out (or cook it off) later.
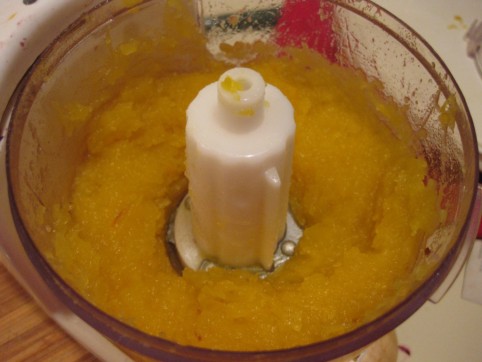
Blend till smooth, adding a little water if needed
Since these pumpkins generally have quite a bit of water in their flesh, you’ll want to drain the puree after blending it. I like to dump the pumpkin puree into a colander and let that sit over a bowl overnight. You’ll be amazed at how much water drains out! Alternatively, you can just cook the water off instead of letting it drain away; just simmer the pumpkin puree, uncovered, in a pot over low heat until you’re satisfied with its consistency.
That’s it! Measure your puree into ½- or 1-cup portions and freeze into ziploc bags; I like to stack my bags neatly on a plate and freeze them so that they freeze into stackable shapes, like this:
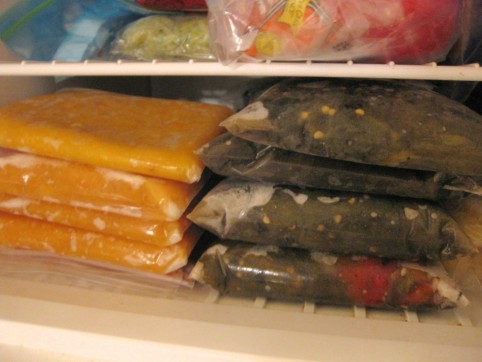
Measure, stack, and freeze!


Leave a Reply