Kitchen / Garden / Sanctuary - Urban Homesteading to Nourish Body + Spirit

Category: Frugal Living (Page 8 of 13)

Dashboard Croutons & Other Car Cookery Ideas

Up here in our little 3rd floor attic Homestead In The Sky, the summers are sweltering. We forgo almost all oven use during these months, relying instead on the solar oven or the stovetop (see my Baking Cookies on the Stove post). Or, sometimes, the car. Actually we don’t have a car anymore — the old ’71 Jeepster finally reached a point where putting more money into it wouldn’t make sense. (Don’t worry, we gave it to someone who could completely appreciate it and at least part it out.) The last year we had it, it wasn’t running — but it served as a really handy oven during the summer months.

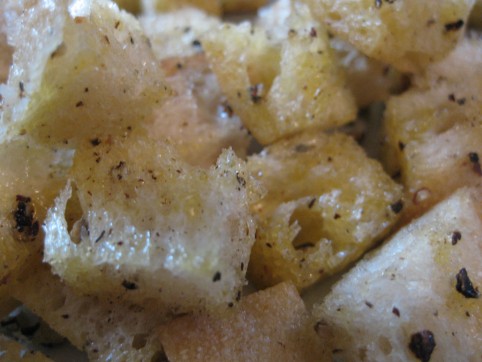
I made croutons that turned out great. They made the car smell really good too.

To cook things in your car, just park it in a sunny place where the interior will get nice n’ hot. Slide your cookie sheet of croutons (or whatever else) onto your dashboard or back seat, and check on it every now and then. This is a very fun way to cook!
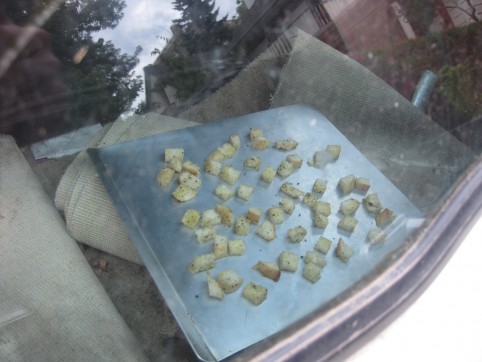
The back seat works, too...


Need to dehydrate some food? Use the car! Cook something at low heat? Use the car!

Making fruit leather? The car! Roasting pumpkin seeds? Car!

Bet those kale chips would even work in the car, too.

If you go to work and park in a hot parking lot, put your lunch container on the dashboard in the morning, and it’ll be warm for you at lunchtime.

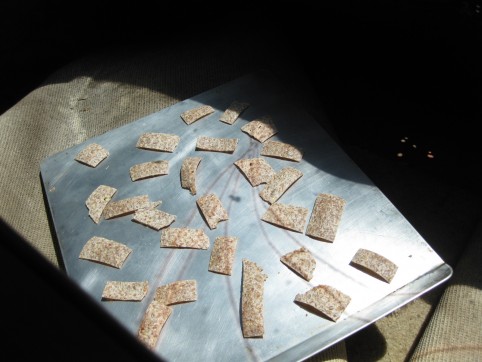
Another thing I like to do is make crackers out of sprouted grain tortillas, like these:

Cut them up and spread on a cookie sheet. Bake in your car till very lightly browned and crunchy (or in an oven or solar oven at about 250°). Be careful that they don’t get too brown or else they won’t taste as good.
*****

I bet there are so many other fun car-cooking ideas out there too — do you have any to share??

*****
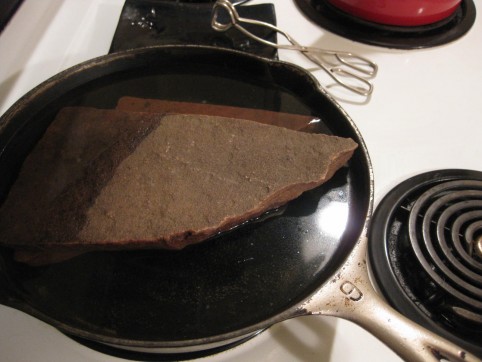
Caveman’s Heating Pad

Stuck without a heating pad? No problem! Gather one or two flat rocks (flagstone in this case) and simmer them in water on the stove (or pop them into the oven). When thoroughly hot, remove with tongs and wrap in a couple towels. Use both rocks at once, or keep one in the water to exchange when the first one cools down. You can’t exactly wrap a rock around your body the way you can a heating pad, but it’s a perfectly good do-fer solution!

The Perfect Tool For Unclogging Drains

We’ve discovered a great tool!

Our shower has been draining very poorly lately. We don’t like Draino because of how very toxic it is, and so F. had the brilliant idea to buy a flexible grabber from the local auto parts store to shove down the drain and grab the gunk. It was $7.50, and took care of the problem in about 10 seconds! No chemicals involved, and the water drains like a charm now!

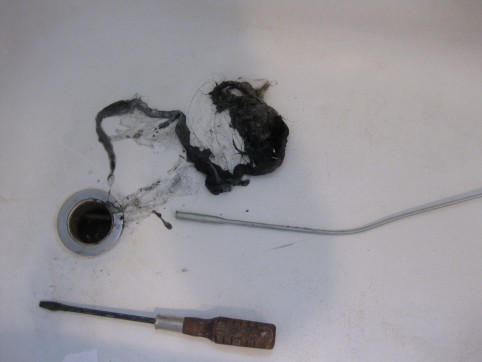
Look at the gross clog I pulled out!!!

Grossest thing I've encountered in a long time.

Since we always keep a mesh screen over our drain, I’m afraid some of that is from previous tenants — which is something I am NOT going to think about, so let’s move on, shall we…

*****

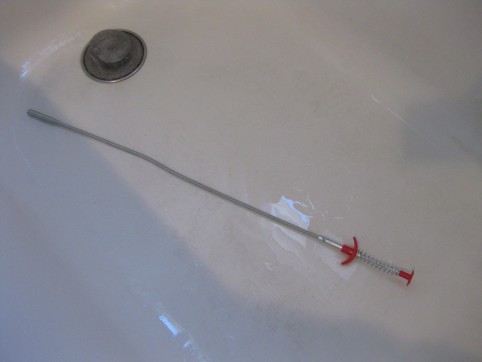
Here’s the flexible grabber tool. Sort of like a syringe, you push down on the top, and the little claw comes out the bottom. Of course we tested it first on each other’s fingers…and it has quite a grip!

Flexible grabber claw tool

*****

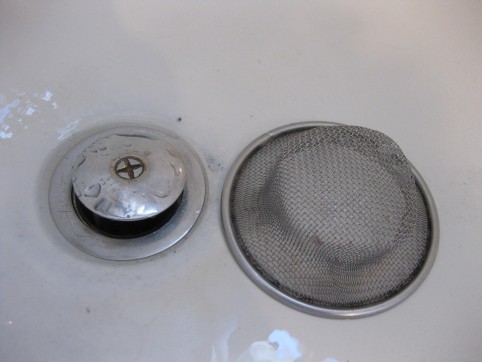
Oh and here’s the screen we keep over the drain — an essential preventive measure! We also have one in the kitchen since we don’t have a garbage disposal.

I’ve heard of other preventive methods to keep your drains clear, like using baking soda and vinegar, and also pouring boiling water down the drain each day. Do you have any tricks up your sleeve to share?

Natural, Homemade Deodorant That Actually Works

So you don’t want to use the standard grocery store antiperspirant due to its toxic aluminum content, but you’ve tried the health-food-store deodorant and it just doesn’t work — despite its own not-very-natural ingredient list. What to do?

Try this recipe!

I mixed up a batch of this deodorant several months ago and gave it a hardcore test on our hot, muggy trip to Argentina. I was amazed! Never has a deodorant worked this well for me. You still sweat, but it doesn’t smell. Even after being in the same clothes for well over 24 hours of travel down to Buenos Aires, my shirt smelled only of baking soda. My socks were a different story, however…

Coconut Oil Deodorant

1/4 cup coconut oil, at room temperature (not melted)

2 Tbsp cornstarch or arrowroot

2 Tbsp baking soda

essential oils (optional)

In a bowl, with the back of a spoon, mix your cornstarch (or arrowroot — both work equally well) and baking soda (plus any essential oils) into the coconut oil. These ratios are flexible — use more coconut oil if it seems too dry, or more baking soda if it’s too goopy.

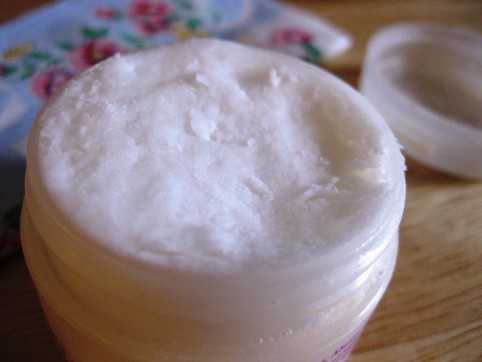
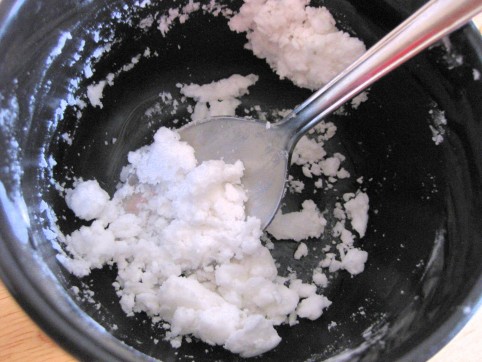
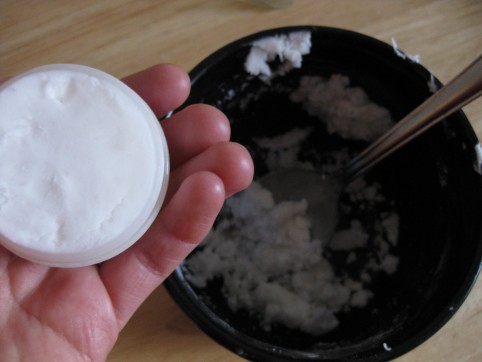
This is the consistency I like — still crumbly, but wet enough to easily hold together and get packed into a jar:

Tip: don’t melt your coconut oil to accomplish this task; although it’s easier to mix, the cornstarch and baking soda will sink to the bottom of the container as the deodorant hardens, and the top layer will be coconut oil only — which, by itself, doesn’t work as well at preventing stink.

Scoop into a jar. Store at room temperature. If it’s hot enough in your house that the oil liquefies and the ingredients separate, shake the jar before you use it each time.

To use, scoop some out with your fingers and smear under your arms. I use a generous pea-sized amount for each arm.

Juice Your Kitchen Scraps!

I was inspired today by this post about raw vegetable juices over at Wooly Moss Roots. I’ve never been into juicing because separating the fiber from the juice just doesn’t seem natural, and it’s not the ideal way to consume vegetables according to what I’ve read. But then I’ve also read that as long as juicing is used in addition to your regular consumption of fruits and vegetables, it can actually be a very good way to boost your intake of vitamins and minerals. I can certainly see both sides of the story.

We actually have a juicer already (it came with my Hubby), so today I decided to go for it. I used some kitchen scraps that would’ve otherwise gotten tossed (cilantro and parsley stems, a mandarin orange with very tough membranes, and spent beet chunks from making beet kvass), as well as a carrot and some celery. It turned out pretty well! I was especially thrilled to be juicing the last drops of lacto-fermented, enzyme-rich goodness out of those beets! (I’ll share my beet kvass recipe soon. We love beet kvass in this household!)

Remembering that all those vitamins and minerals would probably need some fat in order to be absorbed properly, I added some grassfed whipping cream in a ratio of about 3 or 4 parts juice to 1 part cream.

OH YEA.

The cream was the key. Better nutrient absorption, better taste!

I even felt a sort of…uplift…after drinking this raw veggie juice. And I loved how it was such a clean, light way to start the day!

What’s your opinion about juicing? If you juice, what are your favorite veggie combos?

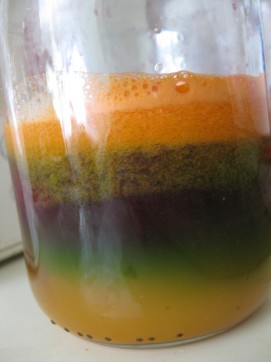
Pretty layers of juice!

« Older posts Newer posts »

© 2024 The Herbangardener

Theme by Anders NorenUp ↑