Kitchen / Garden / Sanctuary - Urban Homesteading to Nourish Body + Spirit

Category: Natural Homemaking (Page 7 of 15)

How to Make a Beautiful Loaf of 6-Braid Challah Bread

Mmmm, challah bread! The perfect holiday treat for your own family, or a friend! Challah is a traditional Jewish bread eaten on the Sabbath and on holidays, and is usually parve (made without milk or meat); this recipe isn’t parve (okay with me since I’m not Jewish), but if you’d like it to be, just substitute oil for the butter.

Here’s the challah recipe that I’ve used for many years (plus my tips for success), as well as video instructions on how to do a pretty 6-braid loaf.

Before we start, know that this bread requires two risings. Keep your eye on the dough — once it has doubled each time, move onto the next step promptly. I wouldn’t recommend leaving to go shopping and letting it over-rise and sit around too long, because the yeast will consume more sugar than you want, and the resulting bread will be more yeasty and not as subtly sweet; if this happens, the bread will still be good, but not as good.

Ok, let’s get started!

***

Challah Bread

7/8 cup water, at 100° – 110°

2 tsp active dry yeast

1/4 cup honey

2 eggs at room temperature

1/4 cup butter, melted

1/2 tsp salt

4 cups flour (I like using half white, half whole wheat…all white is yummy but not as healthy…or you could also use all whole wheat)

For the egg wash: 1 whole egg + 1 Tbsp water

***

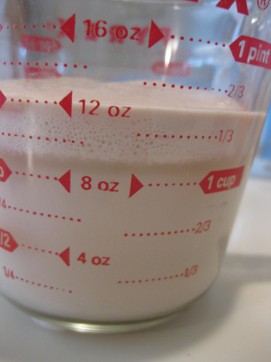
Proof the yeast by stirring it into the water and letting it sit until it’s bubbly and foamy on top, about 5 or 10 minutes.
Meanwhile, melt the butter and warm the honey if needed so that it’s free flowing.

Stir the salt into the flour in a large bowl, and add all the other ingredients (yeast water, honey, the 2 eggs, and butter).

If you have an electric stand mixer, now would be the time to use it, allowing the dough hook to knead the dough for several minutes.

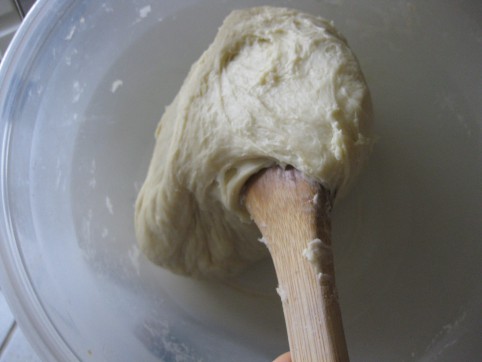
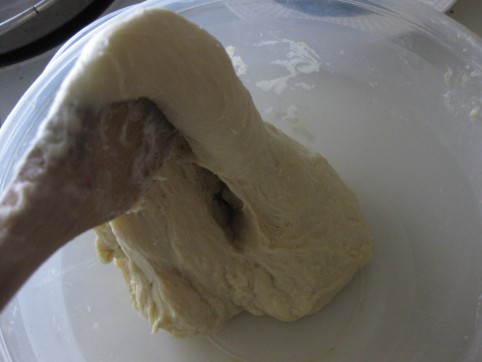
If, like me, you don’t own a stand mixer, no problem! — with a wooden spoon, stir until a dough forms. With the same wooden spoon, pretend that you are the stand mixer. Knead the dough as best you can for several minutes, until smooth, using the spoon — digging into the center of the dough, twisting, lifting, dropping. I’ve made this bread many times and discovered that you want to add a bare minimum of extra flour, or else the resulting bread will be too dry. When kneading with a wooden spoon in the bowl, you won’t be tempted to add flour since the dough won’t be sticking to your counter, to your hands, etc., while you knead. (You can also knead with your hand inside the bowl! Either way works just fine.)

Now, with the dough in the bowl, cover the bowl completely with a lid, plate, or plastic wrap.

Set aside to rise until doubled in size. To speed the process, I like to turn the oven on for a minute or two, then turn it off (test with your hand to be sure it’s only just warm) to create a slightly warmer environment than the ambient temperature in my kitchen… then put the bowl into the warm oven.

Once it’s doubled in size, punch it down and gather the dough into a loaf shape, cutting it into six pieces of equal size. Feel each piece with your hand, re-distributing dough from piece to piece until they all feel about the same.

On a lightly floured surface, roll each piece of dough into a rope as long as you like; mine usually end up about 18″ long.

Lay your ropes onto a cookie sheet covered with parchment paper (you can, instead, grease a cookie sheet generously, but I find that parchment is really a good tool in this situation, otherwise the egg wash tends to glue the edges of the bread to the sheet, making it a little hard to get off. You can certainly do it that way… but if you have parchment, use it here.) 😉

At one end, pinch the ropes together, and now you’re ready to braid! Watch the video below for instructions on how to do a 6-braid loaf (it’s not hard, and the end result looks very impressive!).
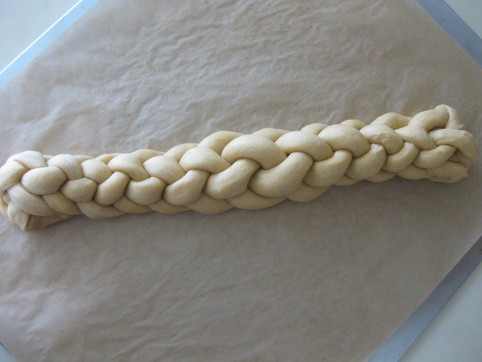
Once you’ve braided your loaf, it needs to rise until doubled in size. I’ve tried covering the loaf with wax paper, plastic wrap, a damp tea towel, and they always stick to the loaf no matter what. My favorite method, therefore, is this: turn on your oven for a minute or two until it’s slightly warm, and then turn it off. You don’t want it too warm! Meanwhile, boil some water. When the water boils, pour it into a couple of mugs, and place those in your warm oven. Put the uncovered braid into the warm oven, and close the door. (I like to turn on the oven light to add a little more warmth too.) This way, your braid can rise without anything covering it, and because of the high humidity, it won’t dry out while rising. Because of the warmth and humidity, this step may go fairly quickly, so keep tabs on the braid.

Once your braid is doubled in size, take it out of the oven. Preheat the oven to 375°. While the oven’s heating, make an egg wash by combining 1 whole egg and 1 Tbsp of water in a small jar and shaking vigorously. Using a pastry brush, paint the egg wash onto the braid.

When the oven is hot, put your braid onto the middle rack and bake for about 15-20 minutes, until the top is golden and the underside is lightly golden, but not overdone. Try not to over bake, as that will also dry out the bread. You want the top to be golden, but not too dark.

A nicely done underside will look like this. See how it’s golden also, but not too dark?

Let the bread cool, and enjoy! It’s delicious fresh, but also keeps nicely on the counter; seal it inside a bag to keep it from drying out.

It’s a wonderful gift to give, too!

*****

Decorating!

A couple weekends ago, my mom and I were admiring some beautiful wreaths and swags at the local garden center; they smelled so good, and were so Christmasy! There really is nothing like the real thing when it comes to greenery at Christmas… and really, there’s nothing like the real thing with just about anything in life, I’ve decided.

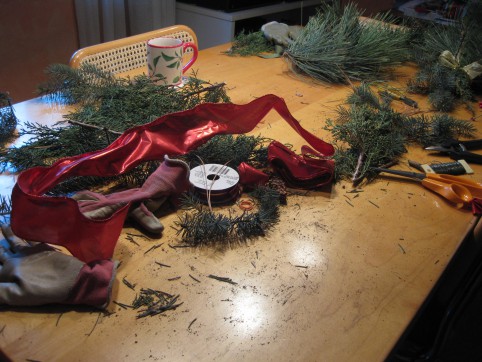
But instead of buying them, we wanted to make our own — and so yesterday we did. Across the street and through the snow we went, clippers and bags in hand, to the park across the way. We gave some of the trees a ‘light pruning’ while filling bags with fragrant boughs, then cleared off their dining room table, turned on some Christmas music, brewed tea, and got to work.

We learned quickly that gloves are a must for a project like this!

Our creations began to take shape, and we admired each other’s work, exclaiming how that wreath and those swags were even better than the ones we could’ve bought. And how they were totally local, totally fresh, and totally free. What satisfaction to make something so beautiful! They smell incredible, too — something I didn’t really expect from city pine trees. Like a mix of fresh Christmas trees and wood smoke.

Here’s the wreath my mom made for the front of their house. Isn’t it beautiful!! I love how she added pine cones and some bare lilac branches.

Here’s the swag I made for inside our apartment:

A miniature one for the bathroom:

And a table centerpiece:

I love fresh winter greenery in the house!

*****

How to Juice a Pomegranate (without a juicer)

Have you ever tried fresh, raw pomegranate juice? It’s incredible! Pomegranates are in season now, so give it a try sometime!

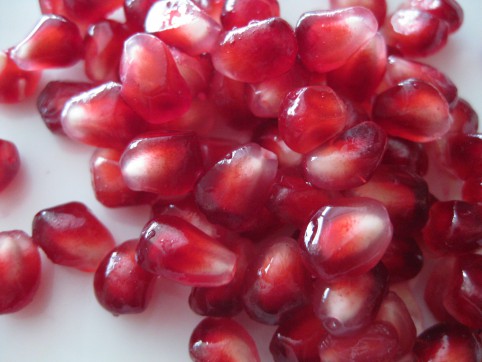
You can easily juice a pomegranate without a juicer; in fact, even though we have a juicer, I prefer to do it this way. And it’s only a little more effort above and beyond the task of separating the seeds from the pith. One large pomegranate will yield roughly 1 cup of juice.

Now when you’re doing this, I suggest wearing black — or at least a big apron. The distance a juice splatter will travel seems to be directly proportionate to how much you love the shirt you’re wearing; this phenomenon also appears to be heavily influenced by the color of the shirt — with white inducing bigger and more far-reaching splatters than any other color.

*****

1. To peel your pomegranate, make perpendicular cuts (both going all the way around the fruit) — deep enough to cut through the skin, but not through the seeds underneath:

2. Grab a section and break it away:

3. Over a large bowl, gently separate the seeds from the white pith. This is the most time-consuming step.

4. Discard the pith & peel:

5. Empty the seeds into a blender or food processor:

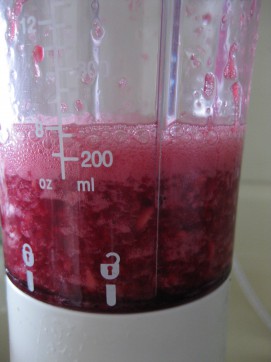
6. Pulse them quickly about 8-10 times; we just want to burst the juicy outer red part without grinding up the crunchy white inner seeds:

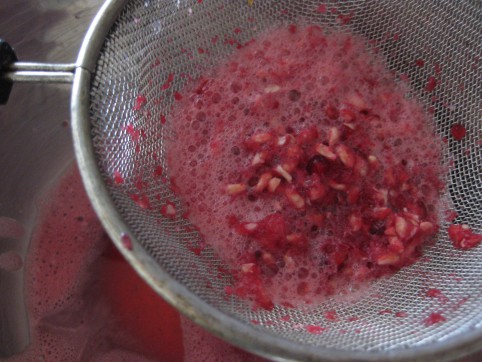
7. Empty the contents of the blender into a mesh strainer over a bowl:

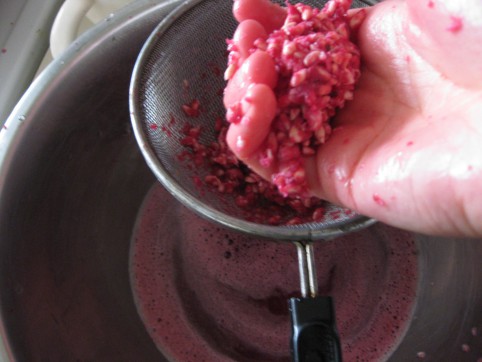
8. With clean hands, squeeze the seeds to get the rest of the juice out:

9. Pour the juice from the bowl into a glass. Enjoy it!

*****

How to Ripen Green Tomatoes

I got a question the other day about what to do with green tomatoes… well, let me tell you!

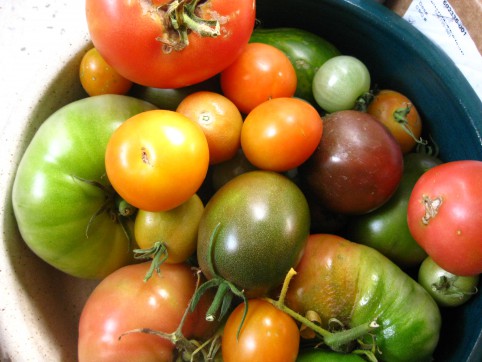
Green tomatoes are always part of the Autumn routine for us. Once picked, most of them ripen over the coming weeks, and some years we’re still eating homegrown tomatoes past Christmas!

*****

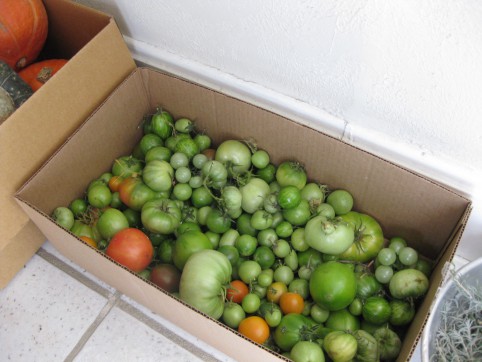
Here’s how I handle all the tomatoes that we pick before the first frost hits:

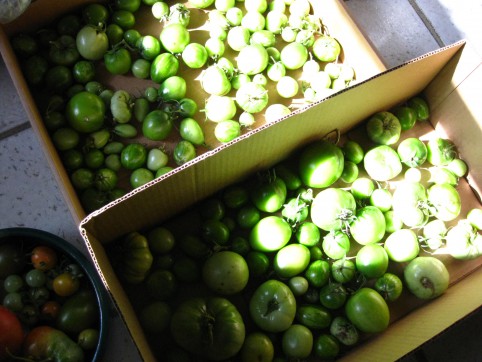
1. Usually I leave the tomatoes hanging out in an uncovered cardboard box for several days or a week. This is usually because I don’t get around to addressing them, but it also allows the close-to-being-ripe ones to ripen more fully.

2. When I’m ready to deal with them, I gather a few cardboard boxes and some newspaper. I go through the tomatoes, separating ones that are showing signs of ripeness (light blushes of color or softening flesh) from the rest that are still very hard and green.

3. Put the ripening ones in their own box or paper bag, and check them every day or two. Or, leave them out on the counter.

4. I put the rest into boxes — only one layer thick — and then lay some sheets of newspaper on top. Over the years I’ve evolved through several methods of green tomato storage, and this is the one I’ve settled on. It’s my favorite because it’s the easiest, with the fewest tomatoes lost to mold.

Methods I’ve used in the past include:

– I used to cut squares of newspaper and wrap each tomato individually — unwrapping, checking, and re-wrapping them each week, and marking with highlighter the ones nearing ripeness. This is not only an insane amount of work, but it’s also totally unnecessary. There are easier ways to get the same result.

– After I evolved away from that, I would use only one box and put multiple layers of tomatoes in the box, separated by sheets of newspaper. This was a little better, but still involved removing layers of tomatoes and newspaper, checking, and re-layering.

Store the tomatoes, only one layer thick, in boxes.

Cover them with newspaper.

5. Ok, so anyway, you’ll have multiple boxes with tomatoes only one layer thick. For this reason I like to use wide, shallow boxes. The boxes can be stacked as long as they’re supported by the sides of the box below and not resting on top of the actual tomatoes.

6. Keep your boxes in the coolest place in your house. Perhaps that’s a coat closet in your foyer, or in your basement. For us, it’s in the stairwell that leads from our apartment to our outdoor side entrance.

Store the boxes in the coolest part of your house. Check your tomatoes at least weekly.

7. Check your tomatoes at least weekly. It’s as easy as peeking under the newspaper. I like to move the nearly-ripe tomatoes to the top of the newspaper so that I can watch them and grab them when they’re ready.

8. Not all the tomatoes will ripen. Some are just too small and green to hold much promise of ripening, so this year I’m going to pickle them exactly the way I pickle cucumbers, using my trusty pickle recipe.

*****

*****

Do you have a good way of ripening your green tomatoes, or perhaps a good recipe that calls for green tomatoes?

*****

Homemade Concord Grape Fruit Leather

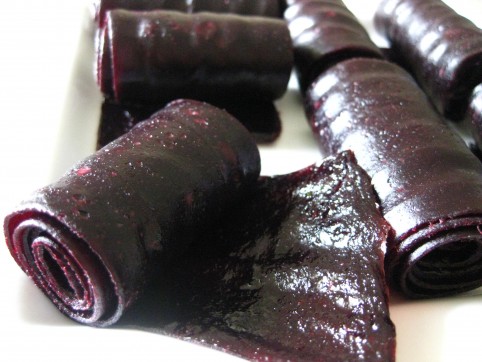
I wish I could give you all a piece of this fruit leather to eat right this minute! It has the best, truest grape flavor I think I’ve ever tasted. This leather is sugar free and made with nothing but ripe concord (or “wild”) grapes. And although the process is really easy — and you need nothing except the grapes themselves — it takes time. This is special stuff; the taste is so worth it, and when you take a bite and think about the process from start to finish, you’ll appreciate this fruit leather even more.

I find that it feels really good to deeply savor each morsel of food like this; so different from mindlessly feeding our faces, isn’t it. I bet if we were the ones responsible for the extensive work required to prepare everything we ate, we’d slow right down and savor every single bite!

*****

Concord Grape Fruit Leather

Concord grapes (that’s the only ingredient!)

***

1. Begin by making my Grape Freezer Jam with your concord grapes. But go ahead and leave it unfrozen…or, thaw it out if it’s already frozen.

2. Preheat oven to 200°F. (You could also use a dehydrator.)

3. Tear off a piece of parchment paper the size of your cookie sheet. You could also generously oil your cookie sheet, but parchment is a lot easier to peel the leather off of.

4. Using a spatula, spread your Freezer Jam onto the cookie sheet, taking the extra time to spread as thinly and evenly as possible; it takes a few minutes to get it just right. Spreading it as evenly as possible is important because otherwise some parts will be overdone and other parts will be underdone.

5. Put into the oven and let it dehydrate until the fruit leather is pliable…not wet, but not hard & brittle either. Mine usually takes about 2 1/2 hours.

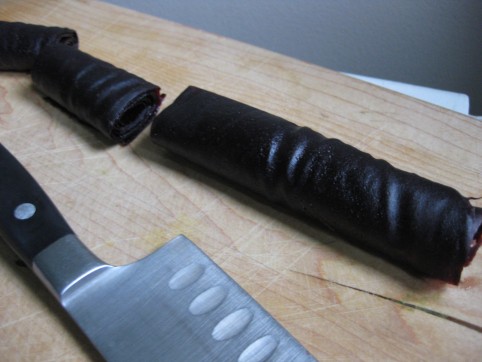
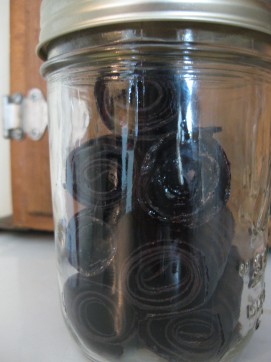
6. Remove from the oven, cool for a while, peel your fruit leather off the parchment, roll it up, and cut into strips! Store either at room temperature or in the fridge. I like to keep mine in a mason jar in the pantry.

*****

When I’m on the go and need a good snack, I’ll often pack a roll or two of this fruit leather, along with a bag of homemade kale chips. It’s perfect!

*****

« Older posts Newer posts »

© 2025 The Herbangardener

Theme by Anders NorenUp ↑