Kitchen / Garden / Sanctuary - Urban Homesteading to Nourish Body + Spirit

Category: Organic Gardening (Page 9 of 15)

On This February Day…

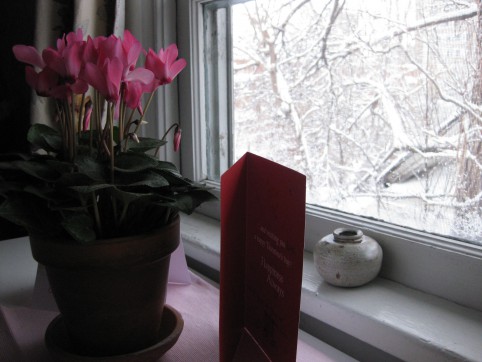
This (snowy) morning...

It was a true February day today — gray and humid and chilly and snowy. But it was a spring snow — drippy and slushy! Over the weekend it just began feeling more like spring here. The quality and angle of the sunlight, the buds on the trees, the tulips pushing through the ground, and definitely the particular birdsongs that we’re hearing outside our window of late.

I was up and at the kitchen table by the window fairly early this morning with a steaming mug of tea, watching the snowflakes falling gently. I’ve rediscovered a CD I have called The Tranquil Harp by Paul Baker. It was perfect for this peaceful, snowy morning.

The streets were still warm from yesterday’s balmy temperatures, and so this afternoon most of the snow was gone from them, making my quick trip to the health food store a much easier proposition. Much as I love the snow, clear streets really are very nice.

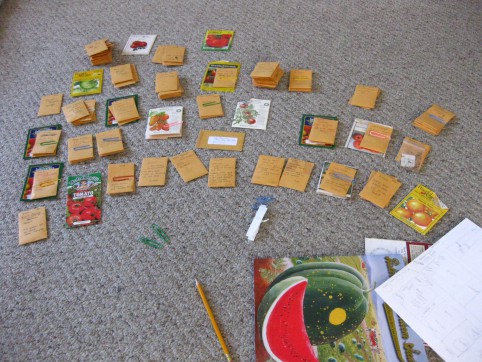
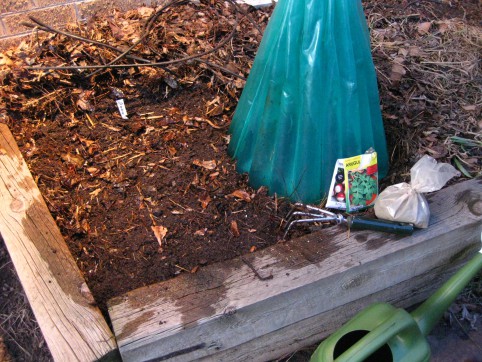
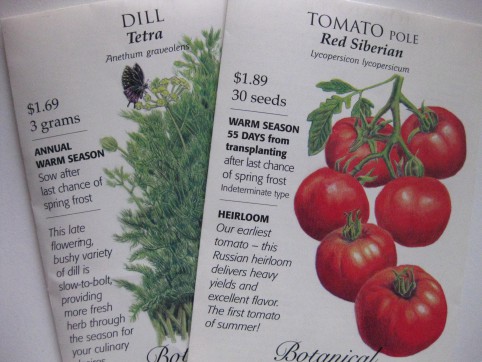
Okay, so remember how yesterday I told you all about my great restraint in not buying more varieties of tomato seed? Well to demonstrate that iron will, I suppose I should show you what I bought today:
🙂

So anyway, I thought I’d also show you a great seed catalog I picked up yesterday for Southern Exposure. I’ve never ordered from them but I like their philosophy: “Our mission is to ensure that people retain control of their food supply, that genetic resources are conserved and that gardeners have the option of saving their own seed.”

Looks like they sell almost all heirloom or open-pollinated stuff (I really like that), and have some pretty interesting offerings. Their catalog also gives detailed growing info for each type of vegetable. It looks like a company worth ordering from.

Well it’s dusk now, and time for some tea I think.

It’s been a good day. Hope it was for you, too…

*****
In Garden Mode!

Man, these past few days have flown! I’ve been in almost an altered state, with a one-track mind focused solely on this year’s vegetable garden. There are big bags of dirt in our kitchen, and open seed catalogs have littered the living room floor like banana peels waiting to snag unsuspecting passerby (sorry honey!).

There’s been much reading, researching, figuring, dreaming, decision making, studying of past garden notes, and starting of seeds. The energy, enthusiasm, and time that seemed absent last year are all right here in front of me to be feasted upon — and I am feasting.

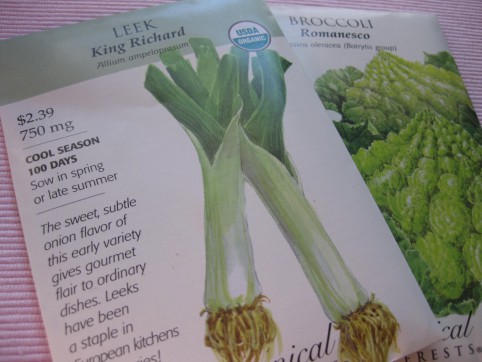
Yesterday I bought seeds for a couple fun last-minute additions to the garden plan — leeks and romanesco cauliflower — and today my mom & I got seeds for a few more things that’ll be new to the garden this year too — tarragon, bok choy, and onion seed (I’ve always grown my storage onions from sets in the past).

I also counted up that I have 37 different varieties of tomato seed. Lest you think that’s excessive, let me tell you that it takes great and continuous restraint to not buy more! But it’s already hard enough choosing only 16 varieties for the garden…

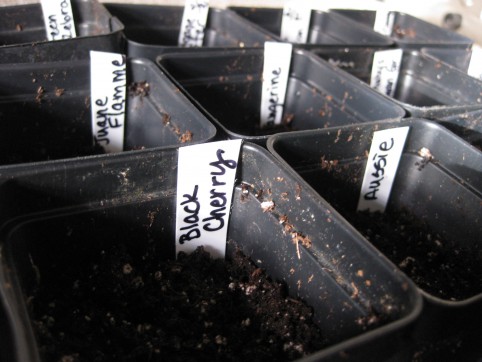
Yesterday I started all my wall-o-water tomatoes as well as my cabbage, romanesco cauliflower, regular cauliflower, yellow bell peppers, and leeks in their seed tray over a heat mat. That was a good accomplishment.

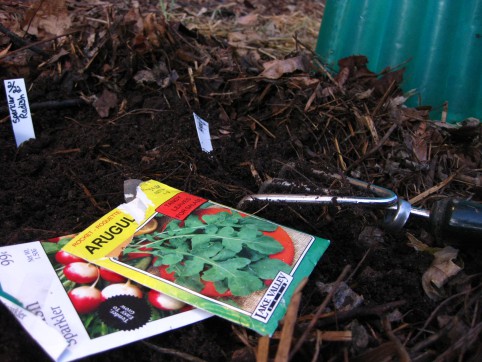
And today, even though my main spring planting time is still a few weeks away, I planted some radishes in the wall-o-water I had set up a couple weeks ago, along with some arugula in the open space next to that. I’ve found that walls-o-water are a great way to sneak in an early crop of radishes, which are in and out before it’s time to put the tomatoes in.

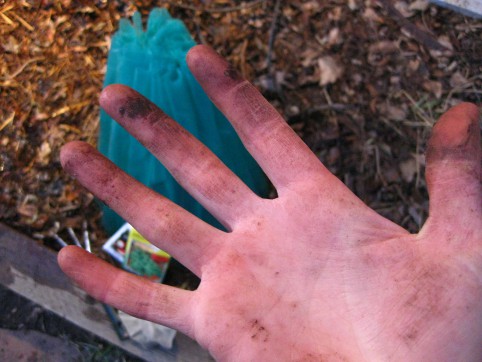
It felt great to get my hands into that cold, fragrant Earth.

They’re calling for snow tomorrow, and I think it’ll be a good day to get the broad beans started, and then come back down to earth a bit by going over my moneymaking work and preparing for a Friday meeting.

I hope you’re all having a nice week. And tell me — what’s currently going on in your own garden??

*****

How to Ripen Green Tomatoes

I got a question the other day about what to do with green tomatoes… well, let me tell you!

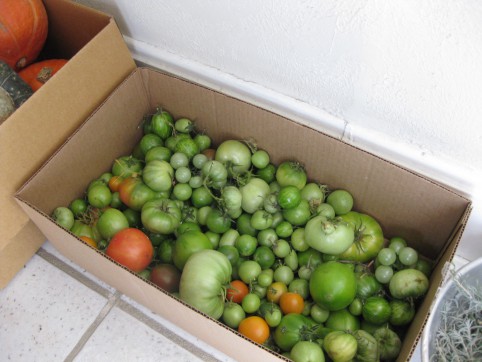
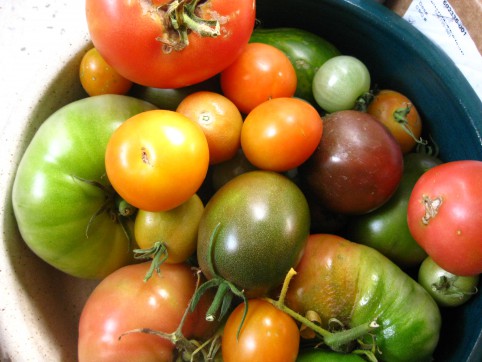
Green tomatoes are always part of the Autumn routine for us. Once picked, most of them ripen over the coming weeks, and some years we’re still eating homegrown tomatoes past Christmas!

*****

Here’s how I handle all the tomatoes that we pick before the first frost hits:

1. Usually I leave the tomatoes hanging out in an uncovered cardboard box for several days or a week. This is usually because I don’t get around to addressing them, but it also allows the close-to-being-ripe ones to ripen more fully.

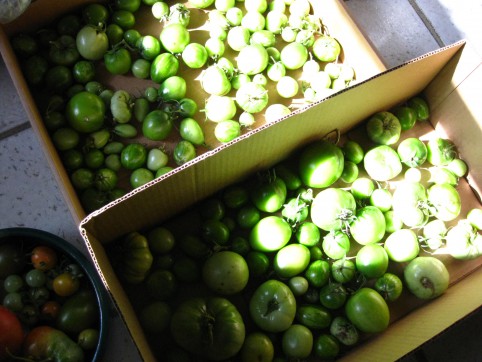
2. When I’m ready to deal with them, I gather a few cardboard boxes and some newspaper. I go through the tomatoes, separating ones that are showing signs of ripeness (light blushes of color or softening flesh) from the rest that are still very hard and green.

3. Put the ripening ones in their own box or paper bag, and check them every day or two. Or, leave them out on the counter.

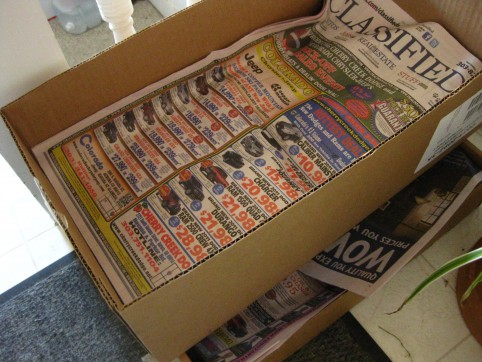
4. I put the rest into boxes — only one layer thick — and then lay some sheets of newspaper on top. Over the years I’ve evolved through several methods of green tomato storage, and this is the one I’ve settled on. It’s my favorite because it’s the easiest, with the fewest tomatoes lost to mold.

Methods I’ve used in the past include:

– I used to cut squares of newspaper and wrap each tomato individually — unwrapping, checking, and re-wrapping them each week, and marking with highlighter the ones nearing ripeness. This is not only an insane amount of work, but it’s also totally unnecessary. There are easier ways to get the same result.

– After I evolved away from that, I would use only one box and put multiple layers of tomatoes in the box, separated by sheets of newspaper. This was a little better, but still involved removing layers of tomatoes and newspaper, checking, and re-layering.

Store the tomatoes, only one layer thick, in boxes.

Cover them with newspaper.

5. Ok, so anyway, you’ll have multiple boxes with tomatoes only one layer thick. For this reason I like to use wide, shallow boxes. The boxes can be stacked as long as they’re supported by the sides of the box below and not resting on top of the actual tomatoes.

6. Keep your boxes in the coolest place in your house. Perhaps that’s a coat closet in your foyer, or in your basement. For us, it’s in the stairwell that leads from our apartment to our outdoor side entrance.

Store the boxes in the coolest part of your house. Check your tomatoes at least weekly.

7. Check your tomatoes at least weekly. It’s as easy as peeking under the newspaper. I like to move the nearly-ripe tomatoes to the top of the newspaper so that I can watch them and grab them when they’re ready.

8. Not all the tomatoes will ripen. Some are just too small and green to hold much promise of ripening, so this year I’m going to pickle them exactly the way I pickle cucumbers, using my trusty pickle recipe.

*****

*****

Do you have a good way of ripening your green tomatoes, or perhaps a good recipe that calls for green tomatoes?

*****

This Week: Harvest Time!

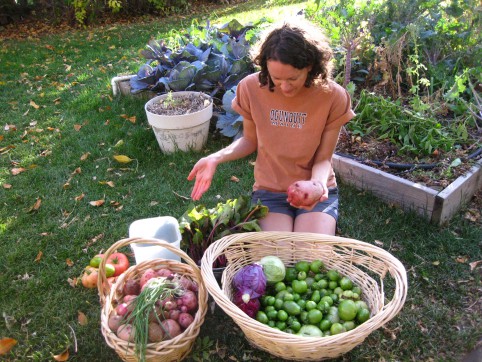
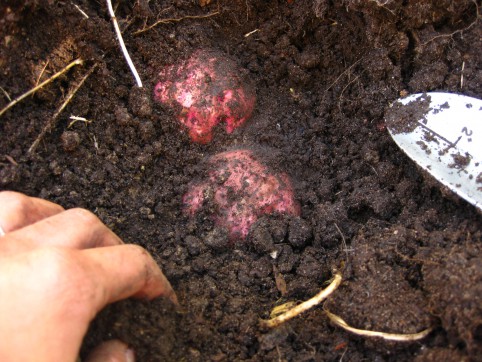
The last of the harvest, not including celery. I'm holding the biggest potato of the year -- 1.2lbs!

It was harvest time this week! Monday was the day; snow was predicted for Wednesday, and Monday was an incredible 80°! How very perfectly the weather worked out this year; usually I’m out there harvesting in the freezing drizzle, my half-frozen fingers moving in slow motion. Not this year! I was prancing around the garden in bare feet and shorts ‘n’ T-shirt, clippers and shovel in hand, the air warm and golden with leaves. It was a true pleasure to be out working in the garden that day.

Here are some pictures from the day:

All in all, it was a below-average garden year. I’ve definitely had much more plentiful harvests in past years, and we missed our usual avalanche of tomatoes, but I felt OK with less because it matched my energy level. I was actually glad to not be overwhelmed with produce; it would have been too much for me this year.

And then on Wednesday, as predicted, we woke up to several inches of snow! How funny, I was cooking quinoa in my solar oven on Monday, and then making snow ice cream on Wednesday!

And tucked in amongst harvest day and our snowstorm, I had a spinal tap. Yuck! It wasn’t exactly awful, but it was a strange experience and I almost passed out a couple times during and after it!

For anyone who has to have one in the future, here’s what I would tell my patient if I were their nurse.

Getting a spinal tap: you could compare it to a blood draw. It’s kind of unpleasant, and it’ll probably be a bit uncomfortable…and it feels weird…but it’ll be over soon enough. It’s important to hold yourself in the right position. The doctor will put you in a fetal position…hold that pose, but remind yourself to relax and breathe.

The doctor will first feel your spine and mark where the needle should go in. Then your lower back will get cleaned three times with iodine. You’ll get two shots of lidocaine — one just under the surface of your skin, the other one further into your back. They don’t hurt much other than the sting of getting a shot. Then the doctor will insert the spinal needle; to me this is the worst part. Try not to picture what’s going on and take your mind to your favorite place if you can. You won’t feel pain, but it’ll be uncomfortable pressure and then a ‘pop’ sensation and a give. You might feel a dull ache down your back at this point. It takes several minutes for the spinal fluid to drip out of the needle into the collection tubes, but the worst part is over. Try to focus your mind on someplace nice, and breathe.

They’ll remove the needle but you probably won’t feel that at all. They’ll put a band-aid on, and probably draw a couple vials of blood from your arm, and have you slowly get up as you feel ready; take your time. It might help to have a water bottle or some juice or a little snack with you.

Have someone drive you home. Plan to take the rest of the day, and the next, to recover; avoid doing anything strenuous. Drink lots of fluids to replace your spinal fluid; they say caffeine helps prevent a possible post-lumbar-puncture headache, but if you don’t like caffeine (I don’t), don’t do it. Just hydrate and hang low.

I felt very fragile after the procedure, and had a substantial backache for the rest of the day. I never got the big headache some people do because of the lowered spinal fluid pressure. I drank lots of liquids and stayed in bed the rest of the day, and the next day too.

And today, Thursday, I’m totally recovered and the spinal tap is a distant memory. Now I want to dig out our DVD of that hilarious mockumentary, This is Spinal Tap, about the fictional rock band!!

*****

Movie Time! Garden Tour + Afternoon Thunderstorm

I was relaxing over at my parents’ house yesterday after a meeting, and decided to take you on a little garden tour! In addition to the utterly scintillating subject matter, the tour features two bonus soundtracks — Ambulance Siren and Thunder:


And here’s the rainstorm that had just happened right before the tour!

*****

« Older posts Newer posts »

© 2024 The Herbangardener

Theme by Anders NorenUp ↑