Kitchen / Garden / Sanctuary - Urban Homesteading to Nourish Body + Spirit

Category: Recipes + Nutrition Info (Page 6 of 21)

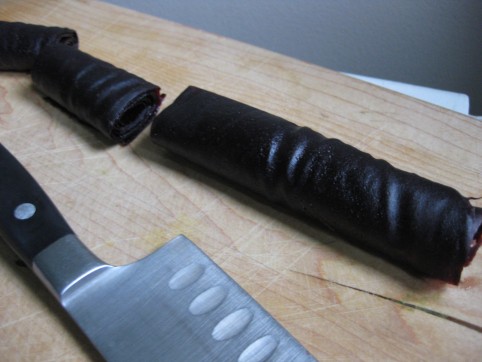
Homemade Concord Grape Fruit Leather

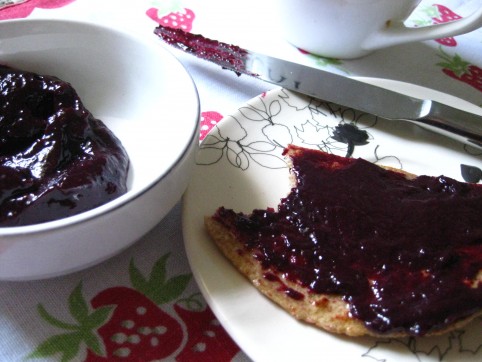
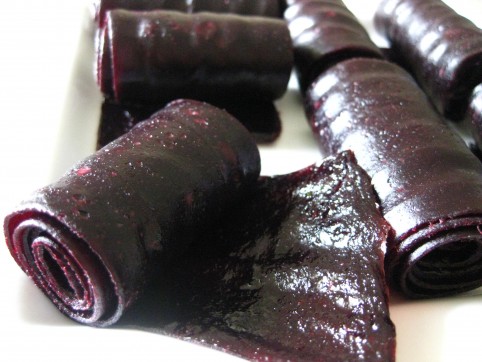
I wish I could give you all a piece of this fruit leather to eat right this minute! It has the best, truest grape flavor I think I’ve ever tasted. This leather is sugar free and made with nothing but ripe concord (or “wild”) grapes. And although the process is really easy — and you need nothing except the grapes themselves — it takes time. This is special stuff; the taste is so worth it, and when you take a bite and think about the process from start to finish, you’ll appreciate this fruit leather even more.

I find that it feels really good to deeply savor each morsel of food like this; so different from mindlessly feeding our faces, isn’t it. I bet if we were the ones responsible for the extensive work required to prepare everything we ate, we’d slow right down and savor every single bite!

*****

Concord Grape Fruit Leather

Concord grapes (that’s the only ingredient!)

***

1. Begin by making my Grape Freezer Jam with your concord grapes. But go ahead and leave it unfrozen…or, thaw it out if it’s already frozen.

2. Preheat oven to 200°F. (You could also use a dehydrator.)

3. Tear off a piece of parchment paper the size of your cookie sheet. You could also generously oil your cookie sheet, but parchment is a lot easier to peel the leather off of.

4. Using a spatula, spread your Freezer Jam onto the cookie sheet, taking the extra time to spread as thinly and evenly as possible; it takes a few minutes to get it just right. Spreading it as evenly as possible is important because otherwise some parts will be overdone and other parts will be underdone.

5. Put into the oven and let it dehydrate until the fruit leather is pliable…not wet, but not hard & brittle either. Mine usually takes about 2 1/2 hours.

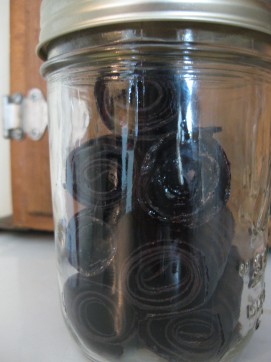
6. Remove from the oven, cool for a while, peel your fruit leather off the parchment, roll it up, and cut into strips! Store either at room temperature or in the fridge. I like to keep mine in a mason jar in the pantry.

*****

When I’m on the go and need a good snack, I’ll often pack a roll or two of this fruit leather, along with a bag of homemade kale chips. It’s perfect!

*****

Indian Summer Watermelon Slushie

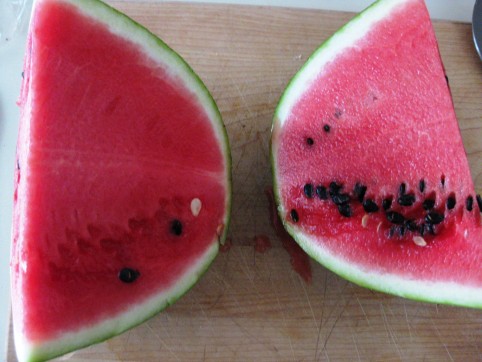
There are still watermelons at the farmer’s market, and the weather is still hot enough to crave them!

My Hubby’s sweet sister created this awesome recipe and sent it to me a couple weeks ago. We love it and have been making batch after batch of it! You don’t even have to be a watermelon lover to enjoy this. I’m not; they’re usually too sweet for my liking. But this…this is just right. It’s so refreshing.

I should add, too, that this is a really good drink for someone who’s sick; it’s very light and hydrating, which is important when you don’t feel well enough to drink or eat much of anything. It’s like a popsicle only better for you! Right now, this slushie is sometimes the only thing that my incredibly delicate tummy will tolerate. I’ve been so grateful for it!

*****

Watermelon Slushie

3 cups of watermelon chunks, seeds removed

2 large (or 4 small) strawberries, fresh or frozen

7 raspberries, fresh or frozen

6 ice cubes

1 cup water (or less for a slushier consistency)

squeeze of fresh lime juice (optional)

***

Remove the seeds from your watermelon. (Don’t worry, this is a quick task if you cut the melon into smaller chunks first. I like to save the seeds & dry them on a plate to snack on later). One time, I didn’t remove the seeds before making the slushie. It makes for a richer, thicker (and even more nutritious) slushie, though the seeds definitely reduced the sweetness. I do like the slushie better without seeds. 🙂

Blend everything till smooth. If you’d like a slushier consistency, reduce the water, or add more ice. Also, it’s easy for the strawberry flavor to overpower, so if that happens, just add more watermelon.

*****

*****

*****

*****


Incredible Homemade Wild Grape Freezer Jam — Sugar-free & Pectin-free!

Finally, here’s my recipe for the best wild (or “Concord”) grape jam ever! The flavor really is incredible.

I’m not a big jam-maker normally. And maybe that’s because nobody ever told me that jam doesn’t have to be complicated, the way most publications make it seem. This is the easiest jam you’ll probably ever make…because I discovered by accident that you don’t need either sugar or pectin to make it!

And because it’s “freezer jam” (meaning you store it in the freezer), you won’t be sterilizing jars or canning anything. You’ll just be cooking the grapes way down, allowing the natural sugar and pectin that’s already in the fruit to do the job for you. (To give you an idea of how much jam you’ll get, 9 lbs of grapes yields about 1 quart of jam.) Then, you eat it! And if you’re going to keep it around for a while, just pop it into the freezer to extend its life.

This jam is also what I use to make my delicious Concord Grape Fruit Leather. Try it sometime!
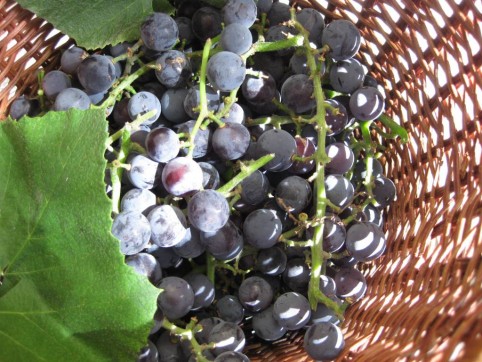
*****

Wild Grape Freezer Jam

Wild, or “Concord,” grapes — nice and ripe. (That’s the only ingredient!)

***

1. De-stem & wash your grapes.

2. Put them into a large pot, and turn to medium-low heat. No need to add any water to the pot — they’ll provide plenty as they heat up and burst. Stir frequently to prevent burning at the bottom, and to get all the grapes heated up.

3. Cook, uncovered, stirring frequently, until most grapes have burst. The unripe ones won’t burst.

Cook the grapes until they burst…

4. Turn heat down to low, and simmer, uncovered, until the grapes have cooked down a bit. Turn off the heat and let the grape slurry cool off a bit until it’s handle-able.

5. Strain your slurry through a mesh sieve with holes just small enough to prevent the seeds from going through. A food mill can also be used here; I bought a $30 Italian-made one from Crate & Barrel several years ago to use for this purpose. When it broke, I was actually sort of glad. I went right back to using the circular sieve pictured below, and this continues to be my tool of choice — it seems quicker and more direct, and the irritation of seeds jamming up the mill is not there. I prefer it.

This is the most labor-intensive part of the whole process because you’ll really want to stir a lot and press the pulp firmly against the sides of the sieve to separate all the liquid from the seeds and skins that will be left behind. Really scrape the pulp against the sieve so that you get some of the pulp pushed through the holes into the juice. This seems to help the jam thicken up. This is also a time when you could use a blender. Before pouring the grape slurry into your sieve, pulse it several times in your blender, then pour it into the sieve. You don’t want to blend up the seeds, but the blender does help break up the grapes and pulp, making it easier to strain.

After most of the juice is strained out of each batch of pulp in the sieve, I like to put the spoon down and get my hand in there to squeeze the rest of the juice out of the pulp-and-seeds.

Once this process is complete, you’ll have plenty of soupy liquid and the pile of seeds & skins will be surprisingly small.
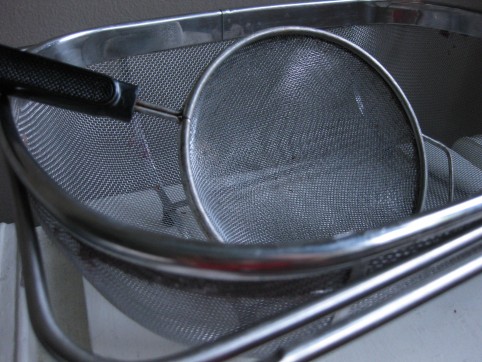
Strain your grape slurry through a metal sieve. The large one is nice for big batches, but the small one is my favorite, and what I use even for large batches.
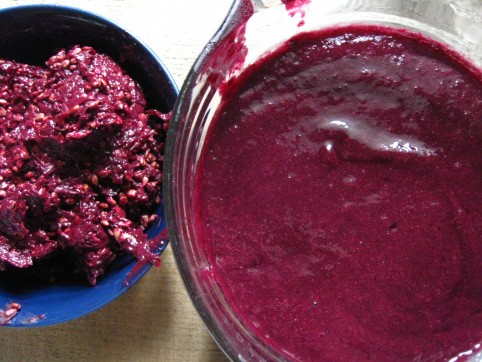
Strained liquid on the right, ready to cook down into jam. The skins & seeds are on the left, ready to be tossed.

6. Now that you’ve got just the liquid, you’re ready to cook it down into jam. Pour it back into the pot and turn the burner back onto low heat. Simmer on low, uncovered, until it’s thick like…jam! This will probably take several hours especially for a big batch. Stir it fairly frequently, especially toward the end when it sticks to the bottom of the pot more readily. And turn the heat down lower when it starts to thicken; you really don’t want to burn this stuff, because of how much effort you’ve put into it. Keep it at low heat. You’ll know it’s done when you can drag your spoon through the middle of it and the track doesn’t fill back in. (EDIT 9/26/16: I have been taking it off heat even before I can see the bottom of the pan while dragging my spoon through it. It has set up well once cooled & refrigerated. So when it’s been cooking down for hours, and looking bubbly and sorta thick, and the volume has been reduced to maybe about 1/3 of the original volume of strained, soupy liquid, try cooling it and it may set up fine for you. I’m going to do more experimentation with this.)
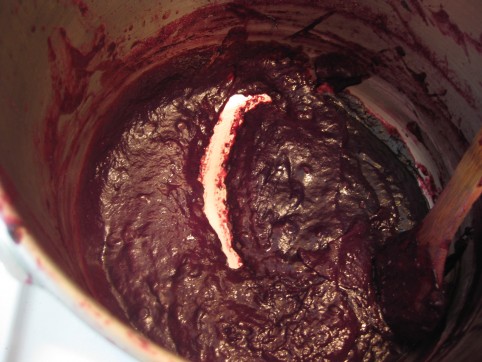
You know it’s done when your spoon track doesn’t fill back in.

7. That’s it! Cool & store in the fridge (it’ll last a couple weeks before starting to go moldy), or in the freezer for long-term storage. You can also can this using the water bath canning method. I have been canning this grape jam for the past several years and it is my preferred storage method. It does, however, tend to crystallize for me (must be the sugars) when it’s canned. I don’t mind, but if you don’t want that, you may just want to keep it in the freezer.

*****
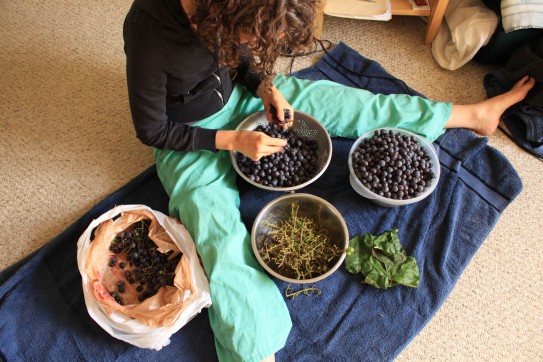
(Get your family to help you de-stem those grapes!)

 *****
Homemade Hummus

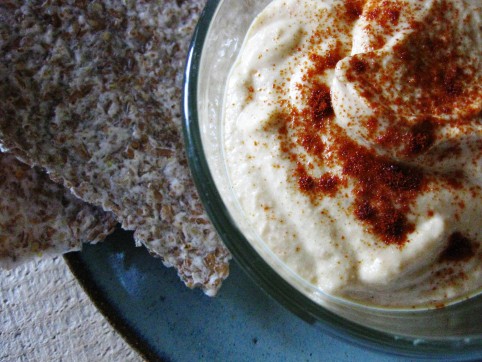
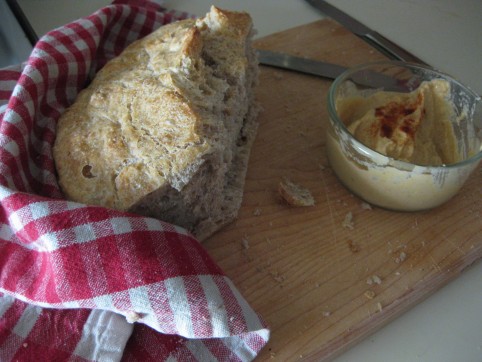
If you find the taste of grocery store hummus to be a disappointment as we do, then why not make your own! It’s very easy, and the flavor is so much better. Dip veggies into it… or bread, pitas, sprouted grain tortillas (shown above), etc.

This is a recipe my family has been making for years; it’s very basic, so feel free to add in whatever flavors you’d like…roasted red peppers, spice blends, etc. Though I just like it plain!

Note: I find that raw garlic doesn’t really agree with me; if you’re the same way, feel free to cook this hummus in a saucepan or skillet on medium-low heat after you blend it all up. I think it’s delicious when cooked, and it takes care of that raw garlic taste.

Homemade Hummus

1 15-oz can garbanzo beans, rinsed & drained OR 1 1/2 cups cooked garbanzo beans

3 oz. water (or cooking liquid from the beans)

1/4 cup tahini (sesame paste), raw or roasted — doesn’t matter (…or 1/4 cup of sesame seeds that you’ve ground in a coffee grinder till they resemble a powdery paste)

1-2 medium-small garlic cloves, peeled. (I start with 1, since it’s easier to add more garlic than to take it away!)

3 Tbsp freshly squeezed lemon juice

1 Tbsp olive oil

1/2 – 1 tsp ground cumin (or more if you like — add to taste!)

1/4 tsp salt

few dashes pepper

paprika for garnish (optional… but Penzeys Smoked Paprika is a great touch…I am obsessed with this smoked paprika! It’s one of those ‘secret weapon’ ingredients.)

*****

Toss everything into the blender and blend until completely smooth. Eat!

*****

Gazpacho & Garden Shopping List

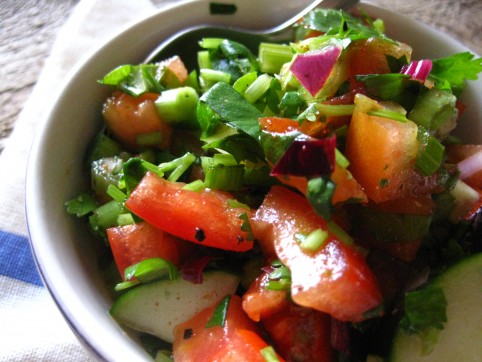
I love this time of the year because meals can be made almost entirely out of the garden! Today I made one of my faaaaaavorite dishes, Gazpacho. How can a combination of vegetables taste so good?!

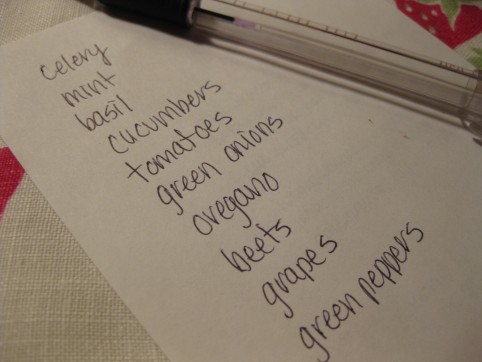
And since the gazpacho used up almost all the produce I picked last week at my garden, I was really tickled to be writing up a “shopping list” for the things I need to get when I go back in the next couple days. Going shopping in one’s own garden is way too much fun!

« Older posts Newer posts »

© 2024 The Herbangardener

Theme by Anders NorenUp ↑