Kitchen / Garden / Sanctuary - Urban Homesteading to Nourish Body + Spirit

Tag: autumn (Page 5 of 5)

Gratitude Sunday * October 30, 2011

Sunday’s a good day to remember what we’ve been grateful for over the past week, don’t you think? I’m joining Taryn over at Wooly Moss Roots in her Gratitude Sunday tradition, and here’s my list:

-Incredible sunny, 80° weather on Monday for harvesting my garden. I loved that day so much.

– Cozy snowfall this week; I love the snow.

– The heating pad.

– Eating a lot of soups this week. They were just the right thing.

– Normal spinal tap! I’m glad. Actually all these normal results are both reassuring (I am very healthy in all other ways! It’s so nice to be reassured of that…), but also frustrating because there are no helpful clues to what is making me so ill. But at least that rules out something icky in my spinal fluid.

– Feeling satisfied that I had my fill of Summer, and am fully ready for Autumn. The colder, shorter days…cozy foods…soups…pumpkin bread…tea…hunkering down and doing quiet indoor things that had been shoved aside all summer. I’m always ready for the next season once it gets here; I feel fortunate for that. I do love all the seasons.

– Making snow ice cream.

– Family.

– Wait, lemme do that one again; FAMILY!!! 

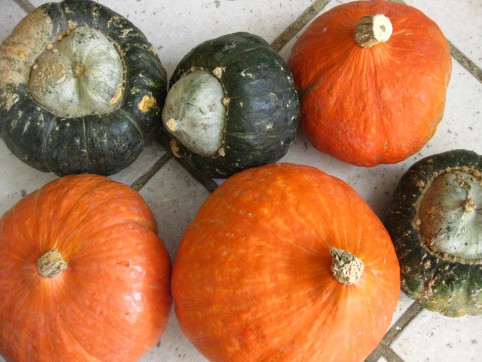
– Going to the last farmer’s market of the year and getting a good deal on winter squash, since mine didn’t turn out this year. Six organic squashes for $10. It works out to 50 cents a pound, which is good considering the grocery store charges several times that much.
– Smelling chiles roasting at the market. One of my favorite smells of all.

– My laptop, newly configured by my sweet and capable Hubby, so that I can be in Linux (my preference) but also running Windows at the same time via a ‘virtual machine.’ It’s a magical thing, to be running two operating systems at the same time, and to be able to cut and paste between them! So I can be doing my moneymaking work in Word/Excel, while simultaneously doing my other stuff in Linux. I love that! He also bought me a “belated Halloween present” of 4GB of RAM (belated because it will arrive in the mail next week)! That’ll really soup up my machine, YAY! Thank you!!!

– Tea. How it warms your hands and your insides, and how you can see it steaming from your mug when you’re outside in the chill of dusk, standing on your porch, smelling woodsmoke and leaves in the air.

*****

What blessings have you appreciated throughout your week? Leave a comment and let us know!

*****
This Week: Harvest Time!

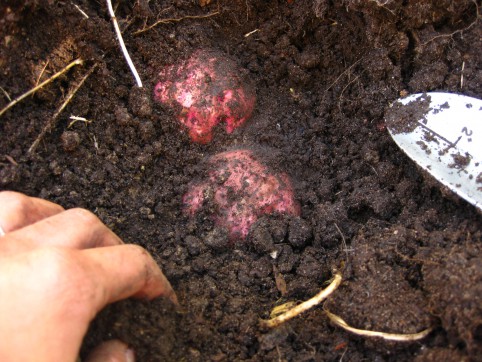
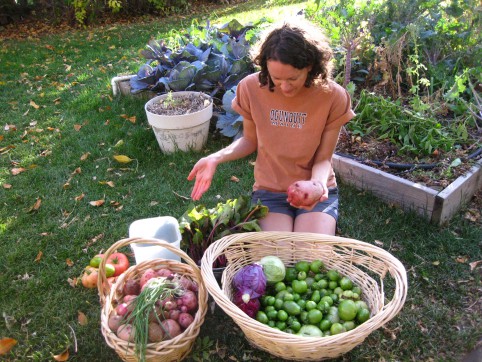
The last of the harvest, not including celery. I'm holding the biggest potato of the year -- 1.2lbs!

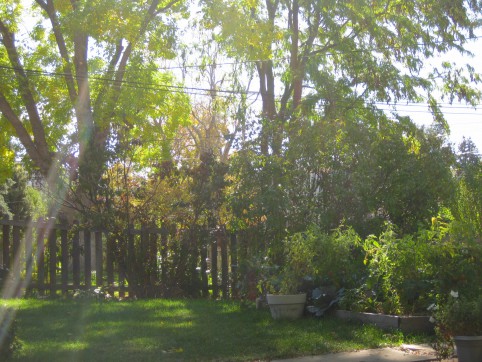
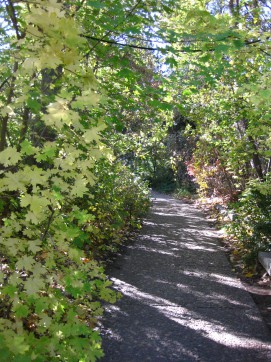
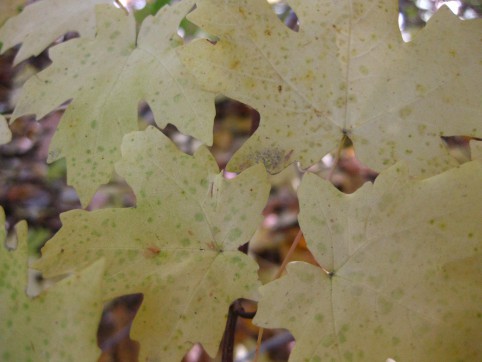
It was harvest time this week! Monday was the day; snow was predicted for Wednesday, and Monday was an incredible 80°! How very perfectly the weather worked out this year; usually I’m out there harvesting in the freezing drizzle, my half-frozen fingers moving in slow motion. Not this year! I was prancing around the garden in bare feet and shorts ‘n’ T-shirt, clippers and shovel in hand, the air warm and golden with leaves. It was a true pleasure to be out working in the garden that day.

Here are some pictures from the day:

All in all, it was a below-average garden year. I’ve definitely had much more plentiful harvests in past years, and we missed our usual avalanche of tomatoes, but I felt OK with less because it matched my energy level. I was actually glad to not be overwhelmed with produce; it would have been too much for me this year.

And then on Wednesday, as predicted, we woke up to several inches of snow! How funny, I was cooking quinoa in my solar oven on Monday, and then making snow ice cream on Wednesday!

And tucked in amongst harvest day and our snowstorm, I had a spinal tap. Yuck! It wasn’t exactly awful, but it was a strange experience and I almost passed out a couple times during and after it!

For anyone who has to have one in the future, here’s what I would tell my patient if I were their nurse.

Getting a spinal tap: you could compare it to a blood draw. It’s kind of unpleasant, and it’ll probably be a bit uncomfortable…and it feels weird…but it’ll be over soon enough. It’s important to hold yourself in the right position. The doctor will put you in a fetal position…hold that pose, but remind yourself to relax and breathe.

The doctor will first feel your spine and mark where the needle should go in. Then your lower back will get cleaned three times with iodine. You’ll get two shots of lidocaine — one just under the surface of your skin, the other one further into your back. They don’t hurt much other than the sting of getting a shot. Then the doctor will insert the spinal needle; to me this is the worst part. Try not to picture what’s going on and take your mind to your favorite place if you can. You won’t feel pain, but it’ll be uncomfortable pressure and then a ‘pop’ sensation and a give. You might feel a dull ache down your back at this point. It takes several minutes for the spinal fluid to drip out of the needle into the collection tubes, but the worst part is over. Try to focus your mind on someplace nice, and breathe.

They’ll remove the needle but you probably won’t feel that at all. They’ll put a band-aid on, and probably draw a couple vials of blood from your arm, and have you slowly get up as you feel ready; take your time. It might help to have a water bottle or some juice or a little snack with you.

Have someone drive you home. Plan to take the rest of the day, and the next, to recover; avoid doing anything strenuous. Drink lots of fluids to replace your spinal fluid; they say caffeine helps prevent a possible post-lumbar-puncture headache, but if you don’t like caffeine (I don’t), don’t do it. Just hydrate and hang low.

I felt very fragile after the procedure, and had a substantial backache for the rest of the day. I never got the big headache some people do because of the lowered spinal fluid pressure. I drank lots of liquids and stayed in bed the rest of the day, and the next day too.

And today, Thursday, I’m totally recovered and the spinal tap is a distant memory. Now I want to dig out our DVD of that hilarious mockumentary, This is Spinal Tap, about the fictional rock band!!

*****
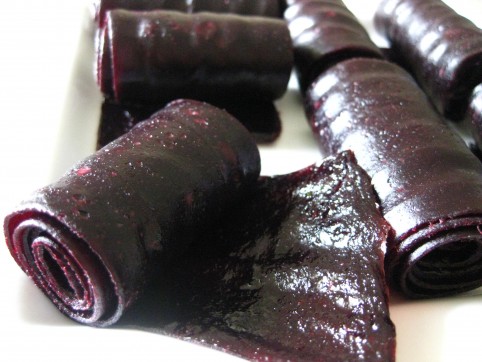
Homemade Concord Grape Fruit Leather

I wish I could give you all a piece of this fruit leather to eat right this minute! It has the best, truest grape flavor I think I’ve ever tasted. This leather is sugar free and made with nothing but ripe concord (or “wild”) grapes. And although the process is really easy — and you need nothing except the grapes themselves — it takes time. This is special stuff; the taste is so worth it, and when you take a bite and think about the process from start to finish, you’ll appreciate this fruit leather even more.

I find that it feels really good to deeply savor each morsel of food like this; so different from mindlessly feeding our faces, isn’t it. I bet if we were the ones responsible for the extensive work required to prepare everything we ate, we’d slow right down and savor every single bite!

*****

Concord Grape Fruit Leather

Concord grapes (that’s the only ingredient!)

***

1. Begin by making my Grape Freezer Jam with your concord grapes. But go ahead and leave it unfrozen…or, thaw it out if it’s already frozen.

2. Preheat oven to 200°F. (You could also use a dehydrator.)

3. Tear off a piece of parchment paper the size of your cookie sheet. You could also generously oil your cookie sheet, but parchment is a lot easier to peel the leather off of.

4. Using a spatula, spread your Freezer Jam onto the cookie sheet, taking the extra time to spread as thinly and evenly as possible; it takes a few minutes to get it just right. Spreading it as evenly as possible is important because otherwise some parts will be overdone and other parts will be underdone.

5. Put into the oven and let it dehydrate until the fruit leather is pliable…not wet, but not hard & brittle either. Mine usually takes about 2 1/2 hours.

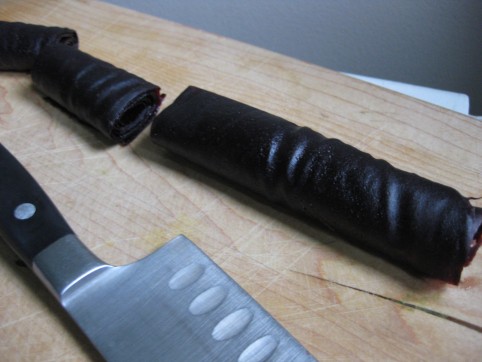
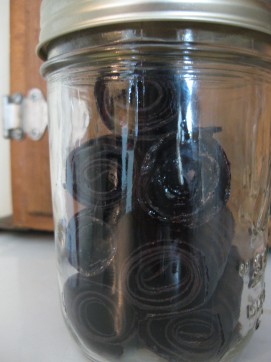
6. Remove from the oven, cool for a while, peel your fruit leather off the parchment, roll it up, and cut into strips! Store either at room temperature or in the fridge. I like to keep mine in a mason jar in the pantry.

*****

When I’m on the go and need a good snack, I’ll often pack a roll or two of this fruit leather, along with a bag of homemade kale chips. It’s perfect!

*****

After Halloween: Cooking Your Pumpkin and Roasting Its Seeds

I hope you had a happy Halloween! Mine was uneventful, but I did go on a wonderful bike ride through the neighborhoods on Halloween night to see the decorated houses, carved pumpkins, and kids trick-or-treating. I think I had a smile on my face the entire time. To boot, it was an unusually mild night with a few diehard crickets still going (usually it’s snowing here on Halloween!), and people were sitting out on their front porches, candy bowls beside them.

Anyway, last year I cooked our Halloween pumpkin and I wanted to share the process if you’re interested in doing the same thing. One thing to note about the generic jack-o-lantern pumpkins is that they’re very lacking in flavor. Bland! And watery! But after draining out the excess water (which we’ll address below), the blandness can be a good thing because you can then sneak the pumpkin puree into your cooking (or baking) without affecting the dish’s flavor very much.

Here’s what to do:

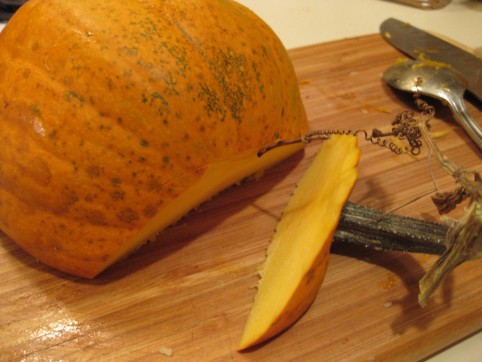
With a sharp knife, cut your pumpkin in half, then cut off the stem.

Cut off the stem

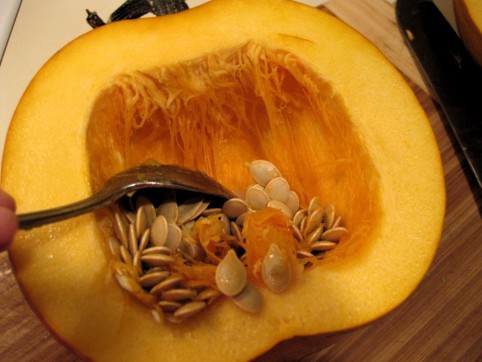
Scoop out the seeds and SAVE THEM! We’ll be roasting them while the pumpkin cooks.

Scoop out the seeds and save them for roasting.

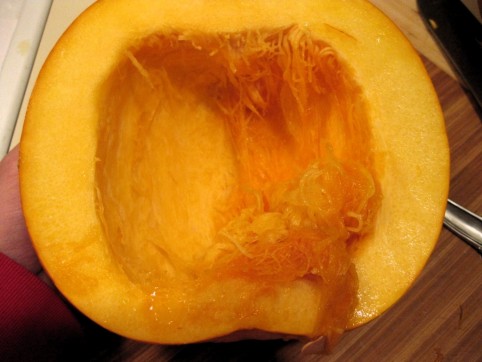
With a spoon and some elbow grease, scrape out the long stringy fibers. You have to really get in there with your spoon; attack that pumpkin!

Scoop out the stringy fibers

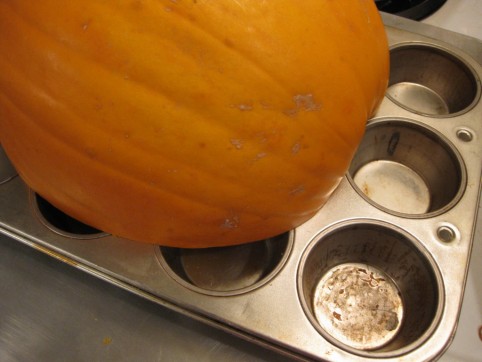
Set pumpkin cut-side down into a large baking pan with sides to contain the juice. If you don’t have a pan with sides large enough, then just bake them on cookie sheets, cut-side up. Or be creative and set them on something else, like a muffin tray to catch the juice!

Bake at 350* (or 375* — the temperature isn’t too important). You’ll bake it until the flesh is very soft, which usually takes about an hour, maybe more.

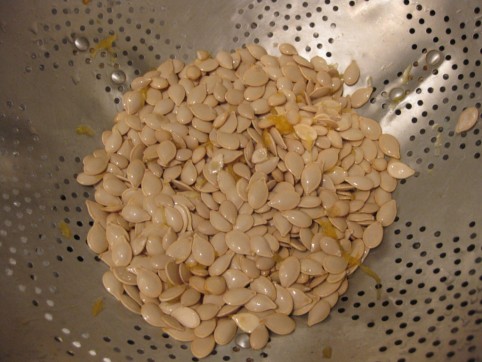
After you put your pumpkin in the oven, put the seeds into a colander. Rinse them and remove as much of the stringy orange stuff as you can.

Wash seeds & remove orange fibers

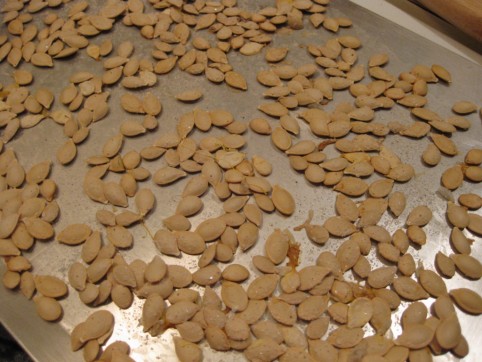
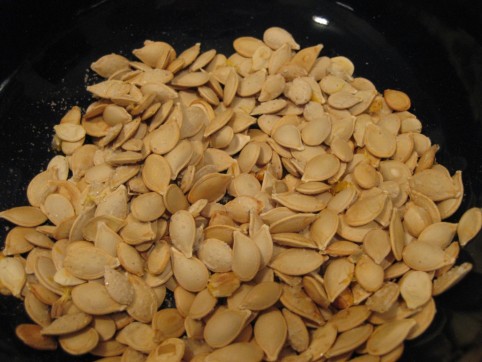
Spread them onto an un-greased cookie sheet and sprinkle them fairly liberally with salt. Bake them until they’re a very light golden color; you don’t want to over-bake them, but you do want them dry to the touch, and crunchy. This seems to take about 15 minutes for me, but the times may be different for you.

Spread on a cookie sheet and sprinkle with salt; cook till dry and crunchy

Eat!

Now, back to the pumpkin.

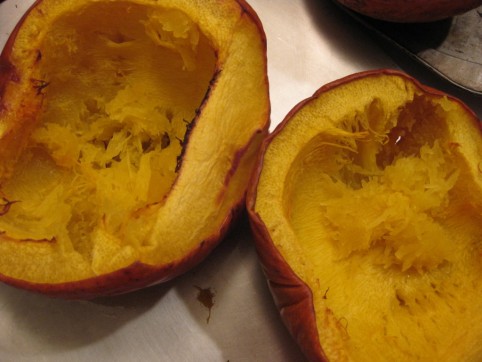
When the flesh is very soft, remove from the oven and let the pumpkin cool until it’s handle-able.

Bake till very soft

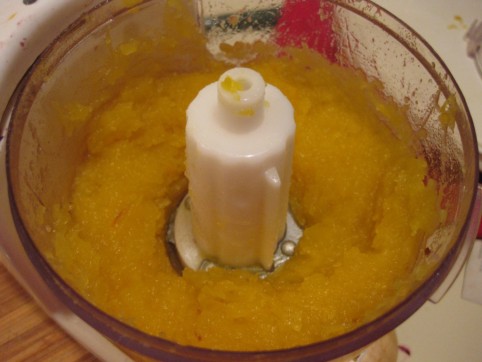
Scrape out the flesh, and discard (or compost) the skin-shell. Run the pumpkin flesh through a food processor or blender to improve the texture and break up stringiness. If it’s too dry to run through the blender, add a little water and blend; you can drain the water out (or cook it off) later.

Blend till smooth, adding a little water if needed

Since these pumpkins generally have quite a bit of water in their flesh, you’ll want to drain the puree after blending it. I like to dump the pumpkin puree into a colander and let that sit over a bowl overnight. You’ll be amazed at how much water drains out! Alternatively, you can just cook the water off instead of letting it drain away; just simmer the pumpkin puree, uncovered, in a pot over low heat until you’re satisfied with its consistency.

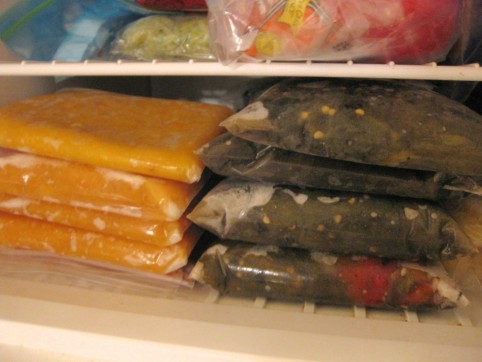
That’s it! Measure your puree into ½- or 1-cup portions and freeze into ziploc bags; I like to stack my bags neatly on a plate and freeze them so that they freeze into stackable shapes, like this:

Measure, stack, and freeze!

Newer posts »

© 2025 The Herbangardener

Theme by Anders NorenUp ↑