Kitchen / Garden / Sanctuary - Urban Homesteading to Nourish Body + Spirit

Tag: DIY (Page 2 of 14)

Need a Christmas gift? My Mandala Coloring Book is out!

I just released my new hand-illustrated coloring book, Mandala Dreaming.

Take a look; the mandalas are so much fun to color!

And, it makes a great Christmas gift!

(Order by 10:30am MST, on Saturday Dec 20th to receive by the 24th with standard shipping. But they’ll remain for sale beyond that, of course, if you don’t happen to need one for Christmas…)

IMG_0888 - Book Cover

Coloring is a low-tech, creative activity that has been enjoyed for generations. It’s not just for children, although of course it is wonderful for them too!

Coloring has grown up, as you’ll discover in this beautifully hand-illustrated coloring book.

The 20 intricate mandalas contained within are just waiting for you to allow yourself the luxury — nay, the necessity — of a bit of quiet time for yourself… to play creatively with color… to allow your deep-down spirit to come alive.

These high-quality coloring books are handmade, one by one, in my Colorado studio. The pages are thick 110-lb (199 g/m²), acid-free, 8.5″ x 11″ cardstock, perforated for easy removal, and the mandalas are printed on the front side only of each page. The book is spiral-bound so you can fold it back completely for ease of coloring.

Enjoyed most by Adults, Teens, or Older kids because the designs are a little more complex.

Use markers, crayons, colored pencils, watercolor pencils, and even actual watercolors! (For watercolors, tear out page and tape corners to a board.)

One of my favorite ways is to color with art markers first (Prismacolor brand is very nice, but there are others), and then add highlights and depth with colored pencils on top of the marker.

These really are fun to color!

***

$14.95

BUY NOW

***

Color and display!

Color and display!

MandalaBackCover

The back cover

Mandala (c) The Herbangardener

IMG_0890

IMG_0852

IMG_0921

IMG_0925

IMG_0917

IMG_0918

Mandala (c) The Herbangardener

IMG_0923

MandalaDreamingCover

*****
Make an Easter Egg Tree

What a dear holiday Easter is. I love the sweet, cheerful decorations, the colors of early spring, the smell of hyacinth.

Back in late January, I had clipped some aspen branches and brought them into the house. They’ve been such a nice touch of nature to have around, carrying on with their life cycle of blooming and leafing out, content in just a vase of water.

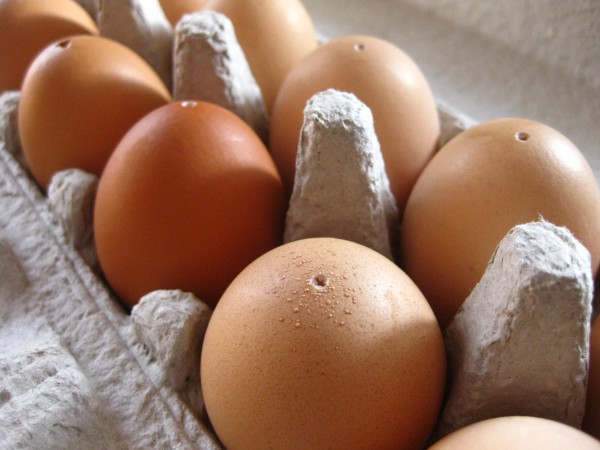
So naturally, our indoor aspen tree needed some Easter eggs. I do have some blown-out-and-dyed eggs from several years ago, and this year I blew out some brown eggs, which are beautiful just as they are.

***

To make your egg tree:

Clip a few branches and place them in a vase of water or sand.

Blow out some eggs by piercing both ends with a sharp implement like nail scissors or a needle or an old-fashioned ice pick; blow the innards into a bowl.

A nice way to hang each egg is to get a length of thin branch and cut it into short bits, 1/2″ or 1″ (2cm) long (or use part of a match stick or toothpick). The branch I used was from an elm tree.

Cut about 12″ (30cm) of thread, and tie a double knot on the branch bit. The knot doesn’t have to be completely centered on the branch. It helps to start a knot with the thread, and then slip the branch piece into it.

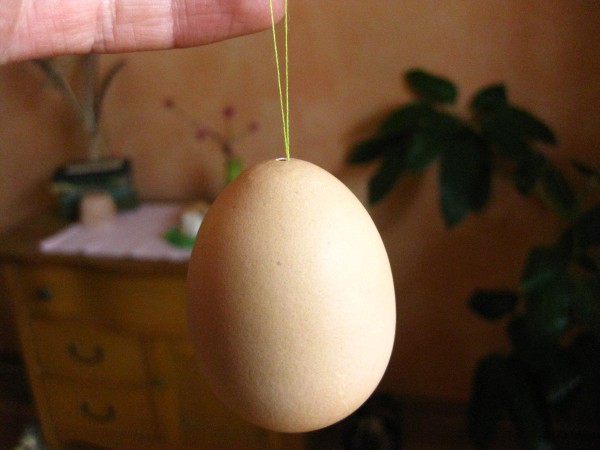
Slip your branch bit all the way into the top hole of the egg.

Hang it like this. Tie off the thread about 3″ (7cm) above the egg.

Then decorate your little egg tree! Don’t worry, your cat will help you.

*****

Starting Up the Garden!

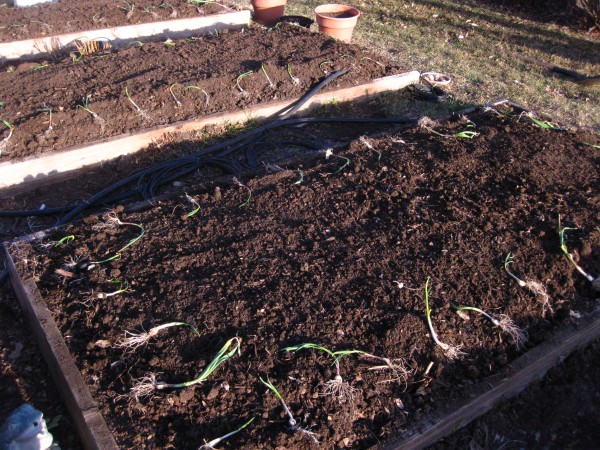
It’s time! Time to crank it all into action, which is what I’ve been busy with all this past week. Actually the garden this year is happening on a delayed schedule since it’s been cold and wet here, but it did all finally begin last weekend with my dad and me taking our sorta-yearly ritual trip out to the landscape place to get a pickup-load of compost. Then digging up the wintering garlic, turning the soil, making sure all displaced worms were lovingly tucked back under, spreading and digging in the compost, spreading and digging in the fertilizer, re-planting the garlic, and finally planting the seeds for spring crops.

What a lot of work. I think gardener-folk are the only ones who know how much work it truly is! But it’s good work, and at the close of the day you feel satisfied because of all you’ve done out there, and because the garden looks tended, and because your body is that good kind of tired where you know you’ll collapse into bed and wake up the next morning in the exact same position.

And so begins a new gardening season, with a fresh, new, carefully considered garden plan full of dreams and anticipation and delusion…if we’re going to be calling it what it is…that It’ll be better this year! Which is why this year’s plan includes bell peppers and melons despite poor performances and outright failures in the past, punctuated by one successful year each — just enough of a dangling carrot, you can imagine, to tempt any stubborn gardener into disregarding logic and experience and plopping those fat little seedlings into the soil yet again because This will be the year.

Starting tomato and pepper seeds on their heat mat:

The garden, “before”:

The bedsheets… as soon as we dumped the compost on the garden, we had a couple days of very high winds, creating a mini dustbowl. So yes, the bedsheets.

Baby tomatoes:

The garden plan, and planting:

Laying out the garlic:

A beautiful sunrise:

Complete!

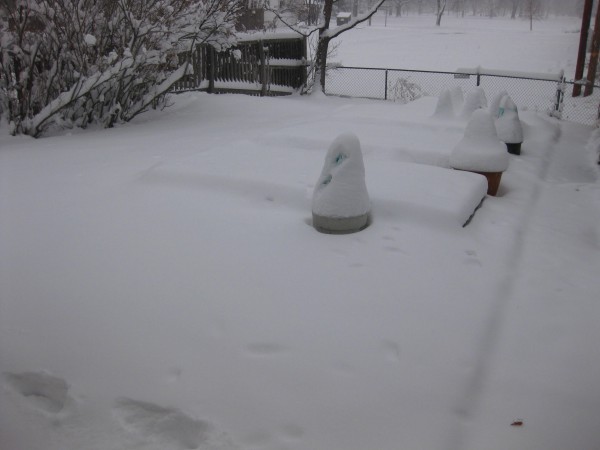
Good thing we got the walls-o-water set up just in time for them to freeze solid:

***

I hope you’ve all had a good week.

I’m curious — what has the early Spring weather been like in your area so far?

*****
Sand + Jar = Candle holder

***

The other day I found my baptism candle in some old stuff.

I tossed it in the trash — no need to keep that.

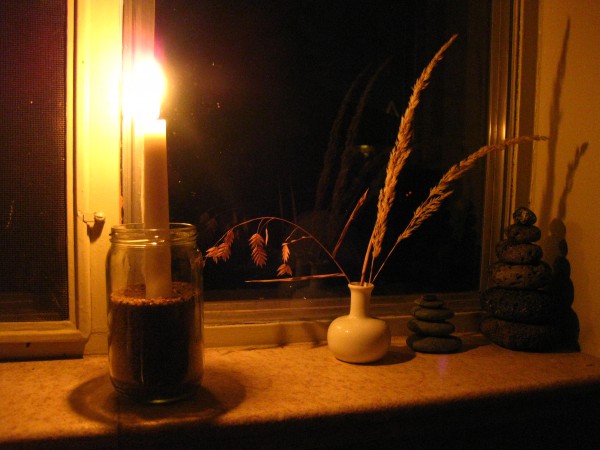
But then the next day I had a cool idea for a candle holder, so I poured some sand into a jar and fished my candle back out of the garbage.

I’ve never liked tapers because they’re so tippy and drippy, but this holder is the solution! The sand keeps them stable no matter how thin or wide they are, and it catches all the wax drippings.

Now I’m sure this idea has been thought up before by someone, somewhere — but I’ve never seen it done.

And so now that I’ve found a good way to hold tapers, I’m going to use them a lot more because they seem to give off more light than pillars or tea lights — maybe because there’s less wax in the way.

And I do like the simple aesthetic of the sand and the jar and the warm glow of a candle…

*****
Classic Pumpkin Pie

***

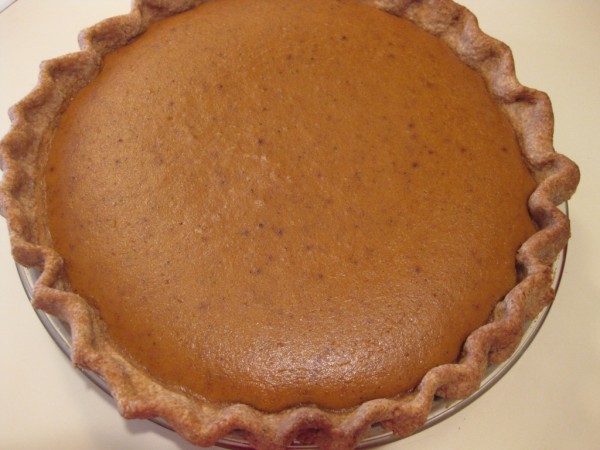
With an eye toward Thanksgiving this week, here’s my own recipe for classic pumpkin pie, along with my own crust recipe.

Neither recipe is the most decadent you’ll find out there because heavy, fatty things don’t agree with me. So if you’re wanting to make a pumpkin pie that’s on the lighter side, try this one. I make it every Thanksgiving. The crust is not really rich and flaky, and probably won’t wow any chefs out there, but it is humble and it does the job. I like it.

***

Lindsey’s Classic Pumpkin Pie

Rounded 2/3 cup of rapadura (or white or brown sugar)

1/2 tsp salt

1 tsp, heaping, of cinnamon

1/2 tsp, heaping, of powdered ginger

1 tsp allspice

1/4 tsp ground cloves

1/4 tsp nutmeg

2 eggs, beaten

3/4 cup whole milk

3/4 cup half-n-half (light cream)

1 15-oz can Libby’s pumpkin (or 2 cups cooked pumpkin or winter squash, pureed, and cooked down if too watery — the healthfood store brands of canned pumpkin are way too watery. I learned my lesson to use Libby’s!)

1 9-inch pie shell (recipe below)

***

Preheat oven to 425°.

Mix sugar, salt, and spices in a small bowl.

Beat the eggs in a large bowl, then stir in pumpkin, sugar-spice mix, and the milk and half-n-half. Mix until thoroughly combined, but don’t get overzealous (like, don’t do what I did once and overbeat with egg beaters — it beats too much air in, and makes a souffle-type thing!)

Pour into unbaked pie shell.

Bake at 425° for 15 minutes, and then reduce temperature to 350° and bake 40-50 more minutes until a knife inserted into the center of the pie comes out clean.

Cool on a wire rack for at least 2 hours.

♦♦♦♦♦

Lindsey’s Not-Too-Rich 9″ Pie Crust

2 cups flour (whole wheat, or white, or a combo)

1 Tbsp sugar

Scant 1/2 tsp salt

6 Tbsp cold butter, cut into pieces (salted or unsalted, either is fine)

Ice water (you’ll use about 3/4 cup)

***

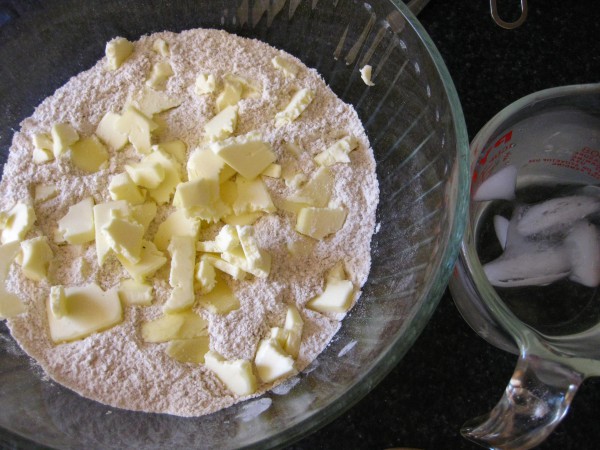
In a medium bowl, combine flour, sugar, and salt. Cut in cold butter.

I like to use my fingers to rub in the butter and blend until the mixture resembles coarse crumbs.

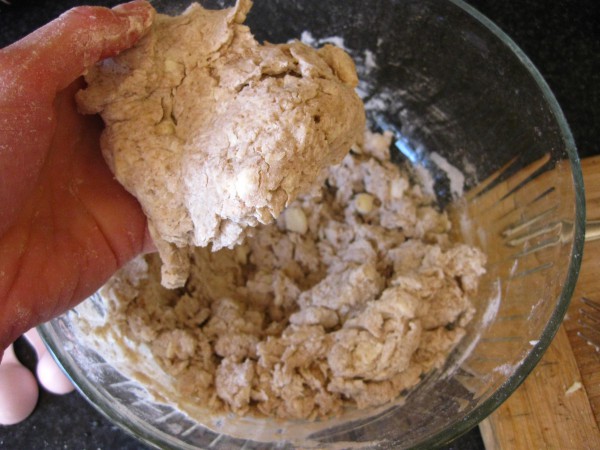
Mix the ice water in, 1 Tbsp at a time, stirring lightly with a fork after each addition, until a dough is formed. (3/4 cup is about 12 Tbsp.) Try not to overwork the dough. Small bits of butter will be visible — this is what you want.

When a good, workable dough is formed — not too dry, not too sticky — wrap in cellophane and refrigerate until ready to use.

When ready to roll out, lightly flour your work surface and rolling pin.

Roll into a circle. Transferring to your pie plate is made easier by folding the dough in half and draping it over your rolling pin.

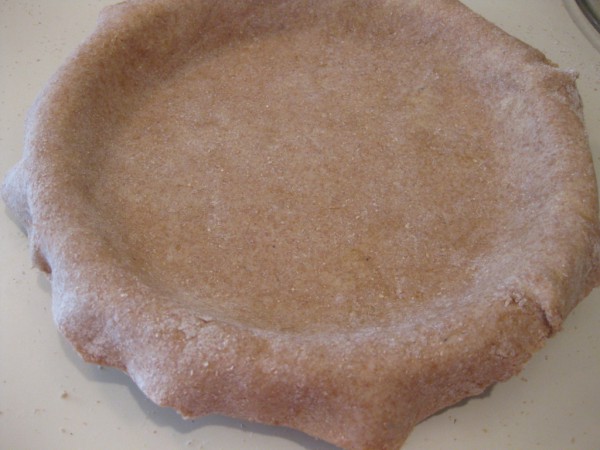
Trim off any excess dough, but leave enough extra around the edge to fold under and crimp with three fingers, as in the photo below.

If you do have a little extra dough, you could use a cookie cutter to cut out a little something-or-other (a maple leaf, for example) that you can bake and then place on top of your finished pie as decoration.

*****

« Older posts Newer posts »

© 2025 The Herbangardener

Theme by Anders NorenUp ↑