Kitchen / Garden / Sanctuary - Urban Homesteading to Nourish Body + Spirit

Tag: DIY (Page 3 of 14)

Homemade Arnold Palmer

***
Iced tea and lemonade — it’s a great combination!

I’ve been perfecting my AP recipe over the summer and I’ve got it just the way I like it. You may want to make slight adjustments according to your tastes of course.

(I find myself craving and making Arnold Palmers when I’ve got some extra nausea goin’ on and plain water doesn’t appeal. So keep it in mind for hydration during times of illness, too.)

***

Lindsey’s Homemade Arnold Palmer

1 tsp good quality black tea OR 1 teabag (for APs, my favorite happens to be Mountain Rose’s bulk Nepalese Black Tea)

3 Tbsp freshly squeezed lemon juice (~ 1 medium lemon)

2 Tbsp honey or maple syrup

1 cup cold water

1 cup ice, OR an additional 1/2 to 1 cup of cold water

***

Boil water for brewing the tea. (Decaffeinate the tea first, if you like.)

Then, in a mug or measuring cup, pour 1/2 cup of boiling water over the tea and allow it to steep for several minutes — only 1/2 cup because you’re making a concentrate.

While the tea is steeping, in a tall glass combine 1 cup of cold water, the lemon juice, and the honey or maple syrup. (If you’re using honey, you may need to dissolve it in a little bit of warm water first.)

Once your tea has steeped for at least several minutes, strain out the leaves and pour into your glass with the water/lemon/honey.

Add either 1 cup of ice OR 1/2 to 1 cup of additional cold water — depending on how cold you want it, how soon you want to drink it (waiting for the ice to melt, you know), and how strong you like it. I usually like mine not-as-cold, ready immediately, and on the more dilute side, so I add the full 1 cup of water in place of the ice.

***
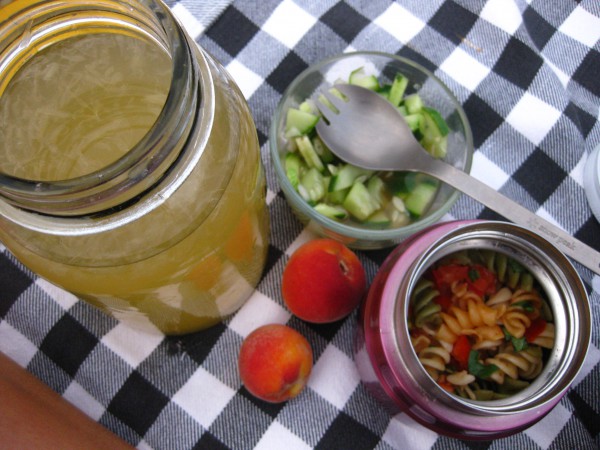
It's lovely to take on picnics

 *****
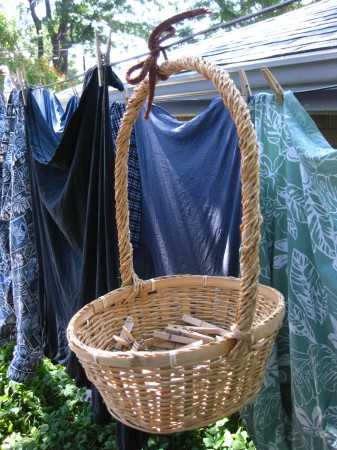
Our Clothespin Holder

Just wanted to share with you our clothespin holder that I’m really liking. We thought about buying or making a clothespin bag that would ride along the clothesline, but I didn’t want a metal hanger (metal dragging along metal is irritating), and I also didn’t want something deep that I’d have to repeatedly dig my hand into.

This shallow basket attached to the line with a simple length of yarn tied into a bow is just right. It rides quietly and smoothly along the line, and is easy to remove in the event of rain.

*****

Make a Fruit Fly Trap!

Is your kitchen full of fruit flies?

Try this handy little trap:

1. ) Roll a piece of paper into a cone shape, and secure with tape. The opening should only be large enough for a fruit fly to fit through.

2.) Place a piece of fruit into a tall jar.

3.) Set the paper cone into the jar. Tape the paper to the jar so the flies can’t escape around the edges.

4.) The flies will fly in, but can’t get back out. Release them outside, or dream up your own creative way of getting rid of them.

*****

Make a Bug Bath!

If you’re an organic vegetable gardener, or just a lazy cheapskate-type gardener (or both like me), then beneficial insects are at the top of your list. They’re easy, they’re free, they do the work for you. For example, I’ve never found a better way of controlling aphids than relaxing in the shade with a cup of tea and letting the wasps eat them off one by one.

All you need to do is lure the beneficials in by making your garden as irresistible as possible. One good way is to make sure you have a variety of flowers blooming amongst your vegetables. I’ve noticed they especially like herb flowers and wildflowers.

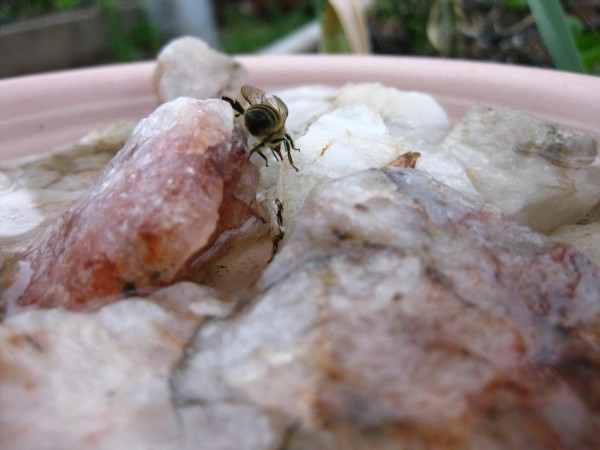
Another good way is to provide a reliable source of fresh water — just like a bird bath, only for bugs.

To make a bug bath:

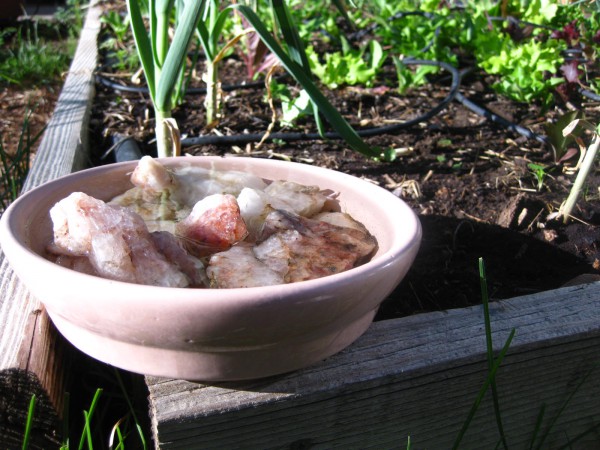
1. Find a dish and some rocks; the rocks will stick up above the water and provide islands for bugs to land on.

2. Locate the bug bath somewhere in your garden. Feel free to have multiple bug baths throughout your garden.

3. Keep the water fresh; I dump it and re-fill when I water the garden.

4. It may take a bit for the bugs to discover their new bath; have patience — they’ll find it!

***

*****

« Older posts Newer posts »

© 2025 The Herbangardener

Theme by Anders NorenUp ↑