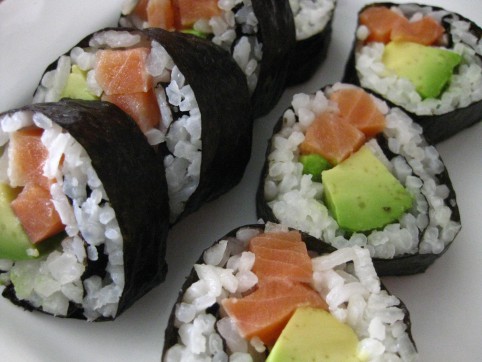
We love sushi at our house, though we don’t often go out for it. Actually though, I prefer to make my own — because then I know the source of the fish (which I think is important if you’re eating it raw). And of course it’s also much cheaper to make your own at home. It’s simple and fun, too!
Let’s begin!
To make one batch of sushi rolls, you’ll need the following. This can easily be multiplied. Today we’ll be making a Raw Salmon-Avocado Roll. But you can fill your sushi roll with anything! That’s part of the fun!
***
You’ll need:
1 sheet of toasted nori seaweed
1/4 cup raw sushi rice or short-grain rice + 1/3 cup water. (This will make enough rice to fill one sheet of nori. To fill about 4 sheets of nori, use 1 cup rice + 1 1/4 cups water.)
half an avocado
about 2 ounces of raw salmon from a company you trust (I always use Lars Larson Trophy Salmon — they’re a Colorado company selling wild, line-caught Alaskan salmon that they process and freeze right on their boat.)
soy sauce to serve with sushi (Nama Shoyu raw soy sauce is our hands-down favorite)
***
1. Cook your sushi rice. You do want to get the actual sushi rice/short-grain rice because you need that sticky texture for your sushi to turn out right. Combine the 1/4 cup rice with 1/3 cup water in a saucepan. Salt the water. Bring to a boil and cover the saucepan. Turn to a very low simmer and cook for 25 minutes. Don’t lift the lid at all during that time.
It’s best to cook the rice right before you plan to make the sushi. Fresh rice gives the best results.
2. While the rice is cooking, slice your avocado and salmon.
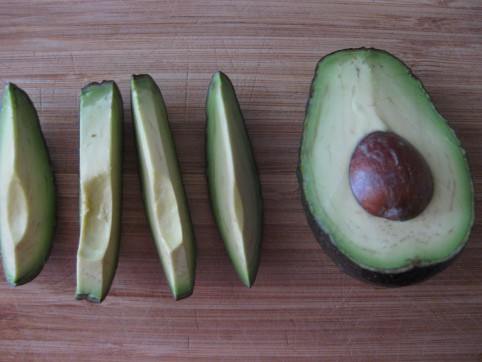
Halve the avocado, then cut into slices
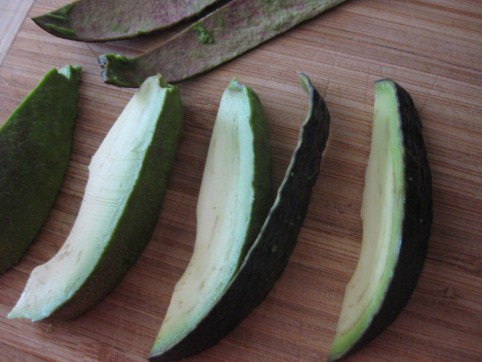
Peel the slices

I like to buy the pre-toasted Nori sheets
3. Let the rice cool a little and then spread it all out onto your sheet of nori, except for 1″ at the end.
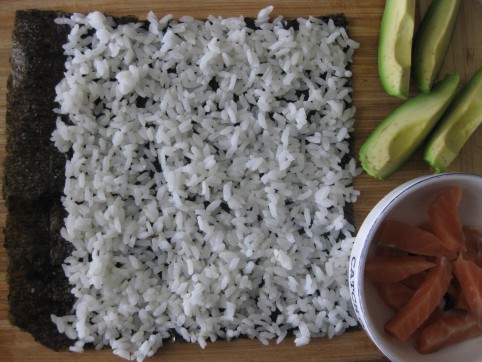
4. Arrange your salmon and avocado down the middle.

5. Wet your fingers with water, and moisten the entire 1″ strip of nori that you didn’t cover with rice. This will be your glue and will hold your roll together.
6. Beginning at the opposite end (not the moistened strip), roll your sushi up. It’s effortless; you don’t need any fancy bamboo sushi rollers or plastic wrap or any other tool. Just your hands! (I threw away my sushi roller many years ago; I found that it just got in the way.)
7. Your roll will end up seam side down, and while you slice it, the gentle pressure will help glue the seam shut.

8. Slice the roll. To get nice clean slices without squashing the roll, work with a nice sharp knife. Wetting it first also helps, as does cleaning it off under running water after every couple of slices.

9. Arrange on a plate and eat it up!

*****
