Kitchen / Garden / Sanctuary - Urban Homesteading to Nourish Body + Spirit

Tag: food preservation (Page 1 of 6)

Bubbie’s Bread & Butter Chips Pickle Recipe

Hello! It’s been a while since I posted something, and I hope all is well on your end.

My original Bubbie’s pickle knockoff recipe is a popular one, and here is another one you may enjoy. If you like the taste, but not the price tag, of Bubbie’s Bread & Butter pickles, try this out. I think I like mine even better.

I have been enjoying these for a couple years now, and most often these days I will blend these into a sauce thanks to my gastroparesis and global dysmotility. I just dump everything into the blender, juice and spices and all, and what comes out is a tangy, delicious pickle sauce! I always peel my cucumbers for this recipe though, because I think it tastes better to not have the peels.


Bubbie’s Bread & Butter Chips pickle recipe

3 lbs cucumbers
½ cup thinly sliced onion (about half of a medium onion)
3 TBSP canning/pickling salt, or regular table salt
2 cups white vinegar
½ cup water
1 cup granulated white sugar
1 TBSP whole yellow mustard seeds
1 tsp celery seeds
¼ tsp ground turmeric

1. Peel the cucumbers, and slice them ¼-inch thick. Crinkle cut is fun, but you can use a normal knife too.

2. Place the cucumber and onion slices in a large bowl and toss thoroughly with the salt. Transfer them into a colander, and place the colander over a smaller bowl so that they can drain freely and won’t sit in the salty cucumber liquid.

3. Let them sit at room temperature for 1 – 2 hours.

4. Discard the salty liquid that has collected in the smaller bowl, and rinse the cucumbers and onions under running water. Give them a good rinse, but don’t be totally thorough.
Divide the cucumbers and onions between two quart-sized canning jars.

5. In a medium saucepan, combine the vinegar, water, sugar, mustard seeds, celery seeds, and turmeric. Bring to a boil, and then pour this hot mixture into the cucumber jars, filling them nearly to the top. Stick a butter knife into each jar and jostle the cucumbers, freeing any air bubbles. If necessary, top up the jar with any remaining hot vinegar mixture.
Secure the lids onto the jars, but you won’t actually be canning them. Keep the jars on the counter to cool (I leave them overnight).

6. Once cool, transfer to the refrigerator. They will keep for at least 6 months.

How to Make Lavender Glycerite

***

In the evening time before bed, after I take all my nasty-tasting pills and potions, I squeeze a dropperfull or two of my homemade lavender glycerite onto my tongue and savor the delightful sweet floral lavender taste.

It’s a wonderful way to wash a bad taste out of your mouth and reward yourself for getting all that stuff down the hatch. It will often physically bring a smile to my face, it tastes so wonderful!

It’s very simple to make, and lavender season is upon us.

***

(This really is an easy project, but if you don’t have access to fresh lavender, may I suggest the absolutely heavenly Rose Petal Elixir made by Avena Botanicals with roses from their own biodynamic gardens. They also sell a Lavender Glycerite which I haven’t tried.)
***

***

Lavender Glycerite

Ingredients:

Fresh lavender flowers and flower buds

Pure food-grade vegetable glycerin (widely available online or at health food stores — vitacost.com is where I usually get stuff like this)

Supplies:

Glass jar with lid

Mesh sieve or funnel

Coffee filter

Clean dropper bottle (1, 2, or 4 oz size)


What to do:

1. Remove most of the stems from your lavender, and chop up the flowers and flower buds with a knife.

2. Place the chopped lavender into your glass jar. (In the pictures above, I’m using an 8-oz wide mouth Mason jar.)

3. Pour vegetable glycerin into the jar until it completely covers the lavender. Stir a few times to release any big air bubbles and top it up with glycerin if needed. Be sure all the lavender is submerged.

4. Screw the lid onto your jar, then label and date it with masking tape and a sharpie.

5. Place the jar into a dark cupboard where you will see it often…

6. Shake the jar once a day, or every couple days.

7. Let it sit in the cupboard at least 2 weeks (I leave mine 4-8 weeks).

8. When you’re ready to strain, place a coffee filter inside a mesh sieve (or funnel). Place the sieve over a bowl, a measuring cup, or another glass jar. Pour the lavender glycerite into the coffee filter and when it has all been filtered, wash your hands and gather the filter around the remaining lavender and gently squeeze to extract the rest of the glycerin. The finished lavender glycerite will look like honey — a light amber color.

9. Pour an ounce or two of your strained glycerite into a dropper bottle to keep in your bathroom. If needed, transfer the rest into another glass jar (or the same one that’s been rinsed and dried), cap it, label it, and date it.

10. Transfer the jar into the refrigerator to store it. It will keep at least a year, and probably significantly longer.

*****

Kitchen Tip: Freeze your extra eggs

(c) The Herbangardener, Freeze eggs

Did you know? You can most certainly freeze eggs! I’ve never read about this handy tip but I’m sure others have done it. For the past year I’ve been freezing my extra eggs and they turn out great. I use them mostly in baking, but also for scrambled eggs or an omelet.

And let’s not think about Easter yet, but this is a great thing to do with the contents of the eggs you blow out for your Easter Egg Tree.

Here’s how I freeze them:

1. Crack egg into a small plastic container. Snap the top on and shake it until the egg is scrambled.

(c) The Herbangardener, Freeze eggs

2. With the top still on, place in the freezer till frozen solid.

3. Remove from the freezer, and let the container stand on the counter till it’s melted just enough to pop the egg-disc out.

(c) The Herbangardener, Freeze extra eggs

4. Place into a freezer bag. Thaw at room temperature whenever you need an egg!

(c) The Herbangardener, Freeze extra eggs

***

(c) The Herbangardener, Cat sniffs eggs

*****

Harvesting Our Apples

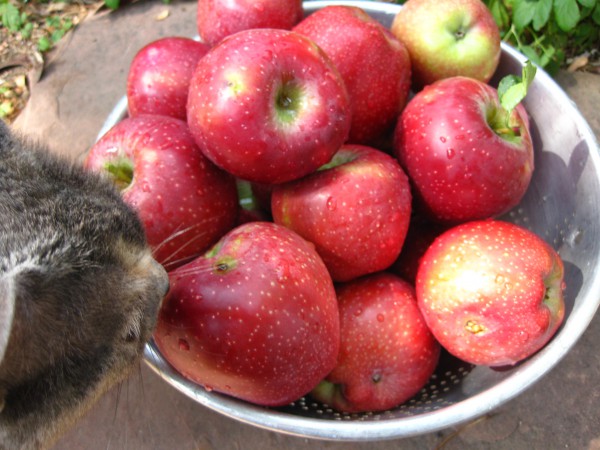
Well it’s been an awesome year for fruit here, since our usual blossom-killing frost mercifully did not occur this spring. And so “Make more applesauce” has been somewhat of a standing order on my to-do lists of late. What a blessing, to have so much free organic fruit! My mom’s recent comment in an email made me giggle, asking me what I’ll do with all my time once the apples are through!

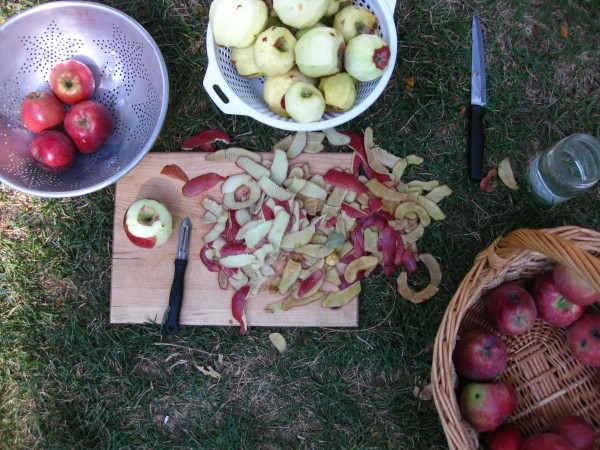
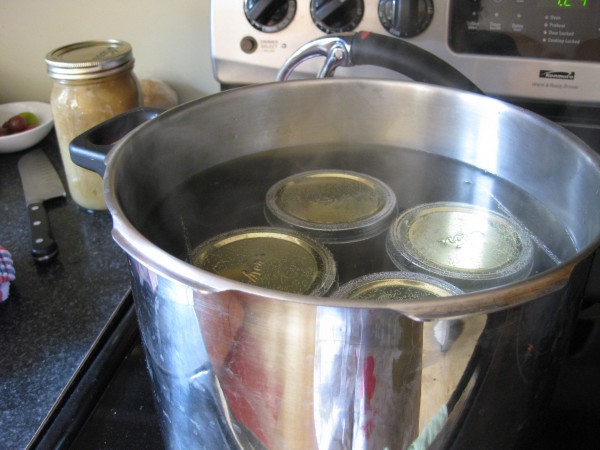
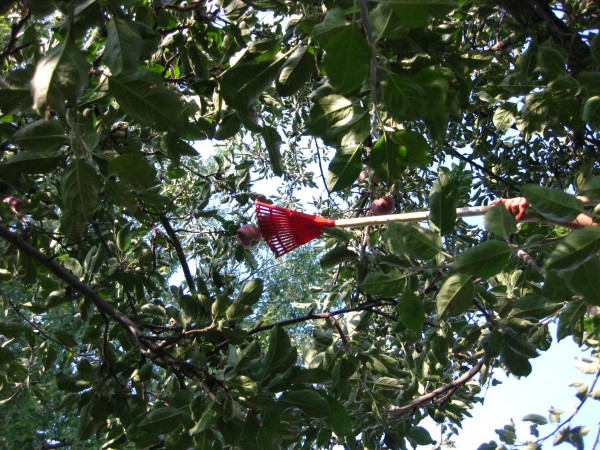
The apple tree in the backyard is Red Delicious variety, but the apples are really not good for fresh eating, however they make great applesauce! So F and I harvested them all recently and I’ve been picking away at them, cutting out the wormy parts, peeling them, chopping, and then cooking and canning them.

***

What kind of fruit are you harvesting this autumn?

*****

« Older posts

© 2024 The Herbangardener

Theme by Anders NorenUp ↑