Kitchen / Garden / Sanctuary - Urban Homesteading to Nourish Body + Spirit

Tag: frugal (Page 4 of 12)

Thrift Store Things

I do love thrift stores. I love donating old stuff to them, and finding new clothing and treasures to bring home. Here are some recent things that have found a new home at our place:

***

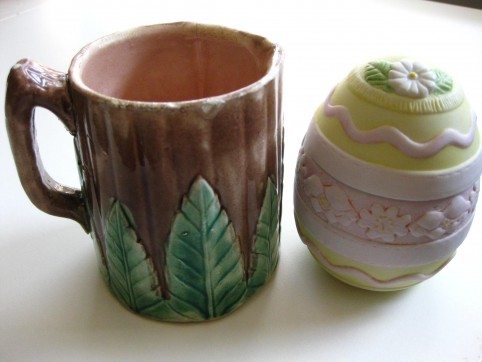
– A funny little majolica cream pitcher, and a porcelain Easter egg jar which happens to be ‘born’ the same year I was. Not sure why I bought the pitcher, really, cause I don’t need it, but then again I didn’t need the egg either. I liked them though, and I guess that’s reason enough!

***

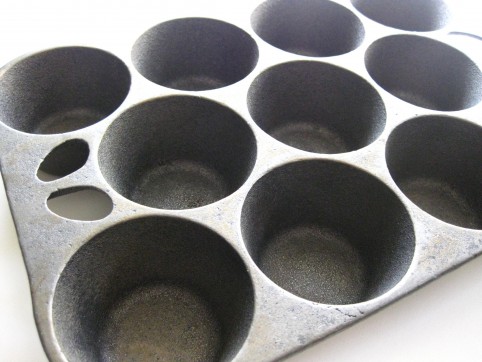
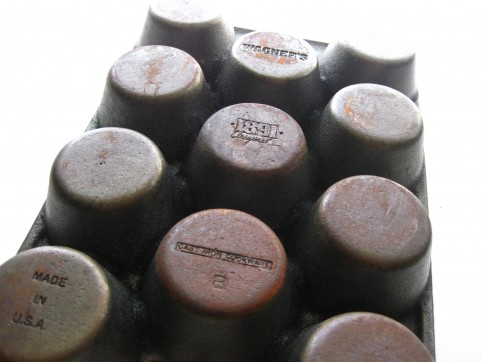
– A cast iron muffin pan for $3! I can’t wait to use this… to lift out a steaming muffin, with crispy crust all around!

***

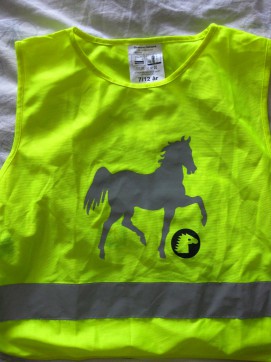
– And this one’s really cool. It’s probably an equestrian reflector thingy, but I’ve been wearing it while riding my bike in an ongoing and slightly obsessive quest to maximize my visibility to drivers. I say ‘probably’ because the tag is in Norwegian. And how a Norwegian equestrian reflector would have made its way to the racks of a junky Colorado thrift store is a story I’d dearly love to hear.

***

Have you brought home any fun thrifted items lately?

*****

Easter Branch

Cute huh.

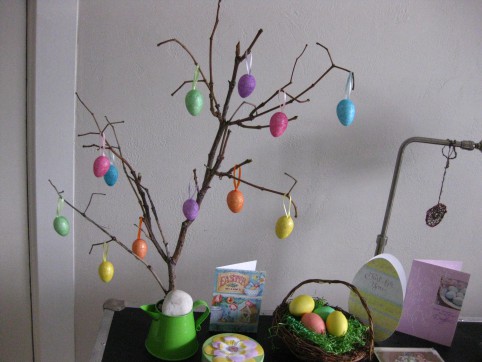
A catalpa branch flew off and landed in the backyard of our apartment-house. I think it makes a nice Easter Branch, to go with the rest of my Easter Shrine.

*****

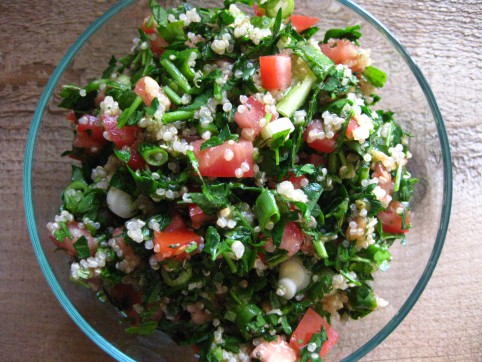
Classic Tabbouleh

One of my all-time favorite foods, ever! This is my mom’s famous recipe.

***

And since my diet has gone essentially low fat vegetarian, which is presently all my body will handle, this stuff is my mainstay. I plow through an entire batch all by myself every 2 or 3 days! And since I can’t eat much oil at all, I change up the dressing to be only a small drizzle of oil, and tons of lemon juice, and I’ve grown to really love it this way!

Also, tabbouleh is normally made with bulghur. I always make it with quinoa now since I love the taste of it and it’s more nutritious and also a complete protein — but bulghur is of course delicious too!

***

Mom’s Tabbouleh

1/2 cup uncooked bulghur or quinoa*

1-2 cups chopped tomatoes — (2 cups = about 1 lb) (I always make it with 2 cups of tomatoes now, but if you do, you may need to increase the amounts of lemon juice and olive oil slightly)

2 cups finely chopped parsley — chop first and then measure (about 1 medium-large bunch parsley…but do measure it first)

1/2 cup chopped green onion or 1/3 cup finely chopped white onion

1 level Tbsp dried mint, crushed (or 2 Tbsp fresh mint, finely chopped)

1/4 – 1/3 cup fresh lemon juice

1/3 cup olive oil

Salt (about 1 to 1 1/2 tsp), or to taste

Pepper to taste

***

Cook the 1/2 cup bulghur or quinoa* (1/2 cup grain to 1 cup boiling water + dash of salt; cover, simmer till water’s absorbed, about 20 minutes). Cool it to room temperature. If I’m in a hurry, I’ll put the hot quinoa into the freezer to cool it quickly.

Mix everything together in a big bowl. But if you don’t think you’ll eat all of it within a day or two, mix the dressing separately, and add it to the tabbouleh right before you eat a helping of it. That way the tabbouleh will stay fresh several days longer in your fridge.

Enjoy!

*****

*Cooking quinoa:

Be sure to rinse the quinoa well to remove bitter saponin residue. The quick way to cook it is to boil your water (ratio of 1 cup grain to scant 2 cups water), add some salt, add quinoa and cover, simmering until the water is absorbed, about 20 minutes.

However, if you’re able to plan ahead enough, it’s much better, healthwise, to soak your quinoa for at least 12 hours to make it more digestible — the way traditional cultures do. Soaking grains neutralizes phytic acid (which binds to essential minerals like calcium, magnesium, iron, and zinc, and blocks their absorption) as well as enzyme inhibitors in the grain. Soaking also breaks down difficult-to-digest proteins and encourages the production of beneficial enzymes which in turn increases the vitamin (especially B vitamin) content of the grain.

So…

To soak quinoa: Thoroughly rinse 1/2 cup of dry quinoa to remove bitter saponin residue. Put 1 Tbsp of lemon juice or vinegar into a measuring cup and fill to the 1/2 cup mark with warm water, then mix with the quinoa in a bowl. Cover and let sit at room temperature for at least 12 hours, or up to 24. When you’re ready to cook, rinse and drain the quinoa well, and place in a saucepan. Add a scant 1/2 cup of water, and a little salt. Bring to a boil and simmer, covered, until all the water is absorbed, about 20 minutes. Cool, and proceed with the recipe.

*****
My Mittens Are Done!


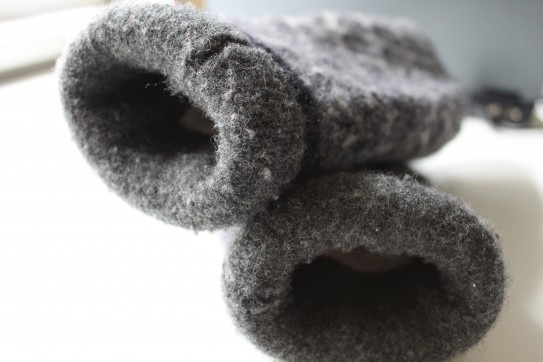
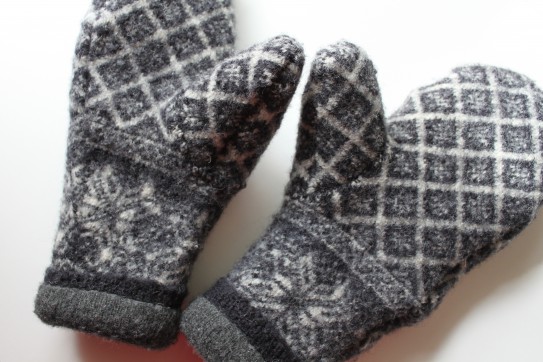
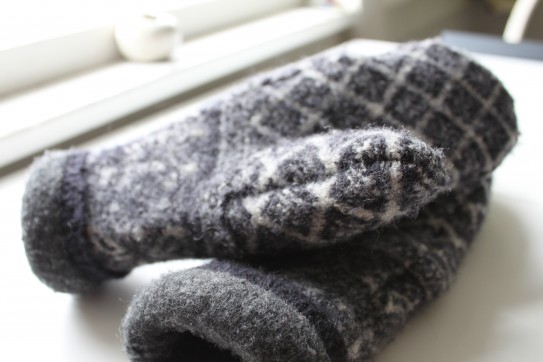
Remember the single felted wool mitten I showed you a couple weeks ago? Well now there are two! They’re finished and I love them. (Just in time for… Spring. Hah! Oh well.)

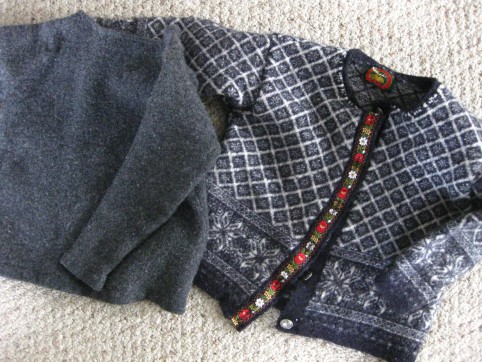
I still might embellish them a little using the pretty nordic ribbon and buttons from the original sweater they were made from, but I also might just leave them as is. I like their simplicity. Actually, I’m really proud of these mittens. I’ve never made anything like them before so it was a slow project, and one I wouldn’t necessarily care to repeat, but I’m really happy with how they came out. They fit beautifully and they’re so warm! Apart from my time, they cost next to nothing since all the materials came from the thrift store.

They have three layers made from two different felted sweaters plus an inner lining of really soft white fleece. They’re so cozy and luxurious; I wish you could feel them!

They’re made from the sleeves of these sweaters:

***

Do you ever make stuff from felted wool sweaters? I really like the concept — it’s so easy and cheap — the knitting has been done for you already, and you can so easily get used sweaters from the thrift store for such little money!

If you’ve ever done something like this before, please leave a comment and tell me what you made! I’d love to get some other project ideas — maybe something that’s a little simpler than 3-layer mittens. 😉

*****

No-Cost DIY Art Marker Holder

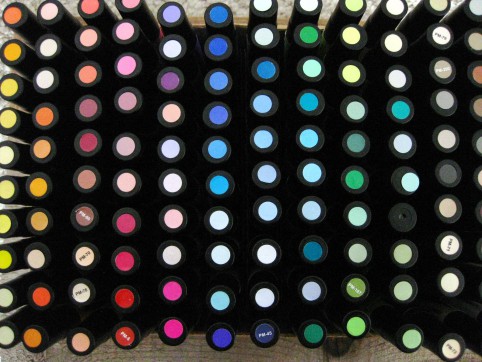
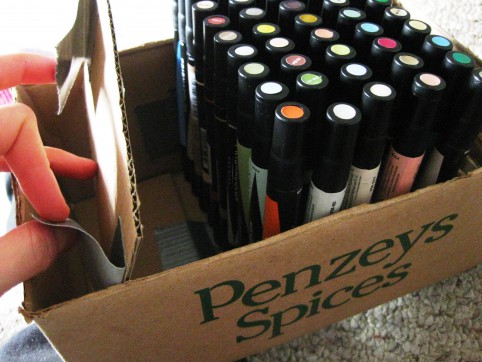
I recently expanded my art marker collection and needed something to keep them all organized within a compact space. So I made a holder using materials I had on hand, and I’m really happy with the way it turned out. It’s not beautiful, but it does the job perfectly.

Here’s how to make your own without spending a cent!

***

Materials:

A small cardboard box (my 10″ x 6.5″ cardboard box fits 140 Prismacolor art markers)

More cardboard, for the dividers

Duct tape or packing tape

Scissors

***

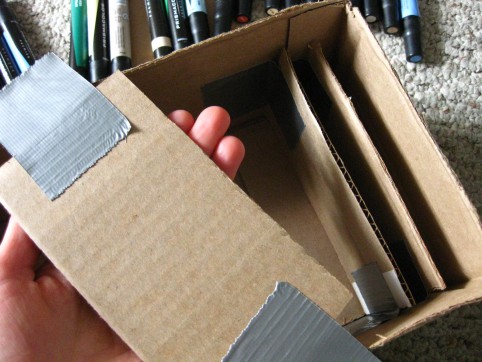
 1. Measure your outer box so that you know how big to make the dividers. Measure and cut out one divider and insert it into your box. Trim if necessary. When it’s the right size, use it as a template to cut more dividers.

2. Put a row of markers in place at one end of the box. (Putting the markers in helps you know exactly how wide to make the rows.) It helps to prop up the opposite end of the box so the markers stay in place. Insert the divider up against your row of markers to see if it needs trimming. Then put a strip of duct tape on either side of the divider, as in the photo.

Insert your divider to make sure it fits right; remove and trim if necessary, then apply tape.

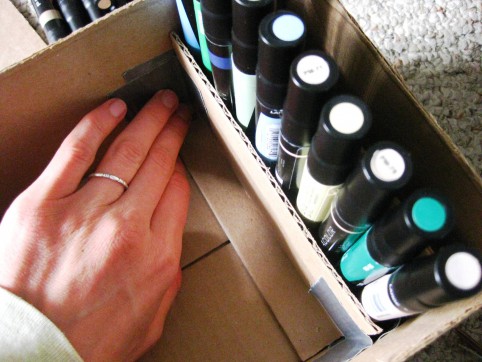
3. Tape the divider into place, flush against your markers.

Tip up one end of the box so the markers stay in place.

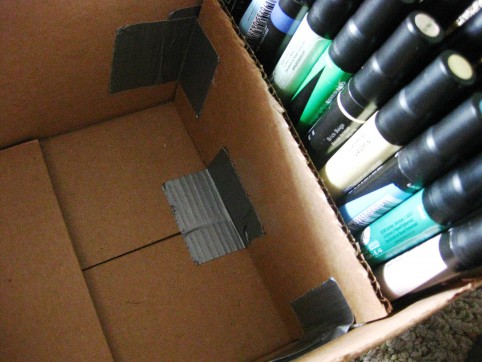
4. When the divider is taped into place, add another piece of tape to the bottom:

5. Keep adding rows of markers and dividers until you’re finished.


*****

« Older posts Newer posts »

© 2025 The Herbangardener

Theme by Anders NorenUp ↑