Kitchen / Garden / Sanctuary - Urban Homesteading to Nourish Body + Spirit

Tag: frugal (Page 8 of 12)

How To Make Candied Violets

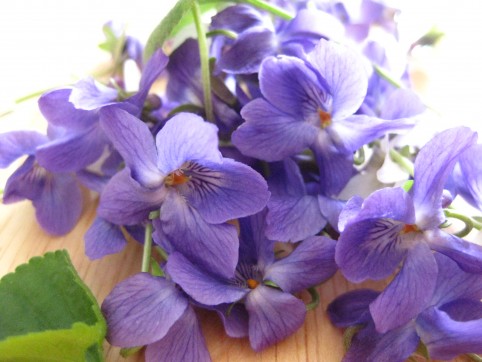
Here’s an old fashioned spring project to do! Preserve those ephemeral little violet flowers for use as a garnish (on a coconut cake for Easter would be nice…) or for a lovely treat at any time of year — violets have a wonderful taste and will keep for months once they’ve been candied!

The process is simple, and not too time consuming. You can make this a more delicate project by painting eggwhite onto each flower with a paintbrush, and then dusting with fine sugar, but I think I’d only want to dedicate that kind of time if I were making these for a really special occasion!

Here’s what you’ll need:

Freshly picked violet flowers & leaves (having them very fresh will make the project go faster and prevent frustration!*)

Egg white (not beaten or frothed) (use eggs you trust since it’s raw)

Ordinary white granulated sugar (not powdered sugar)

Here’s what you do:

The flowers should be dry. No need to wash/dry them first — just pick them on a dry day and go for it. Dip each flower into the eggwhite. Give the flower a firm shake to get rid of any excess eggwhite. Hold it over a dish filled with sugar, and spoon the sugar over the flower until all surfaces are coated. Let the flowers dry on wax paper, parchment paper, or on a bed of sugar. (A plain baking sheet works too, but the eggwhite sticks, so you’ll have to carefully loosen the flowers with a metal spatula after they’re mostly dry.)
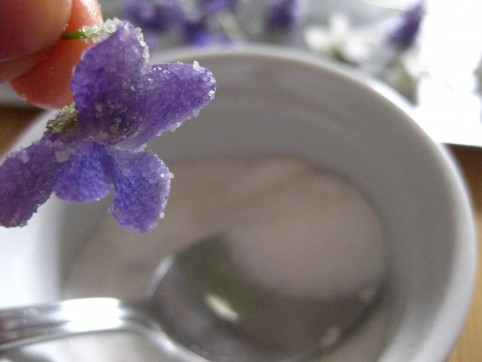
*The most important thing is to have fresh flowers (and leaves if you’re using them). Don’t pick the flowers, put them in a zip-top bag in the fridge for a few days, and then do the project; the flowers will have lost too much moisture and when you dip them in eggwhite, they’ll collapse. See photo below! Very fresh flowers will hold their shape even after being dipped in eggwhite.
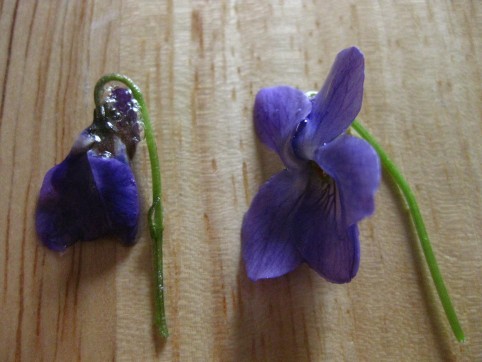
Both have been dipped in eggwhite -- the flower on the left was in plastic in the fridge for a couple days, while the one on the right is fresh from the yard. Fresh is best!

That’s it! When they’re thoroughly dry (give them about 24 hours), store them in an airtight container. Room temperature is OK.

The Perfect Tool For Unclogging Drains

We’ve discovered a great tool!

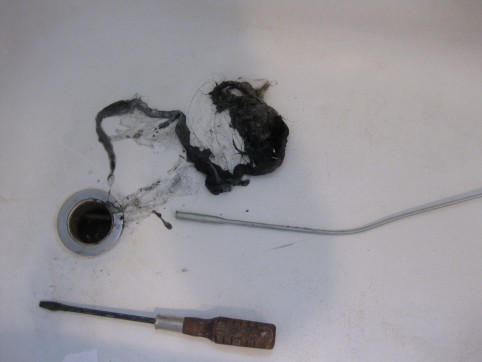
Our shower has been draining very poorly lately. We don’t like Draino because of how very toxic it is, and so F. had the brilliant idea to buy a flexible grabber from the local auto parts store to shove down the drain and grab the gunk. It was $7.50, and took care of the problem in about 10 seconds! No chemicals involved, and the water drains like a charm now!

Look at the gross clog I pulled out!!!

Grossest thing I've encountered in a long time.

Since we always keep a mesh screen over our drain, I’m afraid some of that is from previous tenants — which is something I am NOT going to think about, so let’s move on, shall we…

*****

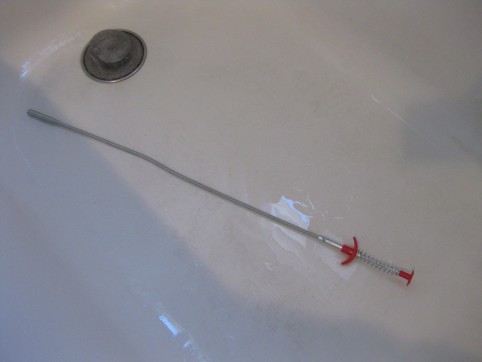
Here’s the flexible grabber tool. Sort of like a syringe, you push down on the top, and the little claw comes out the bottom. Of course we tested it first on each other’s fingers…and it has quite a grip!

Flexible grabber claw tool

*****

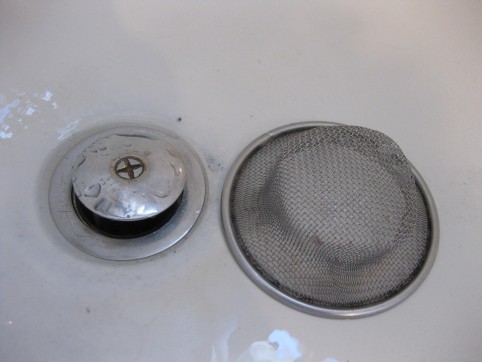
Oh and here’s the screen we keep over the drain — an essential preventive measure! We also have one in the kitchen since we don’t have a garbage disposal.

I’ve heard of other preventive methods to keep your drains clear, like using baking soda and vinegar, and also pouring boiling water down the drain each day. Do you have any tricks up your sleeve to share?

Juice Your Kitchen Scraps!

I was inspired today by this post about raw vegetable juices over at Wooly Moss Roots. I’ve never been into juicing because separating the fiber from the juice just doesn’t seem natural, and it’s not the ideal way to consume vegetables according to what I’ve read. But then I’ve also read that as long as juicing is used in addition to your regular consumption of fruits and vegetables, it can actually be a very good way to boost your intake of vitamins and minerals. I can certainly see both sides of the story.

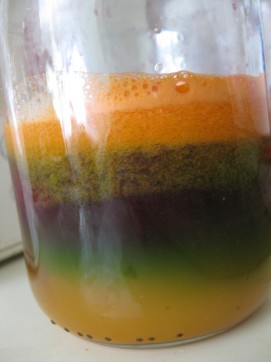
We actually have a juicer already (it came with my Hubby), so today I decided to go for it. I used some kitchen scraps that would’ve otherwise gotten tossed (cilantro and parsley stems, a mandarin orange with very tough membranes, and spent beet chunks from making beet kvass), as well as a carrot and some celery. It turned out pretty well! I was especially thrilled to be juicing the last drops of lacto-fermented, enzyme-rich goodness out of those beets! (I’ll share my beet kvass recipe soon. We love beet kvass in this household!)

Remembering that all those vitamins and minerals would probably need some fat in order to be absorbed properly, I added some grassfed whipping cream in a ratio of about 3 or 4 parts juice to 1 part cream.

OH YEA.

The cream was the key. Better nutrient absorption, better taste!

I even felt a sort of…uplift…after drinking this raw veggie juice. And I loved how it was such a clean, light way to start the day!

What’s your opinion about juicing? If you juice, what are your favorite veggie combos?

Pretty layers of juice!

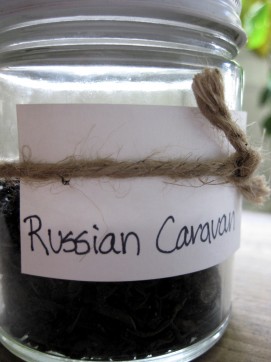
Blend Your Own Russian Caravan Tea

If you like smoky flavors in your food, I bet you like Russian Caravan tea! I absolutely love it! It’s black tea with a smoky twist, thanks to the addition of Lapsang Souchong — black tea that’s been smoked over smoldering pine or spruce wood. Legend has it that the tea absorbed the smoky aroma of nighttime campfires during its journey from China to the Russian Czar. Others say the tea was smoked as a way of preserving it for the 6,000-mile trip. Either way, the name is enchanting and the flavor is an unusual treat!

I used to buy Russian Caravan in teabags at our local health food store, but when they stopped selling it, I decided to blend my own using the ratios below. I like to measure the tea by weight rather than volume, because I happen to have a food scale and because equal weights don’t always have equal volumes (oolong seems to have more volume), but either way it’ll work.

Once blended, I use 1 tsp of tea per mug of hot water (about 12 oz) and I love to add milk or cream. If you prefer decaf tea like I do, take a look at my post on How to Decaffeinate Your Tea.

Russian Caravan Tea

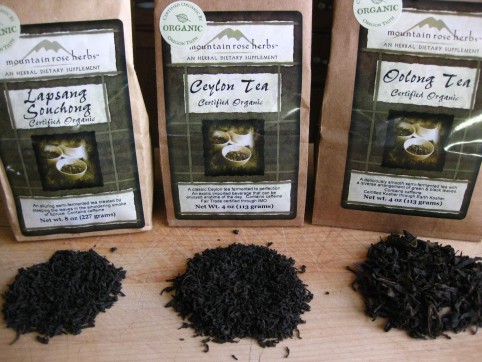
1 part Lapsang Souchong

1 part black tea (English Breakfast, Assam, Ceylon are all good, but don’t use anything flavored like Earl Grey)

2 parts Oolong tea

Where to source these ingredients? I like Mountain Rose Herbs. Although I think their shipping is a little pricey, I always get my stuff from them because it still comes out cheaper in the end, and I like the company and their products.

Equal weights don't quite have equal volumes...

*****

After Halloween: Cooking Your Pumpkin and Roasting Its Seeds

I hope you had a happy Halloween! Mine was uneventful, but I did go on a wonderful bike ride through the neighborhoods on Halloween night to see the decorated houses, carved pumpkins, and kids trick-or-treating. I think I had a smile on my face the entire time. To boot, it was an unusually mild night with a few diehard crickets still going (usually it’s snowing here on Halloween!), and people were sitting out on their front porches, candy bowls beside them.

Anyway, last year I cooked our Halloween pumpkin and I wanted to share the process if you’re interested in doing the same thing. One thing to note about the generic jack-o-lantern pumpkins is that they’re very lacking in flavor. Bland! And watery! But after draining out the excess water (which we’ll address below), the blandness can be a good thing because you can then sneak the pumpkin puree into your cooking (or baking) without affecting the dish’s flavor very much.

Here’s what to do:

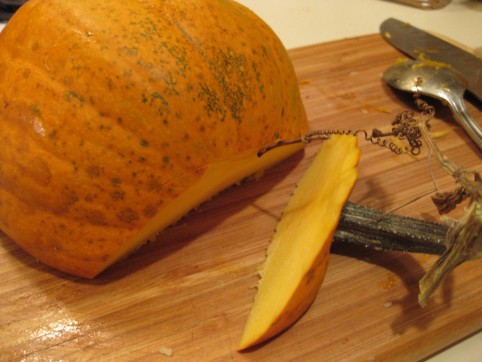
With a sharp knife, cut your pumpkin in half, then cut off the stem.

Cut off the stem

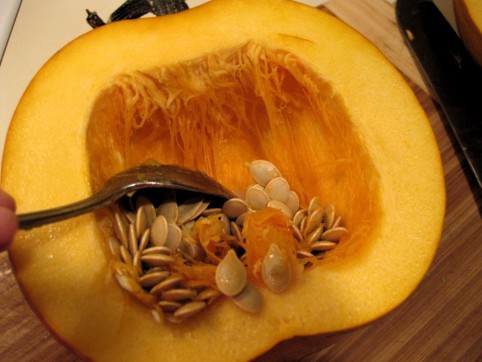
Scoop out the seeds and SAVE THEM! We’ll be roasting them while the pumpkin cooks.

Scoop out the seeds and save them for roasting.

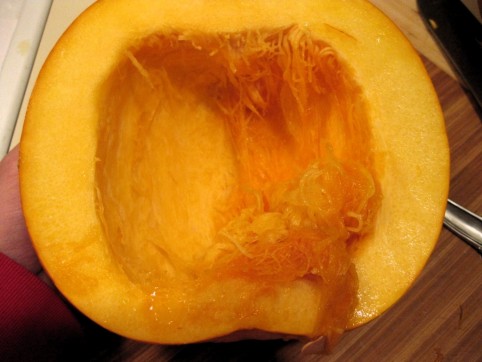
With a spoon and some elbow grease, scrape out the long stringy fibers. You have to really get in there with your spoon; attack that pumpkin!

Scoop out the stringy fibers

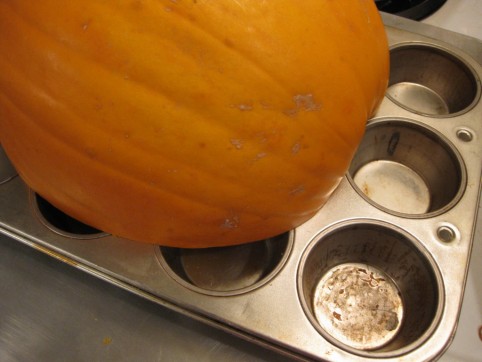
Set pumpkin cut-side down into a large baking pan with sides to contain the juice. If you don’t have a pan with sides large enough, then just bake them on cookie sheets, cut-side up. Or be creative and set them on something else, like a muffin tray to catch the juice!

Bake at 350* (or 375* — the temperature isn’t too important). You’ll bake it until the flesh is very soft, which usually takes about an hour, maybe more.

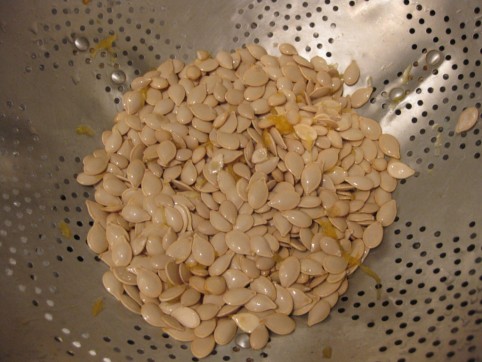
After you put your pumpkin in the oven, put the seeds into a colander. Rinse them and remove as much of the stringy orange stuff as you can.

Wash seeds & remove orange fibers

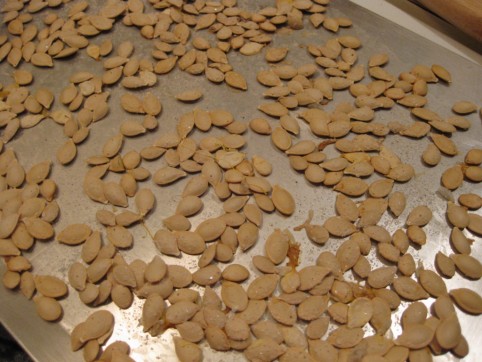
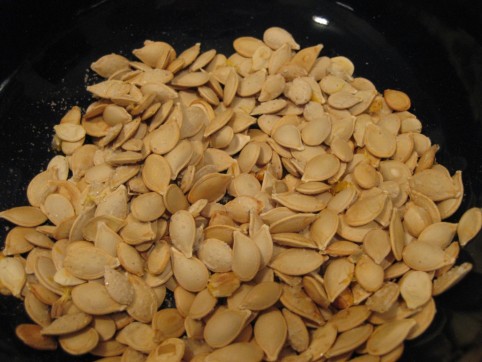
Spread them onto an un-greased cookie sheet and sprinkle them fairly liberally with salt. Bake them until they’re a very light golden color; you don’t want to over-bake them, but you do want them dry to the touch, and crunchy. This seems to take about 15 minutes for me, but the times may be different for you.

Spread on a cookie sheet and sprinkle with salt; cook till dry and crunchy

Eat!

Now, back to the pumpkin.

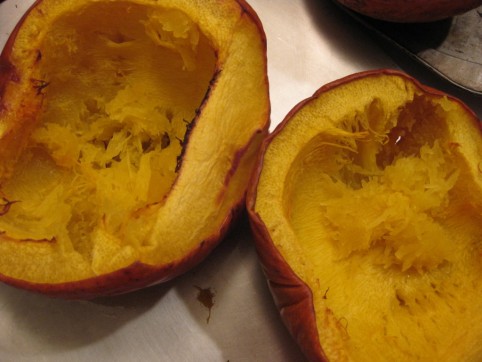
When the flesh is very soft, remove from the oven and let the pumpkin cool until it’s handle-able.

Bake till very soft

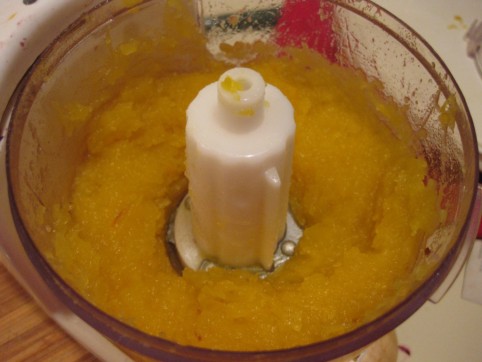
Scrape out the flesh, and discard (or compost) the skin-shell. Run the pumpkin flesh through a food processor or blender to improve the texture and break up stringiness. If it’s too dry to run through the blender, add a little water and blend; you can drain the water out (or cook it off) later.

Blend till smooth, adding a little water if needed

Since these pumpkins generally have quite a bit of water in their flesh, you’ll want to drain the puree after blending it. I like to dump the pumpkin puree into a colander and let that sit over a bowl overnight. You’ll be amazed at how much water drains out! Alternatively, you can just cook the water off instead of letting it drain away; just simmer the pumpkin puree, uncovered, in a pot over low heat until you’re satisfied with its consistency.

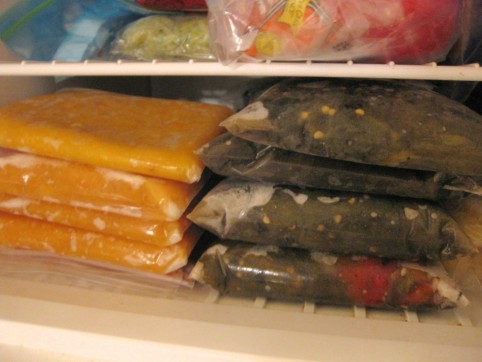
That’s it! Measure your puree into ½- or 1-cup portions and freeze into ziploc bags; I like to stack my bags neatly on a plate and freeze them so that they freeze into stackable shapes, like this:

Measure, stack, and freeze!

« Older posts Newer posts »

© 2025 The Herbangardener

Theme by Anders NorenUp ↑