Kitchen / Garden / Sanctuary - Urban Homesteading to Nourish Body + Spirit

Tag: health (Page 4 of 12)

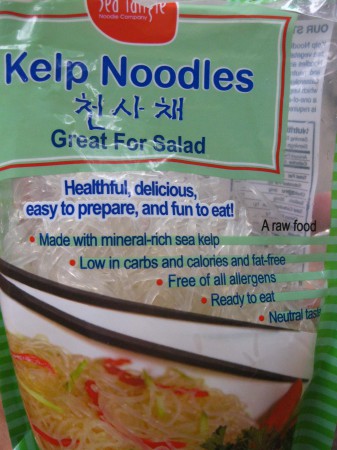
Kelp Noodles!

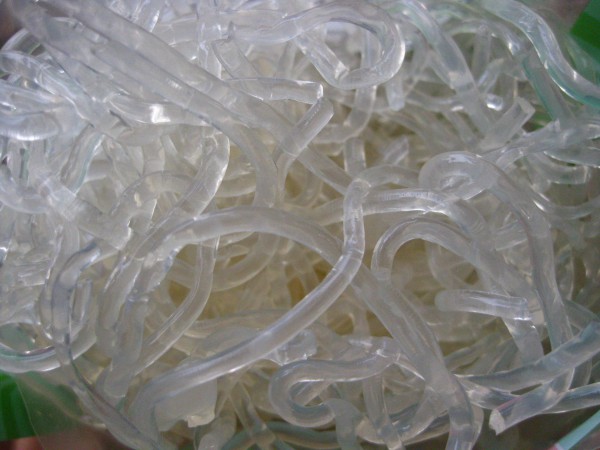
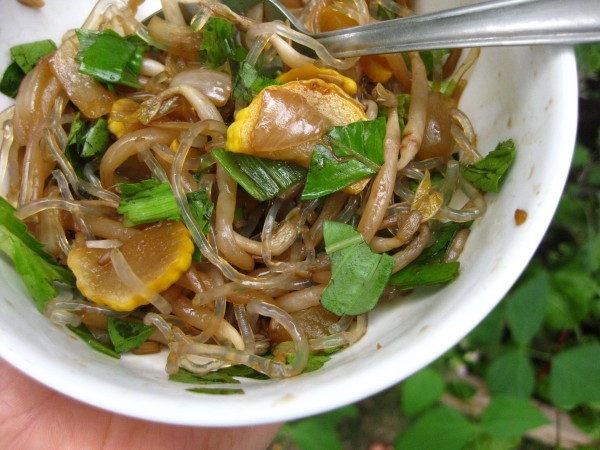
Have you tried kelp noodles? I just tried them for the first time this week and I like them! They have an unexpected crunchy texture and, somehow, a completely neutral taste. They’re also a raw food, and made only of seaweed. I mixed them into my solar-cooked “stir fry” for breakfast this morning, yum. I like the fact that they’re made from kelp, so they add iodine and trace minerals to my meal. My still-delicate tummy also gave them a thumbs up, as far as digestibility goes.

They cost about $3.50 at our local health food store.

Have you tried them? How do you like to eat them??

***

The stir fry was delicious by the way — I love making those because you can toss anything in and it always comes out great. This time it was: Bean sprouts, yellow squash, onions, garlic, Nama Shoyu soy sauce, and a tiny bit of sesame oil…steamed in the solar oven…and served over kelp noodles…topped with more Nama Shoyu, fresh Thai basil, culantro (or you can use cilantro which is similar), and chopped green onion tops.

***

*****

Around the Garden – July 19th

Yesterday was a special day. July 19th is the official death date of my best friend Sonja. It will forever be “that day.” It’s been eight years since her death, and finally it doesn’t hurt anything like it used to. That awful pain has released its grip on me. I acknowledge the date with sadness, of course…but the sting of it has largely gone. If I pause to remember that terrible phone call, and the sequence of it all and how I felt, it still hurts very much. Of course it does. I’m sure it always will. But it doesn’t clutch me and drag me to the underworld like it used to; I feel so much more in control of the memories and my emotions about it all.

If you are currently toiling through grief, it is a very hard path. And it will get easier. It doesn’t seem like it ever will, but it will.

When I was in the middle of that searing grief, I was convinced it would never end. It did. You will never be the same person after a journey like that (you’ll be stronger, for one thing), but the pain will let up.

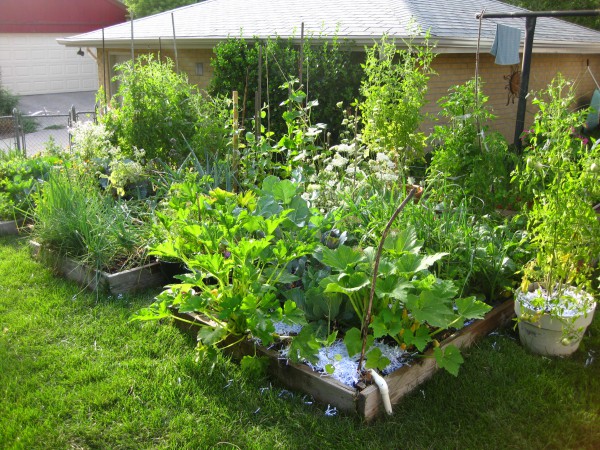
So yesterday I spent my July 19th working in my flourishing garden. What an uplifting, life-affirming way to spend that day! It was very hot, in the upper 90s, but the clouds moved in which made it much more bearable. And my strong, healing body held up so nicely, even in that heat… even through six hours of hard physical work. Instead of feeling miserable in my body, I felt strong and healthy and agile. After more than two solid years of feeling like absolute shite, I had sadly forgotten what “normal” feels like. I’m getting re-acquainted with normal!! It was so enjoyable!

Anyway, here are some pictures:

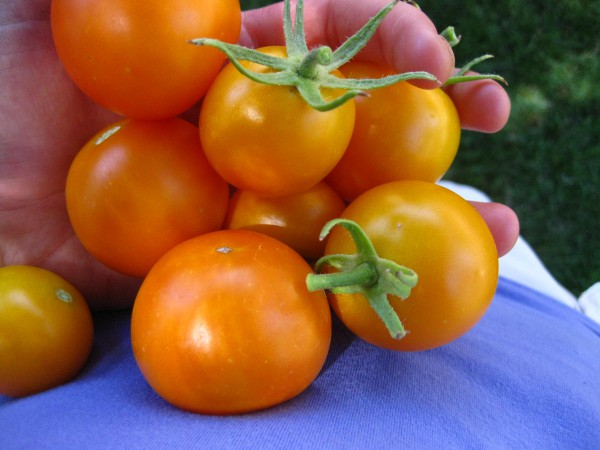
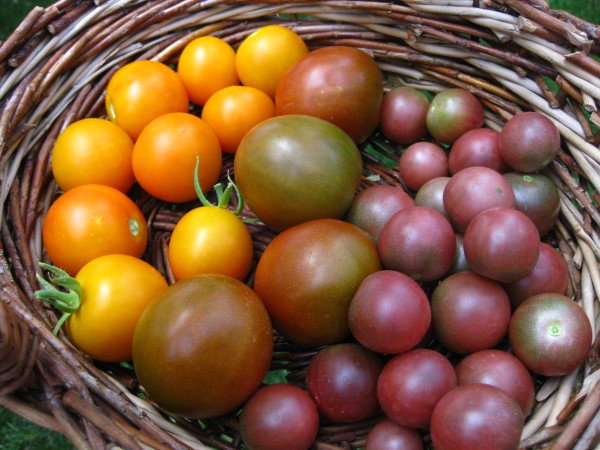
[left to right] Jaune Flamme, Black Russian, and Black Cherry heirloom tomatoes:

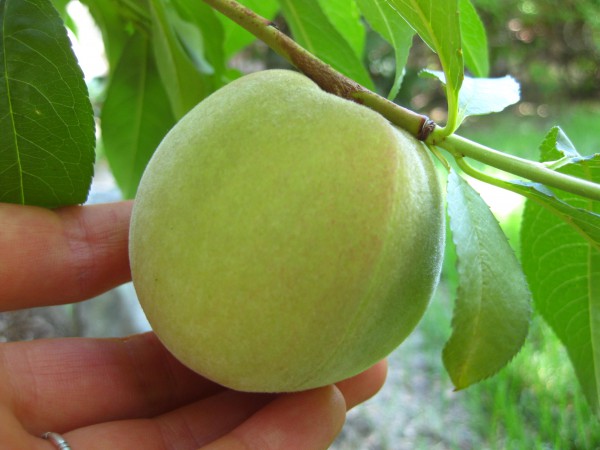
The peach on my 3-year-old tree is getting bigger!

I grew some Black Kabouli bush garbanzo beans this year as an experiment. It was a success, and it told me what I needed to know. They’re very easy to grow, even in areas of lower soil fertility and water levels. I haven’t yet cooked them up, but overall I’d rate them as ‘8.5/10, would grow again.’

***

Everybody needs… places to play in and pray in, where nature may heal and cheer and give strength…

– John Muir

*****

The Magical Bee Sting Cure

***

Lavender essential oil!

It’s a shame this isn’t more common knowledge. Maybe you already know about it but if not, I want to tell you that lavender essential oil is the most magical treatment for a bee sting (or wasp, etc.). I’ve been treating stings this way for many years and it’s truly incredible. The pain disappears! As do the redness and swelling. Very soon your sting is a distant memory. Every single time I use this remedy I am completely blown away by its efficacy.

Just apply some lavender essential oil, neat (undiluted), to the bee sting. Lavender oil is gentle enough to be used neat for most folks, unlike some other essential oils.

Lavender oil is a great thing to keep in your first aid kit, if only for this reason alone.

***

Do you know of other magical uses for lavender oil? Do share!

***

*****

Nettles!!

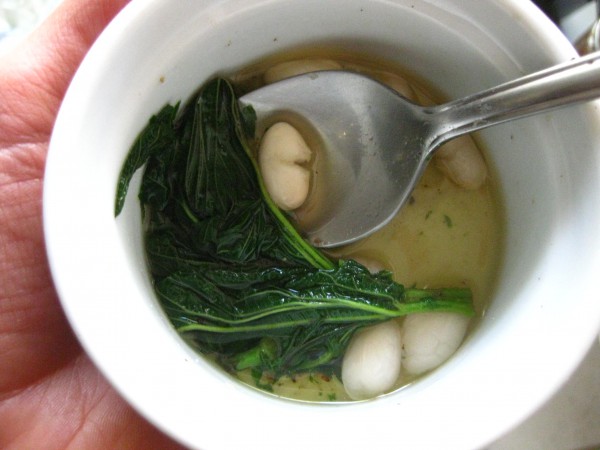
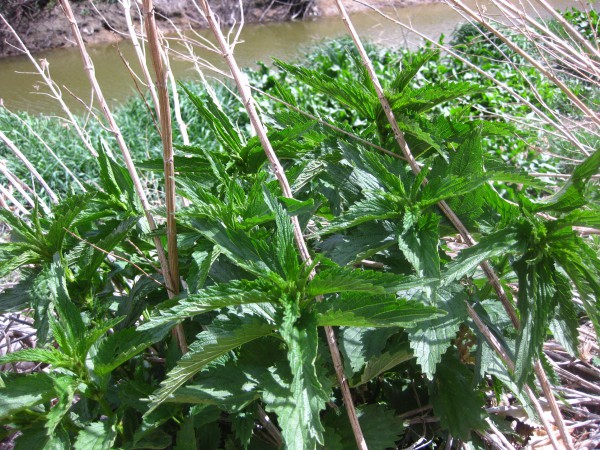
As I mentioned in this post, I found nettles! This was really very exciting because now I can collect my own instead of continuing to purchase my usual dried nettles for tea. And for the very first time, I had freshly cooked nettles and they’re amazing! A mild and pleasing taste. I cooked them in some salted water, and ended up drinking every last drop of the broth too — it was thick and delicious — almost meaty. They’re so good for you, too. High in protein, vitamins, and minerals.

Cooked nettles

Nettles & white beans

And I love nettles tea because it works better than an antihistamine pill for me. This was an accidental discovery; I’m allergic to bee stings, and I get honeybee and ‘mixed vespids’ venom immunotherapy shots every 6 weeks so that my body gets desensitized to the venom. Normally I get a big, itchy 3″ wide welt on each arm where I get the shot, and I take a Claritin pill the morning of the shots to help counteract that. However one day I had some strong nettles tea before my shots, along with the pill. No welt! No redness! No itchy! At first I didn’t realize it was the nettles, until another time when I’d forgotten to take the antihistamine pill and only had nettles tea, and same thing! No welt. Finally I realized it was the nettles tea, and the pill wasn’t even really necessary. So now I make sure to have nettles tea before my shot, and every day for at least about a week afterward. It’s quite magical. If you have seasonal allergies (mercifully, I don’t), you might try nettles tea!

My favorite nettles tea:

2-3 Tbsp dried nettles

~1/2 Tbsp dried mint

~1/2 Tbsp dried lemongrass

In a mug, pour 8-12 ounces boiling water over herbs, cover, and steep about 15 minutes.

So anyway, back to the fresh nettles. I couldn’t believe my luck with finding patch after patch of them, and while I often travel with an empty plastic bag (you never know what you’ll need it for!), I didn’t have one with me on the walk. However my mom had packed snacks in a bag, and thank goodness she had! Precious, precious bag. Without it, I wouldn’t have been able to collect any. Disappointing!

I had an empty little sandwich baggie which I used as a glove to pick them, though still got plenty of stings on my wrists. (The stinging compounds are easily neutralized once the nettles are either boiled or dried to a crisp.) I stuffed the bag full, and also took some plants with roots and have planted those in pots outside, hoping they’ll decide it’s a satisfactory location to grow. I’ve read that nettles are particular about where they grow; you might think you have the ideal location for them — but they have the last word.

Do you cultivate your own nettles? Have any growing tips?

***

As you can see, the living room was full of nettles for a while. I ended up getting about 3 gallons, dried.

*****

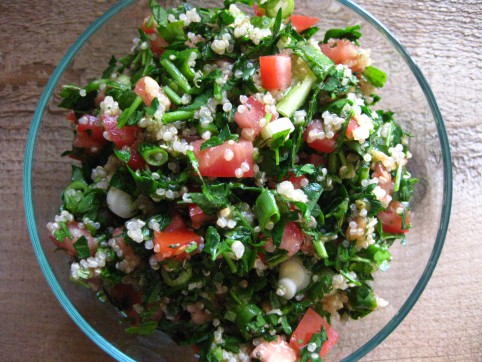
Classic Tabbouleh

One of my all-time favorite foods, ever! This is my mom’s famous recipe.

***

And since my diet has gone essentially low fat vegetarian, which is presently all my body will handle, this stuff is my mainstay. I plow through an entire batch all by myself every 2 or 3 days! And since I can’t eat much oil at all, I change up the dressing to be only a small drizzle of oil, and tons of lemon juice, and I’ve grown to really love it this way!

Also, tabbouleh is normally made with bulghur. I always make it with quinoa now since I love the taste of it and it’s more nutritious and also a complete protein — but bulghur is of course delicious too!

***

Mom’s Tabbouleh

1/2 cup uncooked bulghur or quinoa*

1-2 cups chopped tomatoes — (2 cups = about 1 lb) (I always make it with 2 cups of tomatoes now, but if you do, you may need to increase the amounts of lemon juice and olive oil slightly)

2 cups finely chopped parsley — chop first and then measure (about 1 medium-large bunch parsley…but do measure it first)

1/2 cup chopped green onion or 1/3 cup finely chopped white onion

1 level Tbsp dried mint, crushed (or 2 Tbsp fresh mint, finely chopped)

1/4 – 1/3 cup fresh lemon juice

1/3 cup olive oil

Salt (about 1 to 1 1/2 tsp), or to taste

Pepper to taste

***

Cook the 1/2 cup bulghur or quinoa* (1/2 cup grain to 1 cup boiling water + dash of salt; cover, simmer till water’s absorbed, about 20 minutes). Cool it to room temperature. If I’m in a hurry, I’ll put the hot quinoa into the freezer to cool it quickly.

Mix everything together in a big bowl. But if you don’t think you’ll eat all of it within a day or two, mix the dressing separately, and add it to the tabbouleh right before you eat a helping of it. That way the tabbouleh will stay fresh several days longer in your fridge.

Enjoy!

*****

*Cooking quinoa:

Be sure to rinse the quinoa well to remove bitter saponin residue. The quick way to cook it is to boil your water (ratio of 1 cup grain to scant 2 cups water), add some salt, add quinoa and cover, simmering until the water is absorbed, about 20 minutes.

However, if you’re able to plan ahead enough, it’s much better, healthwise, to soak your quinoa for at least 12 hours to make it more digestible — the way traditional cultures do. Soaking grains neutralizes phytic acid (which binds to essential minerals like calcium, magnesium, iron, and zinc, and blocks their absorption) as well as enzyme inhibitors in the grain. Soaking also breaks down difficult-to-digest proteins and encourages the production of beneficial enzymes which in turn increases the vitamin (especially B vitamin) content of the grain.

So…

To soak quinoa: Thoroughly rinse 1/2 cup of dry quinoa to remove bitter saponin residue. Put 1 Tbsp of lemon juice or vinegar into a measuring cup and fill to the 1/2 cup mark with warm water, then mix with the quinoa in a bowl. Cover and let sit at room temperature for at least 12 hours, or up to 24. When you’re ready to cook, rinse and drain the quinoa well, and place in a saucepan. Add a scant 1/2 cup of water, and a little salt. Bring to a boil and simmer, covered, until all the water is absorbed, about 20 minutes. Cool, and proceed with the recipe.

*****
« Older posts Newer posts »

© 2024 The Herbangardener

Theme by Anders NorenUp ↑