Kitchen / Garden / Sanctuary - Urban Homesteading to Nourish Body + Spirit

Tag: real food (Page 12 of 20)

The Best Way to Eat an Orange

I’ve rediscovered oranges after years of passing them by! I never liked peeling them, never liked the pithy white part or chewing forever on the membrane that covered each segment. Never liked juice dribbling off my elbows as I ate them, or the sticky fingers at the end.

Well, it turns out I’d been doing them wrong.

And when you do them right, they’re like a different fruit — easy to eat, juicy, and refreshing! And in January, refreshing is precisely the taste I’m after.

So…

Cut off the north and south poles.

Slice off the rind in strips from top to bottom.

Cut the orange into rounds, latitudinally (like the equator).

Slice the rounds into wedges.

Sprinkle with cinnamon if you like, and eat with a fork.

Springtime Dandelion Salad

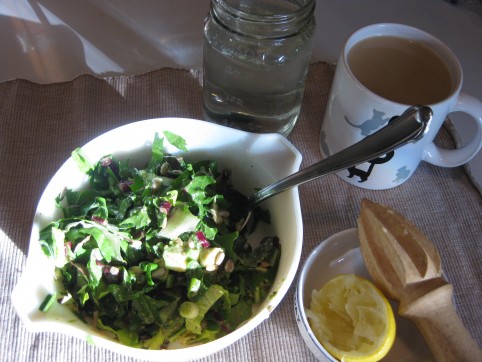
Light lunch: Dandelion salad & raspberry leaf tea with grassfed cream

Spring’s in the air! (…till Tuesday, at least, when it’s supposed to get down to -8!) It’s been shorts & t-shirt weather here — the robins have been chirping their summertime songs, and I opened all the windows yesterday to let the fresh air in. My body also seems to know that spring’s coming and it’s time to eat light, clean, liver-cleansing foods. I’ve been craving juicy oranges, fresh lemons, and bitter dandelion salads. Bitter is usually my least favorite taste, but I’ve been eating dandelion salads almost daily lately. Dandelions won’t be growing in the yard for another couple months yet, so I buy the greens at our health food store.

I’ve been really enjoying this particular salad:

dandelion greens mixed half and half with lettuce (sometimes I leave out the lettuce altogether)

green onions

avocado

sunflower seeds

fresh lemon juice and flax seed oil generously drizzled over, with salt & pepper to taste

Chop the greens up nice and small and eat the whole thing with a spoon!

After Halloween: Cooking Your Pumpkin and Roasting Its Seeds

I hope you had a happy Halloween! Mine was uneventful, but I did go on a wonderful bike ride through the neighborhoods on Halloween night to see the decorated houses, carved pumpkins, and kids trick-or-treating. I think I had a smile on my face the entire time. To boot, it was an unusually mild night with a few diehard crickets still going (usually it’s snowing here on Halloween!), and people were sitting out on their front porches, candy bowls beside them.

Anyway, last year I cooked our Halloween pumpkin and I wanted to share the process if you’re interested in doing the same thing. One thing to note about the generic jack-o-lantern pumpkins is that they’re very lacking in flavor. Bland! And watery! But after draining out the excess water (which we’ll address below), the blandness can be a good thing because you can then sneak the pumpkin puree into your cooking (or baking) without affecting the dish’s flavor very much.

Here’s what to do:

With a sharp knife, cut your pumpkin in half, then cut off the stem.
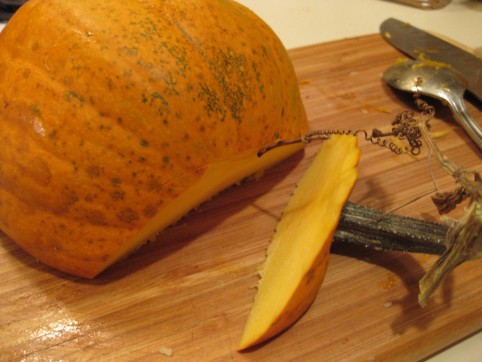
Cut off the stem

Scoop out the seeds and SAVE THEM! We’ll be roasting them while the pumpkin cooks.
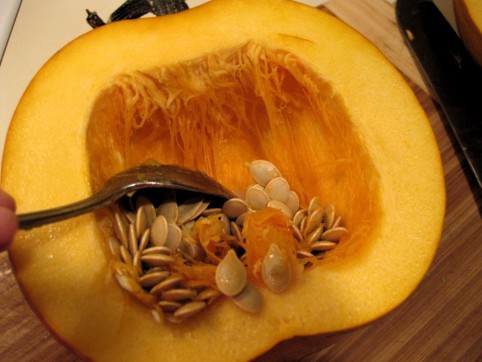
Scoop out the seeds and save them for roasting.

With a spoon and some elbow grease, scrape out the long stringy fibers. You have to really get in there with your spoon; attack that pumpkin!
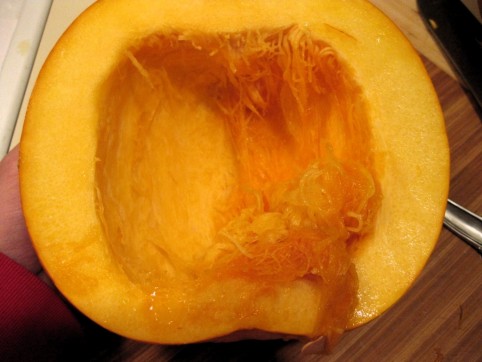
Scoop out the stringy fibers

Set pumpkin cut-side down into a large baking pan with sides to contain the juice. If you don’t have a pan with sides large enough, then just bake them on cookie sheets, cut-side up. Or be creative and set them on something else, like a muffin tray to catch the juice!
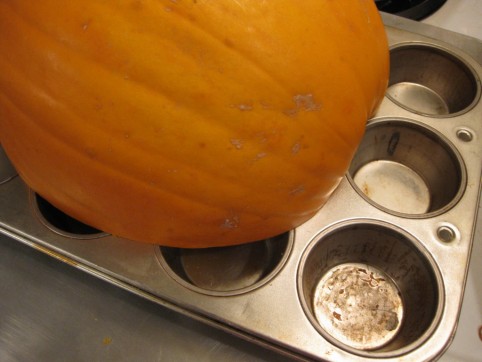
Bake at 350* (or 375* — the temperature isn’t too important). You’ll bake it until the flesh is very soft, which usually takes about an hour, maybe more.

After you put your pumpkin in the oven, put the seeds into a colander. Rinse them and remove as much of the stringy orange stuff as you can.
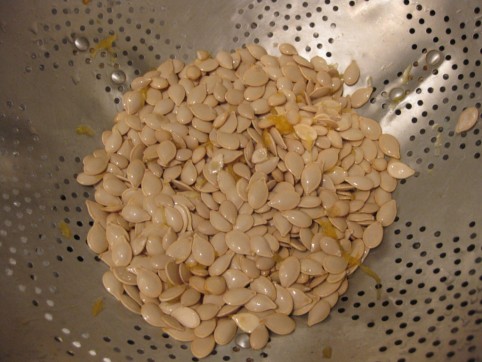
Wash seeds & remove orange fibers

Spread them onto an un-greased cookie sheet and sprinkle them fairly liberally with salt. Bake them until they’re a very light golden color; you don’t want to over-bake them, but you do want them dry to the touch, and crunchy. This seems to take about 15 minutes for me, but the times may be different for you.
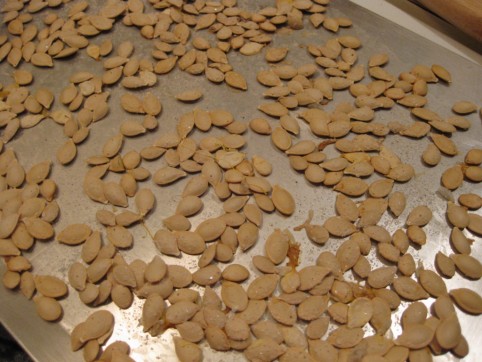
Spread on a cookie sheet and sprinkle with salt; cook till dry and crunchy
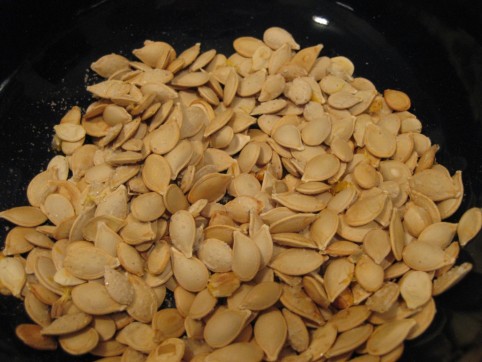
Eat!

Now, back to the pumpkin.

When the flesh is very soft, remove from the oven and let the pumpkin cool until it’s handle-able.
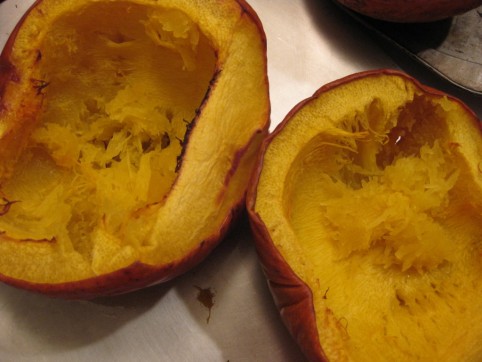
Bake till very soft

Scrape out the flesh, and discard (or compost) the skin-shell. Run the pumpkin flesh through a food processor or blender to improve the texture and break up stringiness. If it’s too dry to run through the blender, add a little water and blend; you can drain the water out (or cook it off) later.
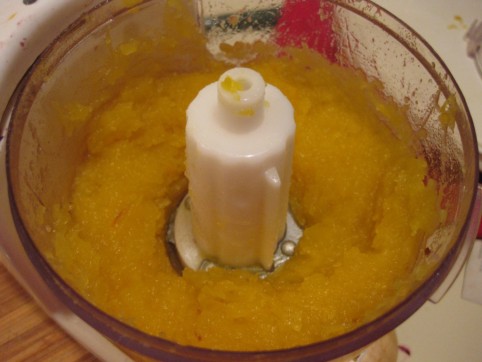
Blend till smooth, adding a little water if needed

Since these pumpkins generally have quite a bit of water in their flesh, you’ll want to drain the puree after blending it. I like to dump the pumpkin puree into a colander and let that sit over a bowl overnight. You’ll be amazed at how much water drains out! Alternatively, you can just cook the water off instead of letting it drain away; just simmer the pumpkin puree, uncovered, in a pot over low heat until you’re satisfied with its consistency.

That’s it! Measure your puree into ½- or 1-cup portions and freeze into ziploc bags; I like to stack my bags neatly on a plate and freeze them so that they freeze into stackable shapes, like this:
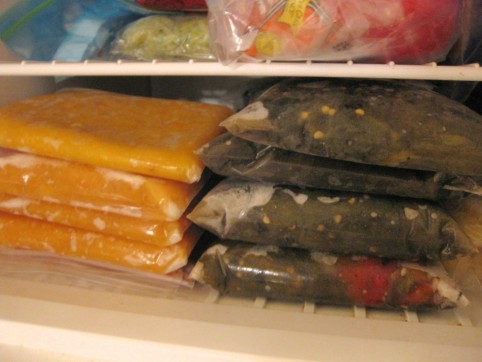
Measure, stack, and freeze!

Apple Harvest Time!

Happy Harvest!

Boy, it sure is that time of the year. Packed & stacked refrigerator and freezer, bags of beautiful, just-picked organic fruit on the counters, busy-busy-busyness getting it all put up for the winter. It’s a rush against nature’s unforgiving timeline…trying to eat, freeze — and occasionally can — the bounty before it begins its process of ‘going back into the earth’ right there on the refrigerator shelf. Busy, yes, but I love this time of the year!

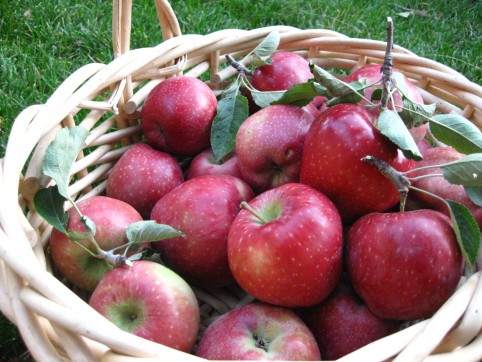
The weather here has been glorious, and on Friday I had a lovely time picking apples from my parents’ Red Delicious tree in their backyard. Between the squirrels and the coddling moths, there weren’t many apples left for us, but I found a clutch of nearly perfect ones hanging over the porch roof. With each impossibly juicy, crunchy bite, I remember how grateful I am that I can grow my own food. It’s a good, satisfying feeling. I think that’s the way we’re meant to feel about the food we eat — filled with pride and appreciation that can only come from watching your food progress from seed to blossom to bearing.

And did you know that apple seeds taste like little bitter almonds? I’ve never eaten the seeds before, but they’re really quite a taste sensation. But this would make sense, since they’re in the same family (Rose) as almonds. Try them sometime!

And here’s something else to try sometime. I dreamt up this snack over the weekend to use up some of our beautiful apples, and WOW! Yum.

Autumn Apple Salad

Apples, diced

Chevre (goat cheese), crumbled

Dried cranberries

Toasted pecans (or walnuts)


What have you been harvesting lately?

Wilted Cucumbers? Bake Them!

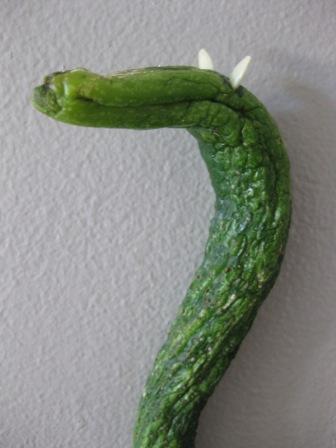
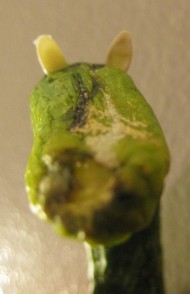
Ever wonder what to do with cucumbers that have begun to wilt and lose their crunch? Obviously the first thing you’d think of is to make a Loch Ness monster like the one below, right?

The Loch Ness Cucumber

I thought so.

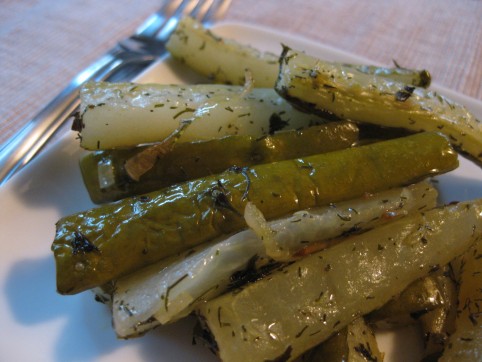
And although that’s fun — yes — the thing that really uses up those cukes is to bake them. This was originally a Julia Child recipe from Mastering the Art of French Cooking, but I’ve tweaked it somewhat to be simpler, with bolder flavors. I never thought to bake a cucumber until my mom made them last year; delicious! And a real bonus is that they freeze pretty well after baking. Thawed, they’re a little softer than the original out-of-the-oven ones, but that doesn’t bother you, right?

Try them out…I think they’re absolutely delicious! They have kind of a pickle-y flavor, yet gentle and buttery. This recipe makes a fair amount, but they do cook down to about half their original volume; and of course, feel free to cut the recipe in half.

Baked Cucumbers

3 lbs cucumbers

1/2 cup finely minced onion

1/4 – 1/3 cup wine vinegar (to your liking)

1/4 tsp sugar

1 1/4 tsp salt

1 Tbsp dry basil

1 Tbsp dry dill weed

4 Tbsp butter, melted

1/4 cup minced parsley (optional, for serving)

Preheat oven to 375*. Peel cucumbers if the skin is bitter. Cut them in half lengthwise and scoop out the seeds with a spoon. Cut into lengthwise strips 1/4″ to 1/2″ wide. Cut the strips into pieces that are 2″ long.

Mix all ingredients together, stirring well to evenly coat the cucumber pieces. Divide into two baking pans (I use two 9″x13″ glass pans) and bake, uncovered, for about an hour, tossing every 20-30 minutes. They should be tender, but still have a little crunch. Sprinkle with minced parsley (if desired), and serve. Mmmm!

« Older posts Newer posts »

© 2025 The Herbangardener

Theme by Anders NorenUp ↑