Kitchen / Garden / Sanctuary - Urban Homesteading to Nourish Body + Spirit

Author: Lindsey (Page 33 of 88)

Busy getting ready for Spring!

It’s been a busy week!

Lots of garden work and preparing for spring seed planting which I’ll do either tomorrow or Monday; the weather has been so cooperative it’s been wonderful! It really feels like spring now, and it’s around this time that my eyes start craving greenery — though that won’t happen for a little while yet.

Here are pictures of just a few of the many things happening around the garden:

***

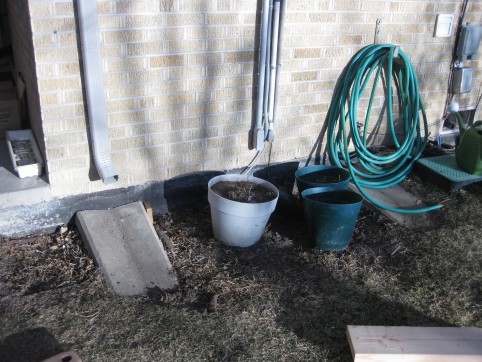
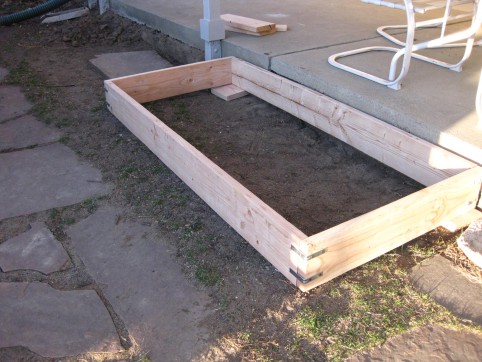
We’re adding more raised beds to my parents’ backyard so we can grow even more vegetables!! Here’s one of the spots ‘before’:

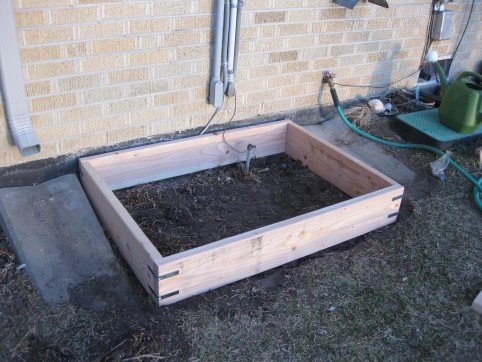
And ‘after.’ My mom and I had fun doing this raised bed project together!

And tomorrow I’ll fill them up; I’ll be making lasagna beds which, in my experience, is a fantastic way to make some really awesome soil for your raised beds. I’ll have to do a post about that!

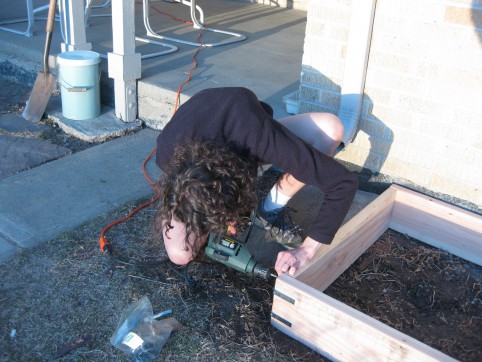
At the helm of her ship.

Building a raised bed for the other site...

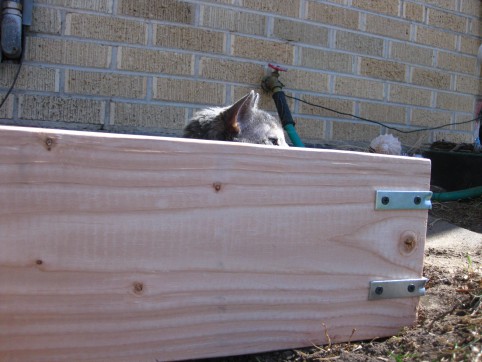
That one lives here now.

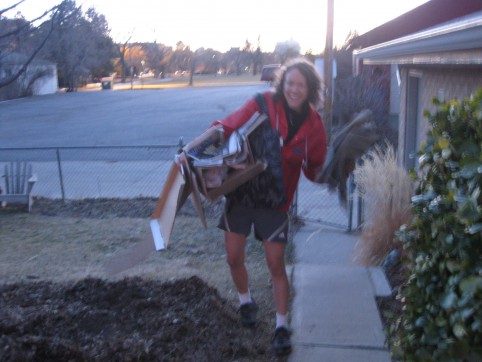
Raiding neighbors' recycle bins at twilight for cardboard and newspaper for the lasagna beds.

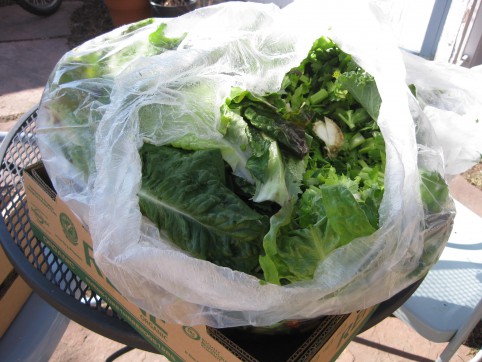
Oh, and this is cool — our local health food store will save their produce scraps for your compost heap if you ask them. So Mom and I picked up a nice bag of them yesterday in preparation for use in the lasagna beds. Yay!

They look pretty good for so-called scraps!

***

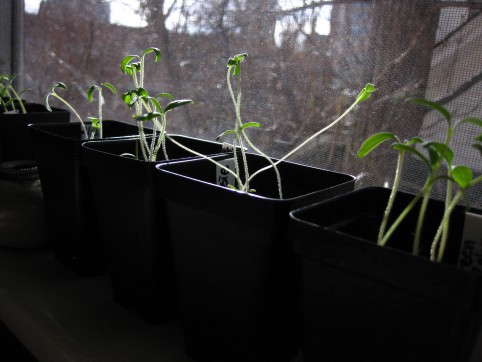
Tomato seedlings in the window

***

Bed time now… tomorrow’s a big garden day! I hope you have a wonderful weekend~

*****

Gratitude Sunday * March 4, 2012

~ I’m once again joining Taryn over at Wooly Moss Roots in her Gratitude Sunday tradition. ~

Gratitude Sunday is a time to slow down and remember those thankful moments that graced our week. One reason I love keeping a daily gratitude journal is because it helps keep things in perspective for me. Each Sunday, I open my journal and share some of those moments with you here. If you’d like to join in, just leave a comment!

Gratitude is powerful energy. I love hearing others’ gratitudes!

***

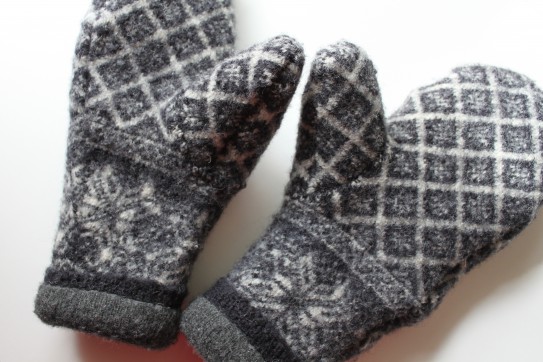
– Finishing my mittens! That felt great. Doesn’t it feel great to accomplish stuff that’s been lingering around?

– Gettin’ stuff DONE this week! But man, the week went fast…

– My Honey, F, and how much he makes me laugh!

– Meeting him for lunch one day this week — that was so nice and we both loved it! And, it’s often really hard for me to find something to eat at a restaurant that my stomach will tolerate, and a lot of times it’s more torture than fun to be at a restaurant when I want all that stuff but can’t eat it… but this time there was something just right on the menu — a very small cup of delicious beans n’ rice. Yum!

– The comfort of piping hot tea with milk.

– The wonderful little woodcarving set my dad gave me today!! He didn’t know it, but I’ve really been wanting wood carving tools for at least a year now. I would keep thinking “Yeah, I’ll have to manifest that” which is my way of saying “I’d like to do that but don’t wanna devote the time/energy/money/whatever to pursuing it right now”  — and look what shows up in my life! To boot, it’s an extra special set because it’s one that his parents bought for him many, many years ago and he only used once or twice. I’m so excited!! And just the other day, I sawed up our Christmas tree on the kitchen floor (why, doesn’t everyone?), stripped the bark, and saved a couple sections of the main trunk for “making something.” And voila, along come the tools to help me with that… love it!

Sawin' up the Christmas tree

– Living close to my mom and dad so that I can easily spend time with them. I am so, so grateful for this.

– An impromptu walk and visit with my mom one afternoon this week. Sweet.

– All the many, many, MANY things I want to do/figure out/learn about — and gaining more and more energy to actually do them!

– Starting and finishing The Dirty Life by Kristin Kimball this week. I loved it. And I loved reading a book not to gain knowledge, but simply for enjoyment and entertainment.

– Braised leeks, my new obsession.

Gazpacho with avocado pieces instead of olive oil… my continuing obsession!

– A pay check through the mail… yes those are so nice!

– Beautiful weather today and garden work begun.

– Gardening by moonlight tonight.

*****

What gratitudes have graced your week?

*****
 *****
My Mittens Are Done!


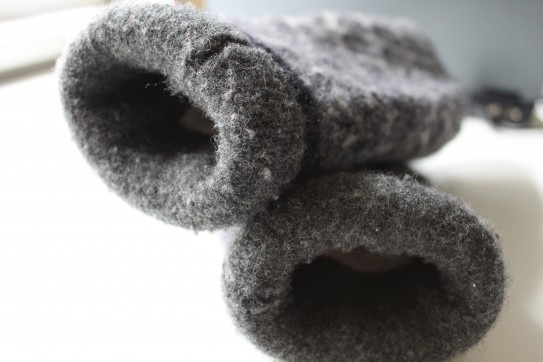
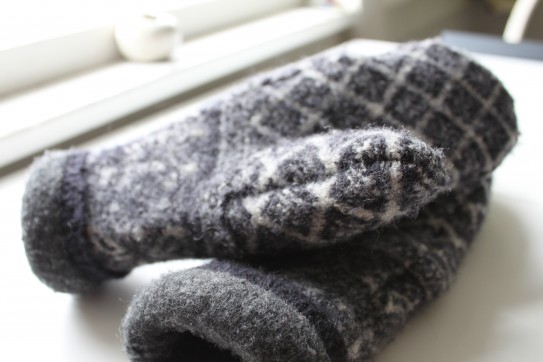
Remember the single felted wool mitten I showed you a couple weeks ago? Well now there are two! They’re finished and I love them. (Just in time for… Spring. Hah! Oh well.)

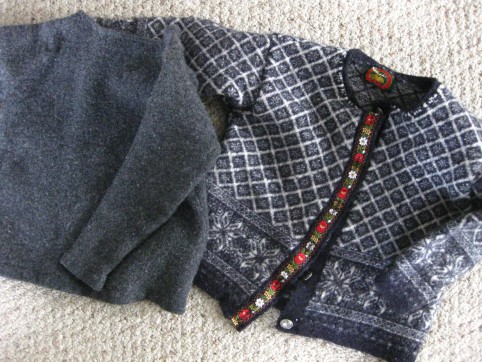
I still might embellish them a little using the pretty nordic ribbon and buttons from the original sweater they were made from, but I also might just leave them as is. I like their simplicity. Actually, I’m really proud of these mittens. I’ve never made anything like them before so it was a slow project, and one I wouldn’t necessarily care to repeat, but I’m really happy with how they came out. They fit beautifully and they’re so warm! Apart from my time, they cost next to nothing since all the materials came from the thrift store.

They have three layers made from two different felted sweaters plus an inner lining of really soft white fleece. They’re so cozy and luxurious; I wish you could feel them!

They’re made from the sleeves of these sweaters:

***

Do you ever make stuff from felted wool sweaters? I really like the concept — it’s so easy and cheap — the knitting has been done for you already, and you can so easily get used sweaters from the thrift store for such little money!

If you’ve ever done something like this before, please leave a comment and tell me what you made! I’d love to get some other project ideas — maybe something that’s a little simpler than 3-layer mittens. 😉

*****
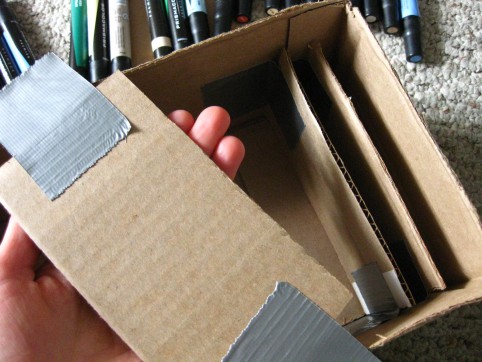
No-Cost DIY Art Marker Holder

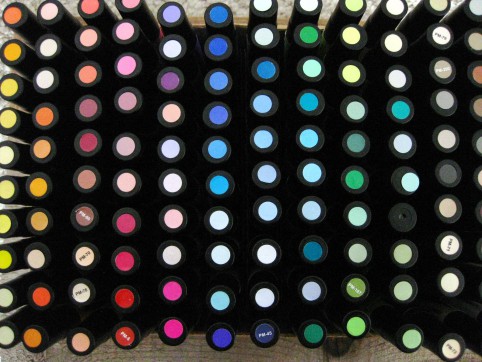
I recently expanded my art marker collection and needed something to keep them all organized within a compact space. So I made a holder using materials I had on hand, and I’m really happy with the way it turned out. It’s not beautiful, but it does the job perfectly.

Here’s how to make your own without spending a cent!

***

Materials:

A small cardboard box (my 10″ x 6.5″ cardboard box fits 140 Prismacolor art markers)

More cardboard, for the dividers

Duct tape or packing tape

Scissors

***

 1. Measure your outer box so that you know how big to make the dividers. Measure and cut out one divider and insert it into your box. Trim if necessary. When it’s the right size, use it as a template to cut more dividers.

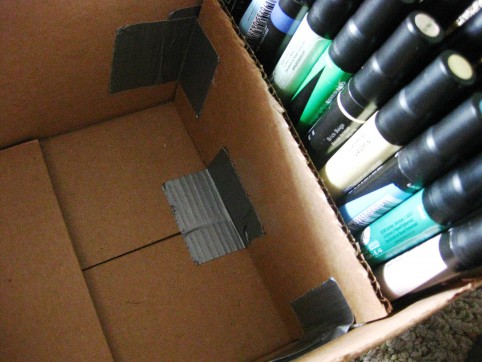
2. Put a row of markers in place at one end of the box. (Putting the markers in helps you know exactly how wide to make the rows.) It helps to prop up the opposite end of the box so the markers stay in place. Insert the divider up against your row of markers to see if it needs trimming. Then put a strip of duct tape on either side of the divider, as in the photo.

Insert your divider to make sure it fits right; remove and trim if necessary, then apply tape.

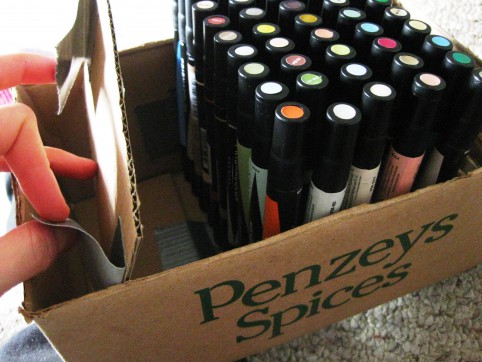
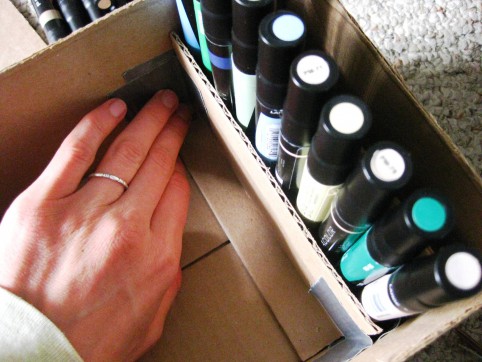
3. Tape the divider into place, flush against your markers.

Tip up one end of the box so the markers stay in place.

4. When the divider is taped into place, add another piece of tape to the bottom:

5. Keep adding rows of markers and dividers until you’re finished.


*****
« Older posts Newer posts »

© 2024 The Herbangardener

Theme by Anders NorenUp ↑