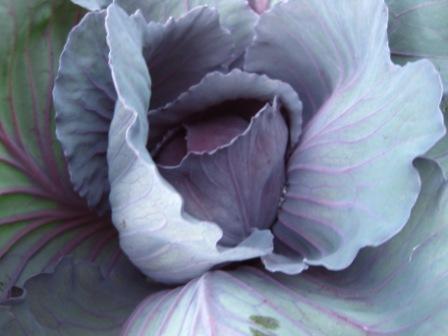
Today I’m going to show you how to make your own old-fashioned, raw, lacto-fermented sauerkraut. The first time I made sauerkraut, I was sure I was doing something wrong because it was so easy!
Ingredients:
Cabbage – red or green (or a combo), organic
Sea salt – See my salting chart below, plus you may need more to mix up extra brine. (Any non-iodized salt will do, but unrefined sea salt is better for your body.)
*****
Here’s my salting chart. These are just guidelines — if you want, you can add a little more salt in the summer and a little less in the winter.
10 tsp salt per 5 lbs vegetables
5 tsp salt per 2 ½ lbs vegetables
2 tsp salt per 1 lb vegetables
1 tsp salt per ½ lb vegetables
½ tsp salt per ¼ lb vegetables
Chop, shred, or grate your cabbage — coarse or fine, however you like it. Sprinkle the salt onto the cabbage and mix it up. I let mine sit on the counter for several hours or overnight (this step is in place of pounding) so that the salt can begin to draw water out of the cabbage. The water contains nutrients, and these nutrients then become the substrate for the growth of the lactic acid bacteria which is what turns your cabbage into kraut. (Steinkraus, Handbook of Indigenous Fermented Foods, p.120.)
After the cabbage is wilted and some water has been drawn out, pack the cabbage WITH its water into a glass jar. You really want to pack it in there (use your fist or any kitchen tool), because this will help squeeze more water out. You can also use a specially-made ceramic sauerkraut crock, or a glass or ceramic bowl (anything except metal, since salt and acid can react with metal).
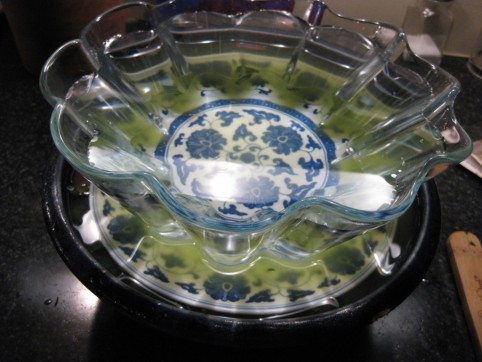
Keep your cabbage submerged under the brine by placing a smaller plate on top and weighing it down with something heavy (a jug of water, a boiled rock, etc.). Or, nest a smaller jar of water inside your larger glass jar. Or, wedge a whole cabbage leaf into the jar to keep everything submerged.
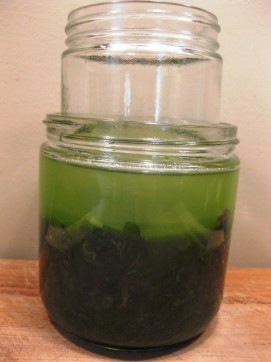
This is kale, not sauerkraut, but same idea. I particularly like this nesting-jars method for keeping everthing submerged in brine.
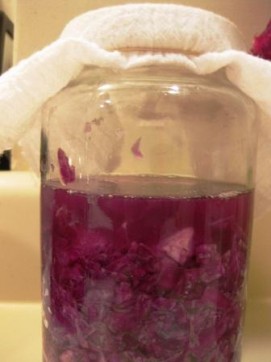
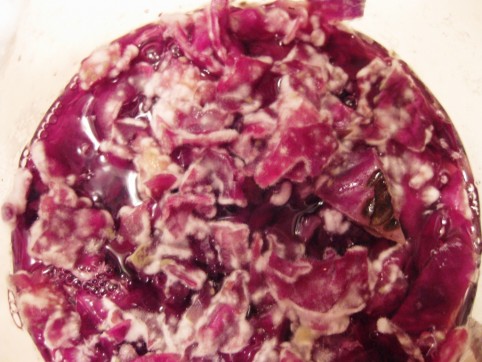
Whatever method you devise, just be sure that all traces of cabbage are completely submerged in the brine. Little bits sticking up above the water line will quickly lead to a moldy situation like the photo below (and if you do end up with mold like this, scrape off the entire top layer of cabbage, but the rest underneath should be fine! The kraut below the mold in this picture turned out great.) So if you need to mix up some more brine (which is just a fancy name for salt water), use the ratio of 1 tsp salt to 1 cup of water.
Cover the jar with either a lid (leave it loose to prevent pressure buildup) or a towel to keep bugs out.* Leave it to ferment at room temperature until you like the taste of your kraut. Let your tongue be your guide to done-ness. Taste it every few days, and transfer into the fridge when it tastes the way you like it. I like mine pretty sour, so I usually leave it out for 1-2 weeks or more, depending on how warm it is in the kitchen.
Once in the fridge, your sauerkraut will keep for many months. Don’t throw out the sauerkraut juice; it’s full of beneficial Lactobacillus (lactic acid bacteria) and is said to be a very good digestive tonic. And if you like, add a little of the juice to your next batch of sauerkraut as a starter.
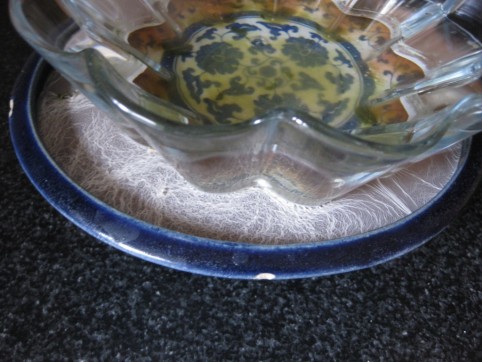
*If you see a white film (“kahm yeast”) develop on the surface of the brine, scrape off what you can each day until the kraut is done. Sometimes I don’t get any film. Sometimes I get a fair amount. There doesn’t seem to be any rhyme or reason. The kahm yeast won’t harm anything, but if you keep getting a lot of it day after day, it can sometimes (not always) impart an off taste to the brine. If that happens, I will actually dump out the brine and replace with new brine. How salty to make the replacement brine? Good question. I’m still experimenting with this. When I did this I used 1 tsp salt to 1 cup water, but then my kraut was almost done fermenting and ready to go into the fridge. In the summer — or if your kraut still has a ways to go — I might increase the ratio to 1 Tbsp salt per 1 cup water. Use your judgment and go for it; fermentation is an imprecise art!


What if I find a lot of air bubbles in the jar while fermenting? Is that supposed to happen or is it spoiling?
Hi Lew,
Air bubbles are OK; they’re a by-product of the fermentation. Just stir your kraut to release those bubbles if you want.
I REALLY want that book you wrote about. Why oh why is it SO much money??
Hi Cristin,
Do you mean the Handbook of Indigenous Fermented Foods? I got it through Inter-Library Loan because yeah, it’s so expensive!! It’s more of a text book actually…or an industry reference maybe. It’s actually not worth the money… if you can get it through ILL then that’s great, but otherwise don’t feel that it’s a big loss not having it. I didn’t find much usable information in it, despite the tantalizing title!! You’d do much better to buy both Nourishing Traditions (Sally Fallon) and Wild Fermentation (Sandor Ellix Katz)…for a fraction of the cost and with much more usable info.
Cheers!
Lindsey
Cheers,
Lindsey
Lindsey:
I’ve done the same thing with the kahm yeast if it became persistent. Removed the cabbage, rinsed it well, re-salted it and let it sit for about an hour. Then I rinsed the almost-kraut and put it in a saltier brine in a clean container. The re-ferment takes off fairly quickly. If the yeast is only slight, I mix it in and add more salt. When it’s like that, it usually doesn’t affect the flavor. I think I notice more kahm forming when it’s warmer. Frustrating. It’s almost like, “I only turned my back on it for a few hours!”. LOL
Don’t forget each day you are to skim off the white foam for 14 days then it will be ready to put in jars and can
Chieko,
Yes! Amazing how fast that dang stuff grows isn’t it!
Thanks for chiming in
Lindsey, it looks like the initial brine uses just the liquid drawn form the cabbage, and no added water. Do I understand this right?
I hope to try this soon.
KAAAAAAHHHMM!!! – https://i.ytimg.com/vi/rmPOWJtsEGc/maxresdefault.jpg
It just happened to me. Thanks for the tips. I ended up canning it because it was basically ready. Thankfully, it’s delicious!
This is a great guide! Very informative, straight and to the point. I hope more people are delving into the field of fermented or pickled foods. I don’t think enough people think about how good they are for you. Thank you so much for sharing!
What is the canning process after it has fermented. Both the kraut and pickles. I’m also going to try summer squash. Oh ya thank you for your article. Will let you know how the squash turned out too! Doug A.
I was wanting to see your answer to the question concerning canning the kraut. I’ve always just left it refrigerated so to keep the good bacteria from dying off during the canning process.