Kitchen / Garden / Sanctuary - Urban Homesteading to Nourish Body + Spirit

Tag: garden harvest (Page 4 of 8)

Soup of the Day

This was a delicious little lunch for today. I pulled the beef broth out of the freezer, and the rest is from my own garden! With everything cut into little pieces, it cooked up in just a few minutes.

beef broth

scallions (white part)

celery

kale

potatoes

…and at the table, I stirred in some raw homemade sauerkraut with some of its juice, which leant a wonderful brightness to the soup!

And I just remembered I have some soaked & cooked lentils, which I think would also go well in this soup.

*****

And a Few More…

Here are a few more garden pictures that I wanted to show you, since I was over there yesterday. It was a brilliant weather day — not too hot, not windy, and just humid enough to make the air delicious and soft. Mentally and physically however, it was a total bummer day, so being in the garden felt vitally important! It’s such a grounding and life-affirming space, that wild and abundant garden. There’s some really intense energy flying around right now to put it diplomatically. Can you feel it? Intense situations, frustrations, and pivotal decisions abound! Nature spaces are the antidote — I’d make time to visit one if I were you.

***

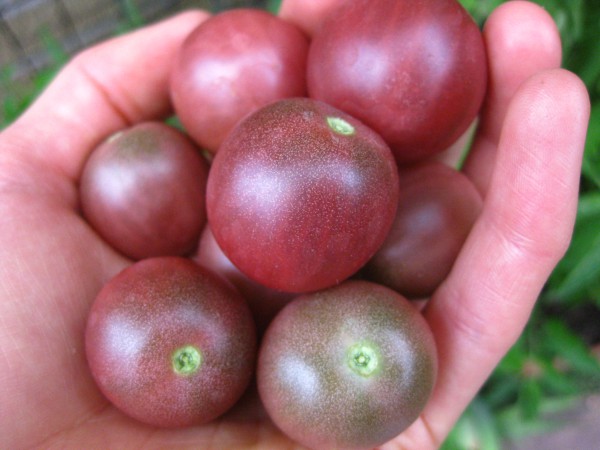
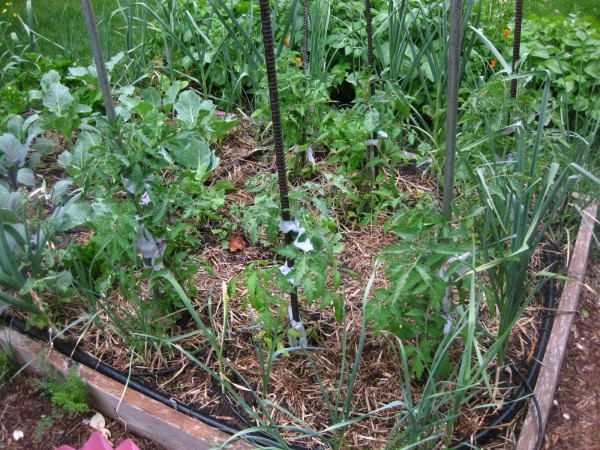
So what you have here are the first tomatoes of the year — Black Cherry, and the orange one further down is Jaune Flamme, both heirlooms, and both really awesome. The Jaune Flammes are always my earliest and most reliable tomatoes; Black Cherry is a new one this year, but so far I’m definitely impressed.

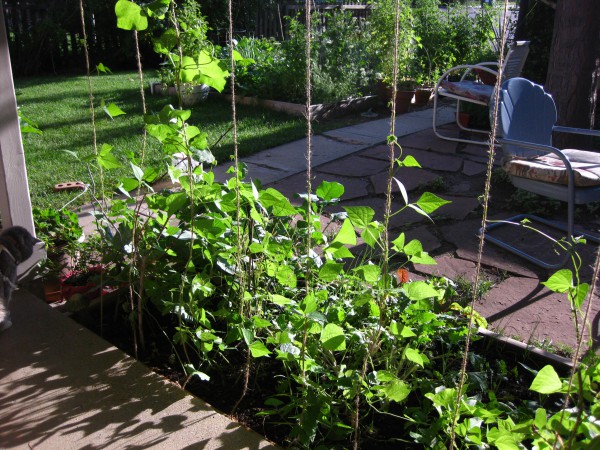
I put up this bean trellis on Sunday; I really love it. It creates the feeling of a cozy outdoor room, and maybe if the beans get big enough they’ll provide some welcome shade from the afternoon sun.

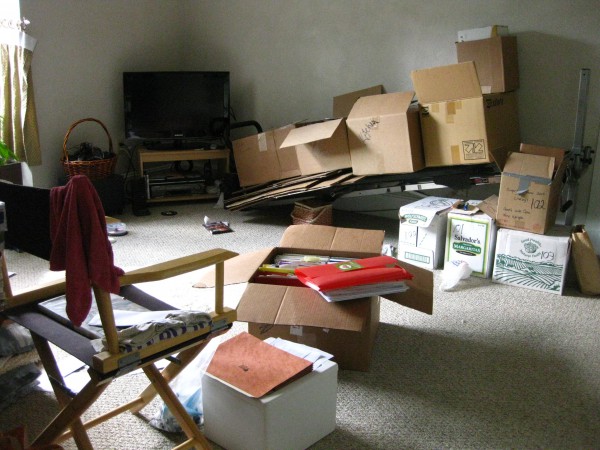
And here this is our living room right now. In flux you might say!

As I write you this, I’m eating a beet that I pulled out of the garden yesterday. Steamed whole and eaten plain with just a bit of sea salt, how can something BE so delicious!?

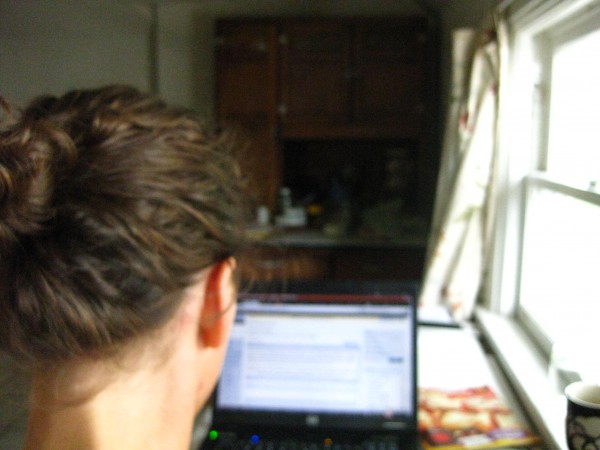
Writing to you!…

Wishing you well on this beautiful, summery night!

*****

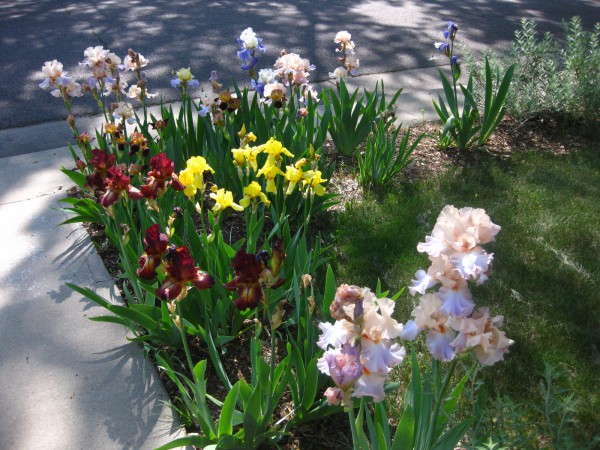
A Walk Through the Garden – May 24th

Wow, it’s been another full-on week here. I like how Trish says it — “life has been a bit real lately“!

When life gets extra real, it feels extra nice to be in my garden. My garden grounds me back to Earth!

And here’s an interesting phenomenon that I’ve noticed — if I need to take a nap in the middle of the day (usually I don’t like to), I wake up feeling mentally yucky and depressed if I’ve slept inside. But if I take my nap outside, that doesn’t happen — I wake up feeling balanced and happy and content. Nature seems to be magical that way…

So how about a walk through the magical garden? It’s growing really well! My tomato plants are exactly three months old from when I started them from seed, and some of them are blooming! That’s exciting because the past few years have not been good tomato years due to unusually long, wet, chilly springs.

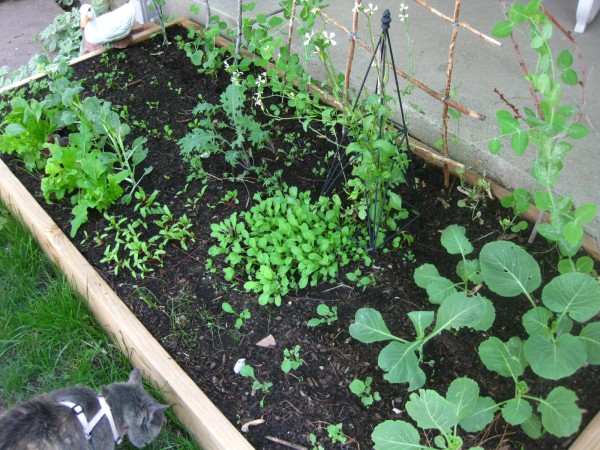
Here’s the garden in the glow of the evening sun. Gardens look best in either morning or evening sunshine, don’t they.

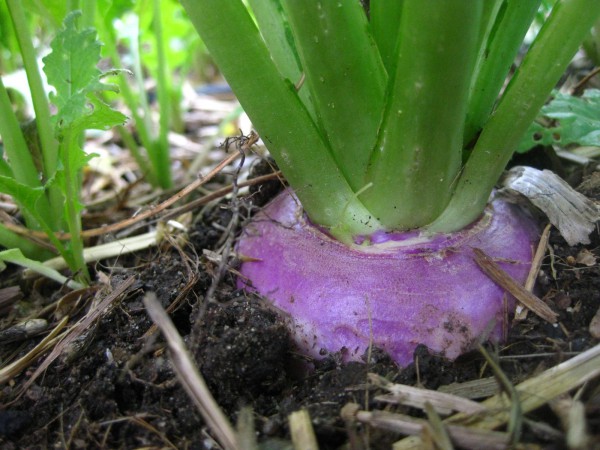
Big turnip. (All the others are still much smaller than this!)

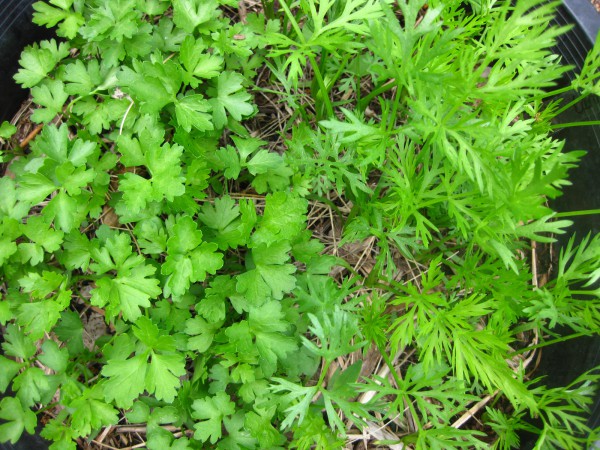
Parsley (L) and Caraway (R)

Broad bean flowers

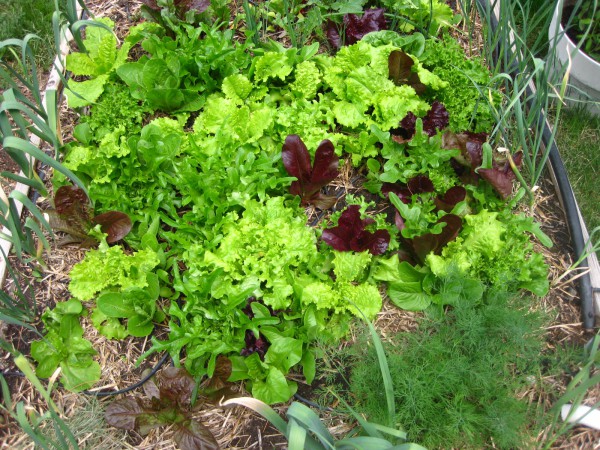
Homegrown lettuce is just so awesome.


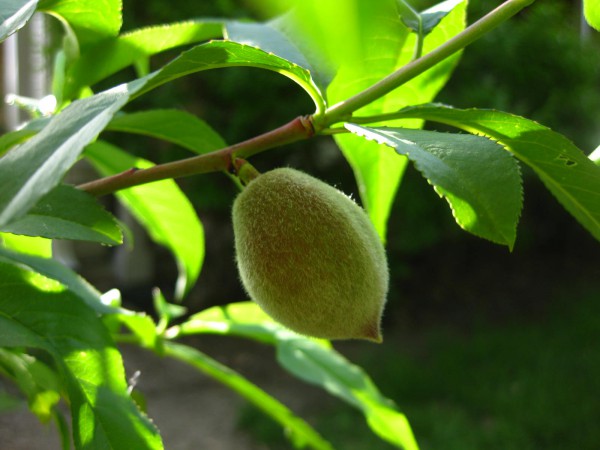
My baby peach is growing too!

***

What’s up in your yard?

*****

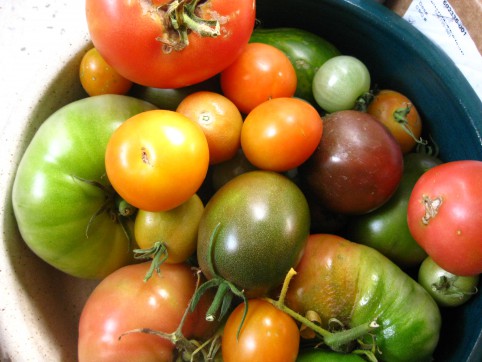
How to Ripen Green Tomatoes

I got a question the other day about what to do with green tomatoes… well, let me tell you!

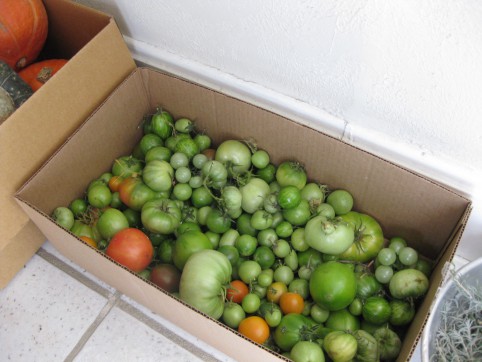
Green tomatoes are always part of the Autumn routine for us. Once picked, most of them ripen over the coming weeks, and some years we’re still eating homegrown tomatoes past Christmas!

*****

Here’s how I handle all the tomatoes that we pick before the first frost hits:

1. Usually I leave the tomatoes hanging out in an uncovered cardboard box for several days or a week. This is usually because I don’t get around to addressing them, but it also allows the close-to-being-ripe ones to ripen more fully.

2. When I’m ready to deal with them, I gather a few cardboard boxes and some newspaper. I go through the tomatoes, separating ones that are showing signs of ripeness (light blushes of color or softening flesh) from the rest that are still very hard and green.

3. Put the ripening ones in their own box or paper bag, and check them every day or two. Or, leave them out on the counter.

4. I put the rest into boxes — only one layer thick — and then lay some sheets of newspaper on top. Over the years I’ve evolved through several methods of green tomato storage, and this is the one I’ve settled on. It’s my favorite because it’s the easiest, with the fewest tomatoes lost to mold.

Methods I’ve used in the past include:

– I used to cut squares of newspaper and wrap each tomato individually — unwrapping, checking, and re-wrapping them each week, and marking with highlighter the ones nearing ripeness. This is not only an insane amount of work, but it’s also totally unnecessary. There are easier ways to get the same result.

– After I evolved away from that, I would use only one box and put multiple layers of tomatoes in the box, separated by sheets of newspaper. This was a little better, but still involved removing layers of tomatoes and newspaper, checking, and re-layering.
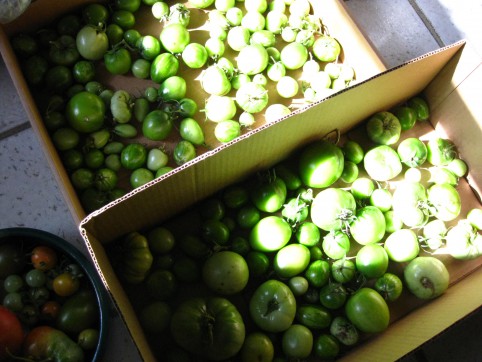
Store the tomatoes, only one layer thick, in boxes.

Cover them with newspaper.

5. Ok, so anyway, you’ll have multiple boxes with tomatoes only one layer thick. For this reason I like to use wide, shallow boxes. The boxes can be stacked as long as they’re supported by the sides of the box below and not resting on top of the actual tomatoes.

6. Keep your boxes in the coolest place in your house. Perhaps that’s a coat closet in your foyer, or in your basement. For us, it’s in the stairwell that leads from our apartment to our outdoor side entrance.
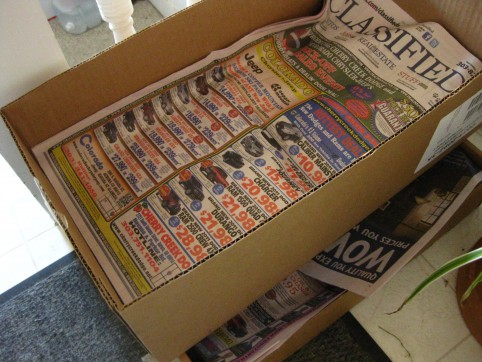
Store the boxes in the coolest part of your house. Check your tomatoes at least weekly.

7. Check your tomatoes at least weekly. It’s as easy as peeking under the newspaper. I like to move the nearly-ripe tomatoes to the top of the newspaper so that I can watch them and grab them when they’re ready.

8. Not all the tomatoes will ripen. Some are just too small and green to hold much promise of ripening, so this year I’m going to pickle them exactly the way I pickle cucumbers, using my trusty pickle recipe.

*****
*****

Do you have a good way of ripening your green tomatoes, or perhaps a good recipe that calls for green tomatoes?

*****

This Week: Harvest Time!

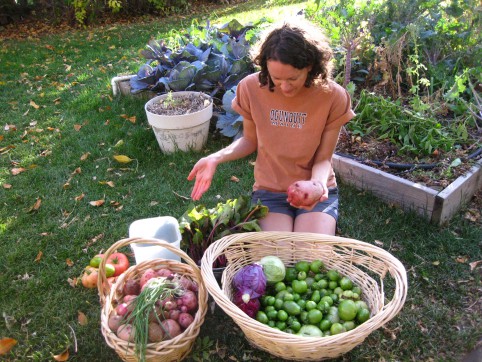
The last of the harvest, not including celery. I'm holding the biggest potato of the year -- 1.2lbs!

It was harvest time this week! Monday was the day; snow was predicted for Wednesday, and Monday was an incredible 80°! How very perfectly the weather worked out this year; usually I’m out there harvesting in the freezing drizzle, my half-frozen fingers moving in slow motion. Not this year! I was prancing around the garden in bare feet and shorts ‘n’ T-shirt, clippers and shovel in hand, the air warm and golden with leaves. It was a true pleasure to be out working in the garden that day.

Here are some pictures from the day:

All in all, it was a below-average garden year. I’ve definitely had much more plentiful harvests in past years, and we missed our usual avalanche of tomatoes, but I felt OK with less because it matched my energy level. I was actually glad to not be overwhelmed with produce; it would have been too much for me this year.

And then on Wednesday, as predicted, we woke up to several inches of snow! How funny, I was cooking quinoa in my solar oven on Monday, and then making snow ice cream on Wednesday!

And tucked in amongst harvest day and our snowstorm, I had a spinal tap. Yuck! It wasn’t exactly awful, but it was a strange experience and I almost passed out a couple times during and after it!

For anyone who has to have one in the future, here’s what I would tell my patient if I were their nurse.

Getting a spinal tap: you could compare it to a blood draw. It’s kind of unpleasant, and it’ll probably be a bit uncomfortable…and it feels weird…but it’ll be over soon enough. It’s important to hold yourself in the right position. The doctor will put you in a fetal position…hold that pose, but remind yourself to relax and breathe.

The doctor will first feel your spine and mark where the needle should go in. Then your lower back will get cleaned three times with iodine. You’ll get two shots of lidocaine — one just under the surface of your skin, the other one further into your back. They don’t hurt much other than the sting of getting a shot. Then the doctor will insert the spinal needle; to me this is the worst part. Try not to picture what’s going on and take your mind to your favorite place if you can. You won’t feel pain, but it’ll be uncomfortable pressure and then a ‘pop’ sensation and a give. You might feel a dull ache down your back at this point. It takes several minutes for the spinal fluid to drip out of the needle into the collection tubes, but the worst part is over. Try to focus your mind on someplace nice, and breathe.

They’ll remove the needle but you probably won’t feel that at all. They’ll put a band-aid on, and probably draw a couple vials of blood from your arm, and have you slowly get up as you feel ready; take your time. It might help to have a water bottle or some juice or a little snack with you.

Have someone drive you home. Plan to take the rest of the day, and the next, to recover; avoid doing anything strenuous. Drink lots of fluids to replace your spinal fluid; they say caffeine helps prevent a possible post-lumbar-puncture headache, but if you don’t like caffeine (I don’t), don’t do it. Just hydrate and hang low.

I felt very fragile after the procedure, and had a substantial backache for the rest of the day. I never got the big headache some people do because of the lowered spinal fluid pressure. I drank lots of liquids and stayed in bed the rest of the day, and the next day too.

And today, Thursday, I’m totally recovered and the spinal tap is a distant memory. Now I want to dig out our DVD of that hilarious mockumentary, This is Spinal Tap, about the fictional rock band!!

*****

« Older posts Newer posts »

© 2024 The Herbangardener

Theme by Anders NorenUp ↑